How I Installed Traditional Wallpaper December 29, 2020
I’ve had my eyes set on THIS wallpaper for months now. So when it went on sale for Black Friday, I was like “awwww hellll yeaaaahhhh now’s the time” and grabbed the appropriate amount of rolls needed. Initially I planned on hiring out this job, but after consulting with a friend and finding out one small wall costs hundreds of dollars, I was like ya know…I think I can do this myself. After googling and watching videos on YouTube (because isn’t that what we all do when we want to DIY?) I came across THIS video which made it look like a piece of cake. So I told Pat we needed to go to the hardware store ASAP and take care of business.
When we got back, I said, “I’m actually doing this now.” And he said, “Now? Like right now?” And I said, “Yep.” Because that’s what I do when I get my mind set on something 🙂 I know, fun times. And that’s what I did.
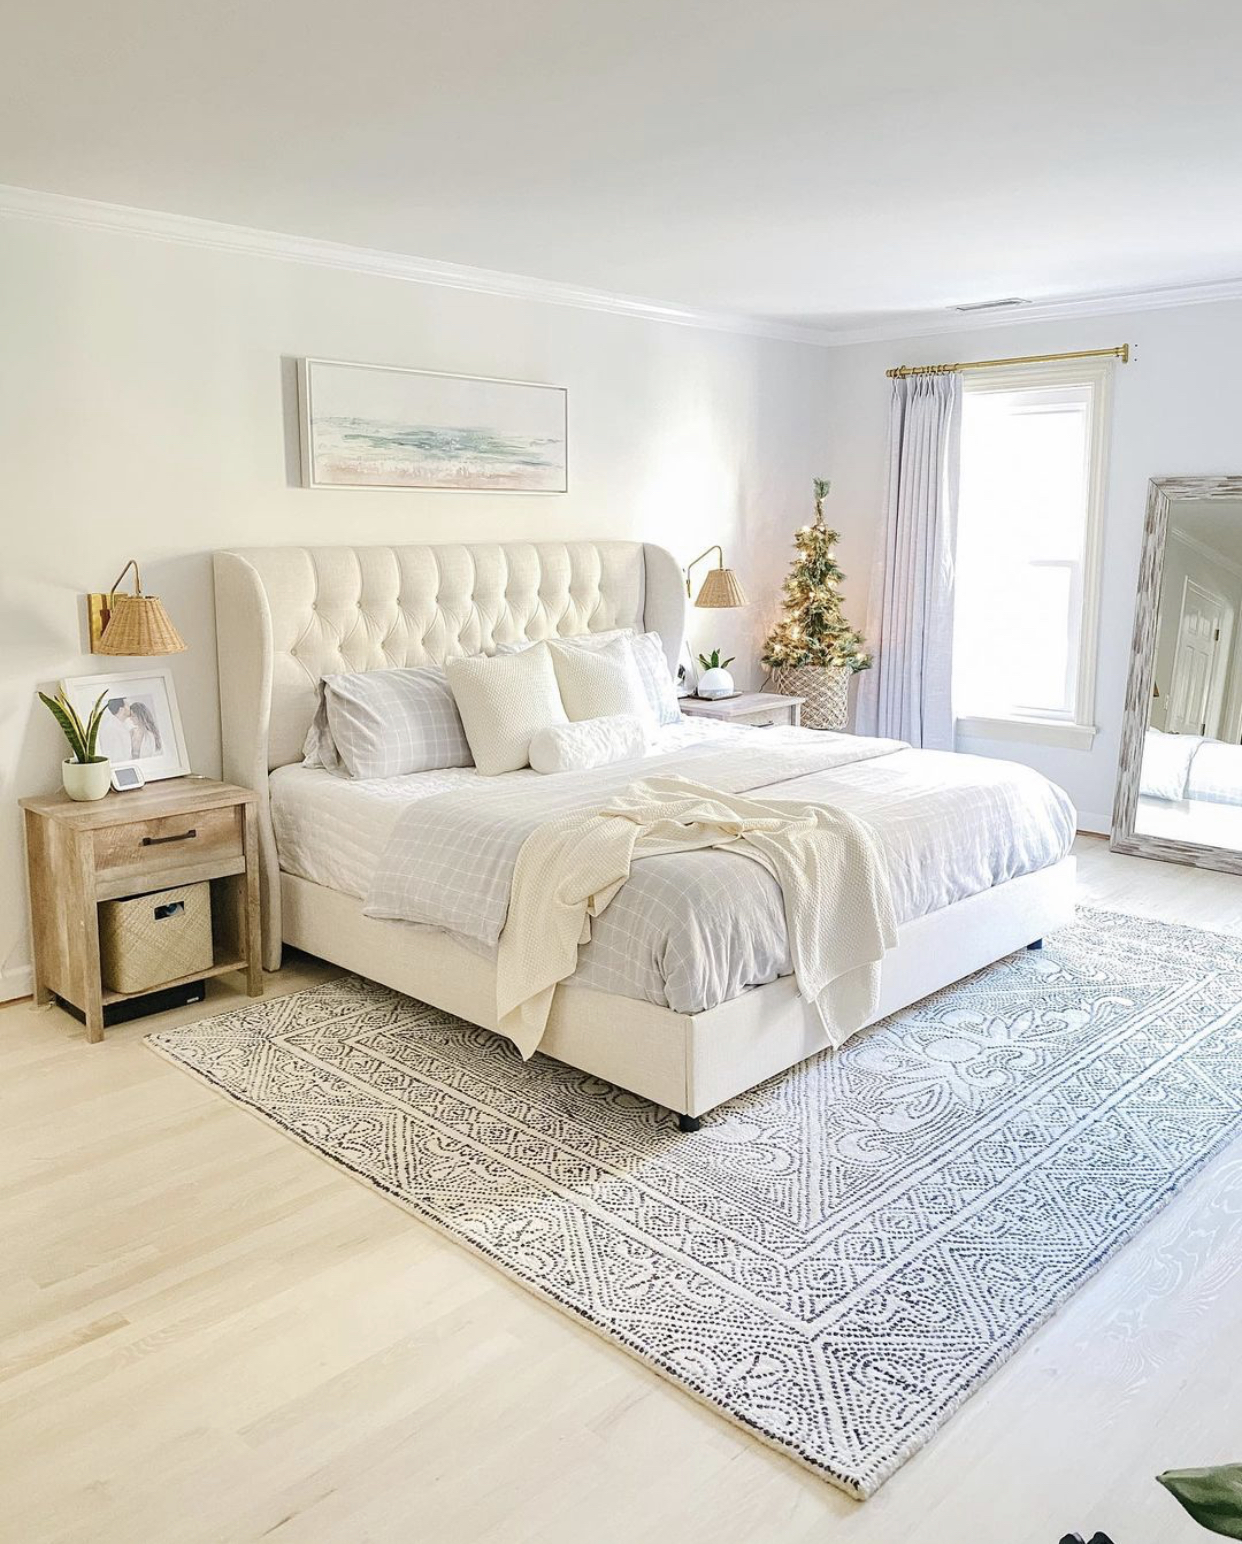
Here’s a before shot of the wall!
Tools Needed
Wallpaper Adhesive

The wallpaper I used specifically said I could roll the adhesive directly onto the wall before applying the paper, which I feel was much easier than applying to the actual paper! I went with this Roman Ultra Clear Strippable Wallpaper Adhesive which applied like a dream. I had zero issues and I was easily able to wipe off any residue with a damp sponge!
Roller and a Paint Tray
I just used a regular paint roller and paint tray from the hardware store!
Paste Brush
This paste brush helps apply the paste to the areas the roller can’t reach! It’s easy to wash, too, because of the material the bristles are made out of.
Flexible Smoothing Tool
This smoothing tool helps to smooth out the paper as you’re applying it! This gets all of the air bubbles out and applies the paper smoothly to the wall. Super helpful in making sure the paper is tight against the ceiling and trim, too!
Smoothing Brush
This smoothing brush came in a kit I had purchased, and I felt it was really helpful when getting the air bubbles out! The smoothing tool is great, but this brush is a little softer. Not totally necessary, but if you can get it in a kit, it’s nice to have on hand!
X-Acto Knife
This sharp little knives are handy for cutting the wallpaper in a smooth line. You need a SHARP knife to do this correctly!
Multi-purpose Straight Edge Tool
This straight edge tool is great for when you cut the wallpaper. It holds the paper tight and gives you a metal surface to cut against and ensure a nice, straight cut!
Seam Roller
This seam roller REALLY comes in handy for the wallpaper seams! I swear it makes them nearly non-existent, so it’s totally worth grabbing it!
Wallcovering Sponge
I used a regular sponge, but I probably should’ve picked up one of these wallcovering sponges! The sponge is necessary to wipe the excess adhesive off. I had a sponge and a little bucket of water nearby to clean up when I was done applying.
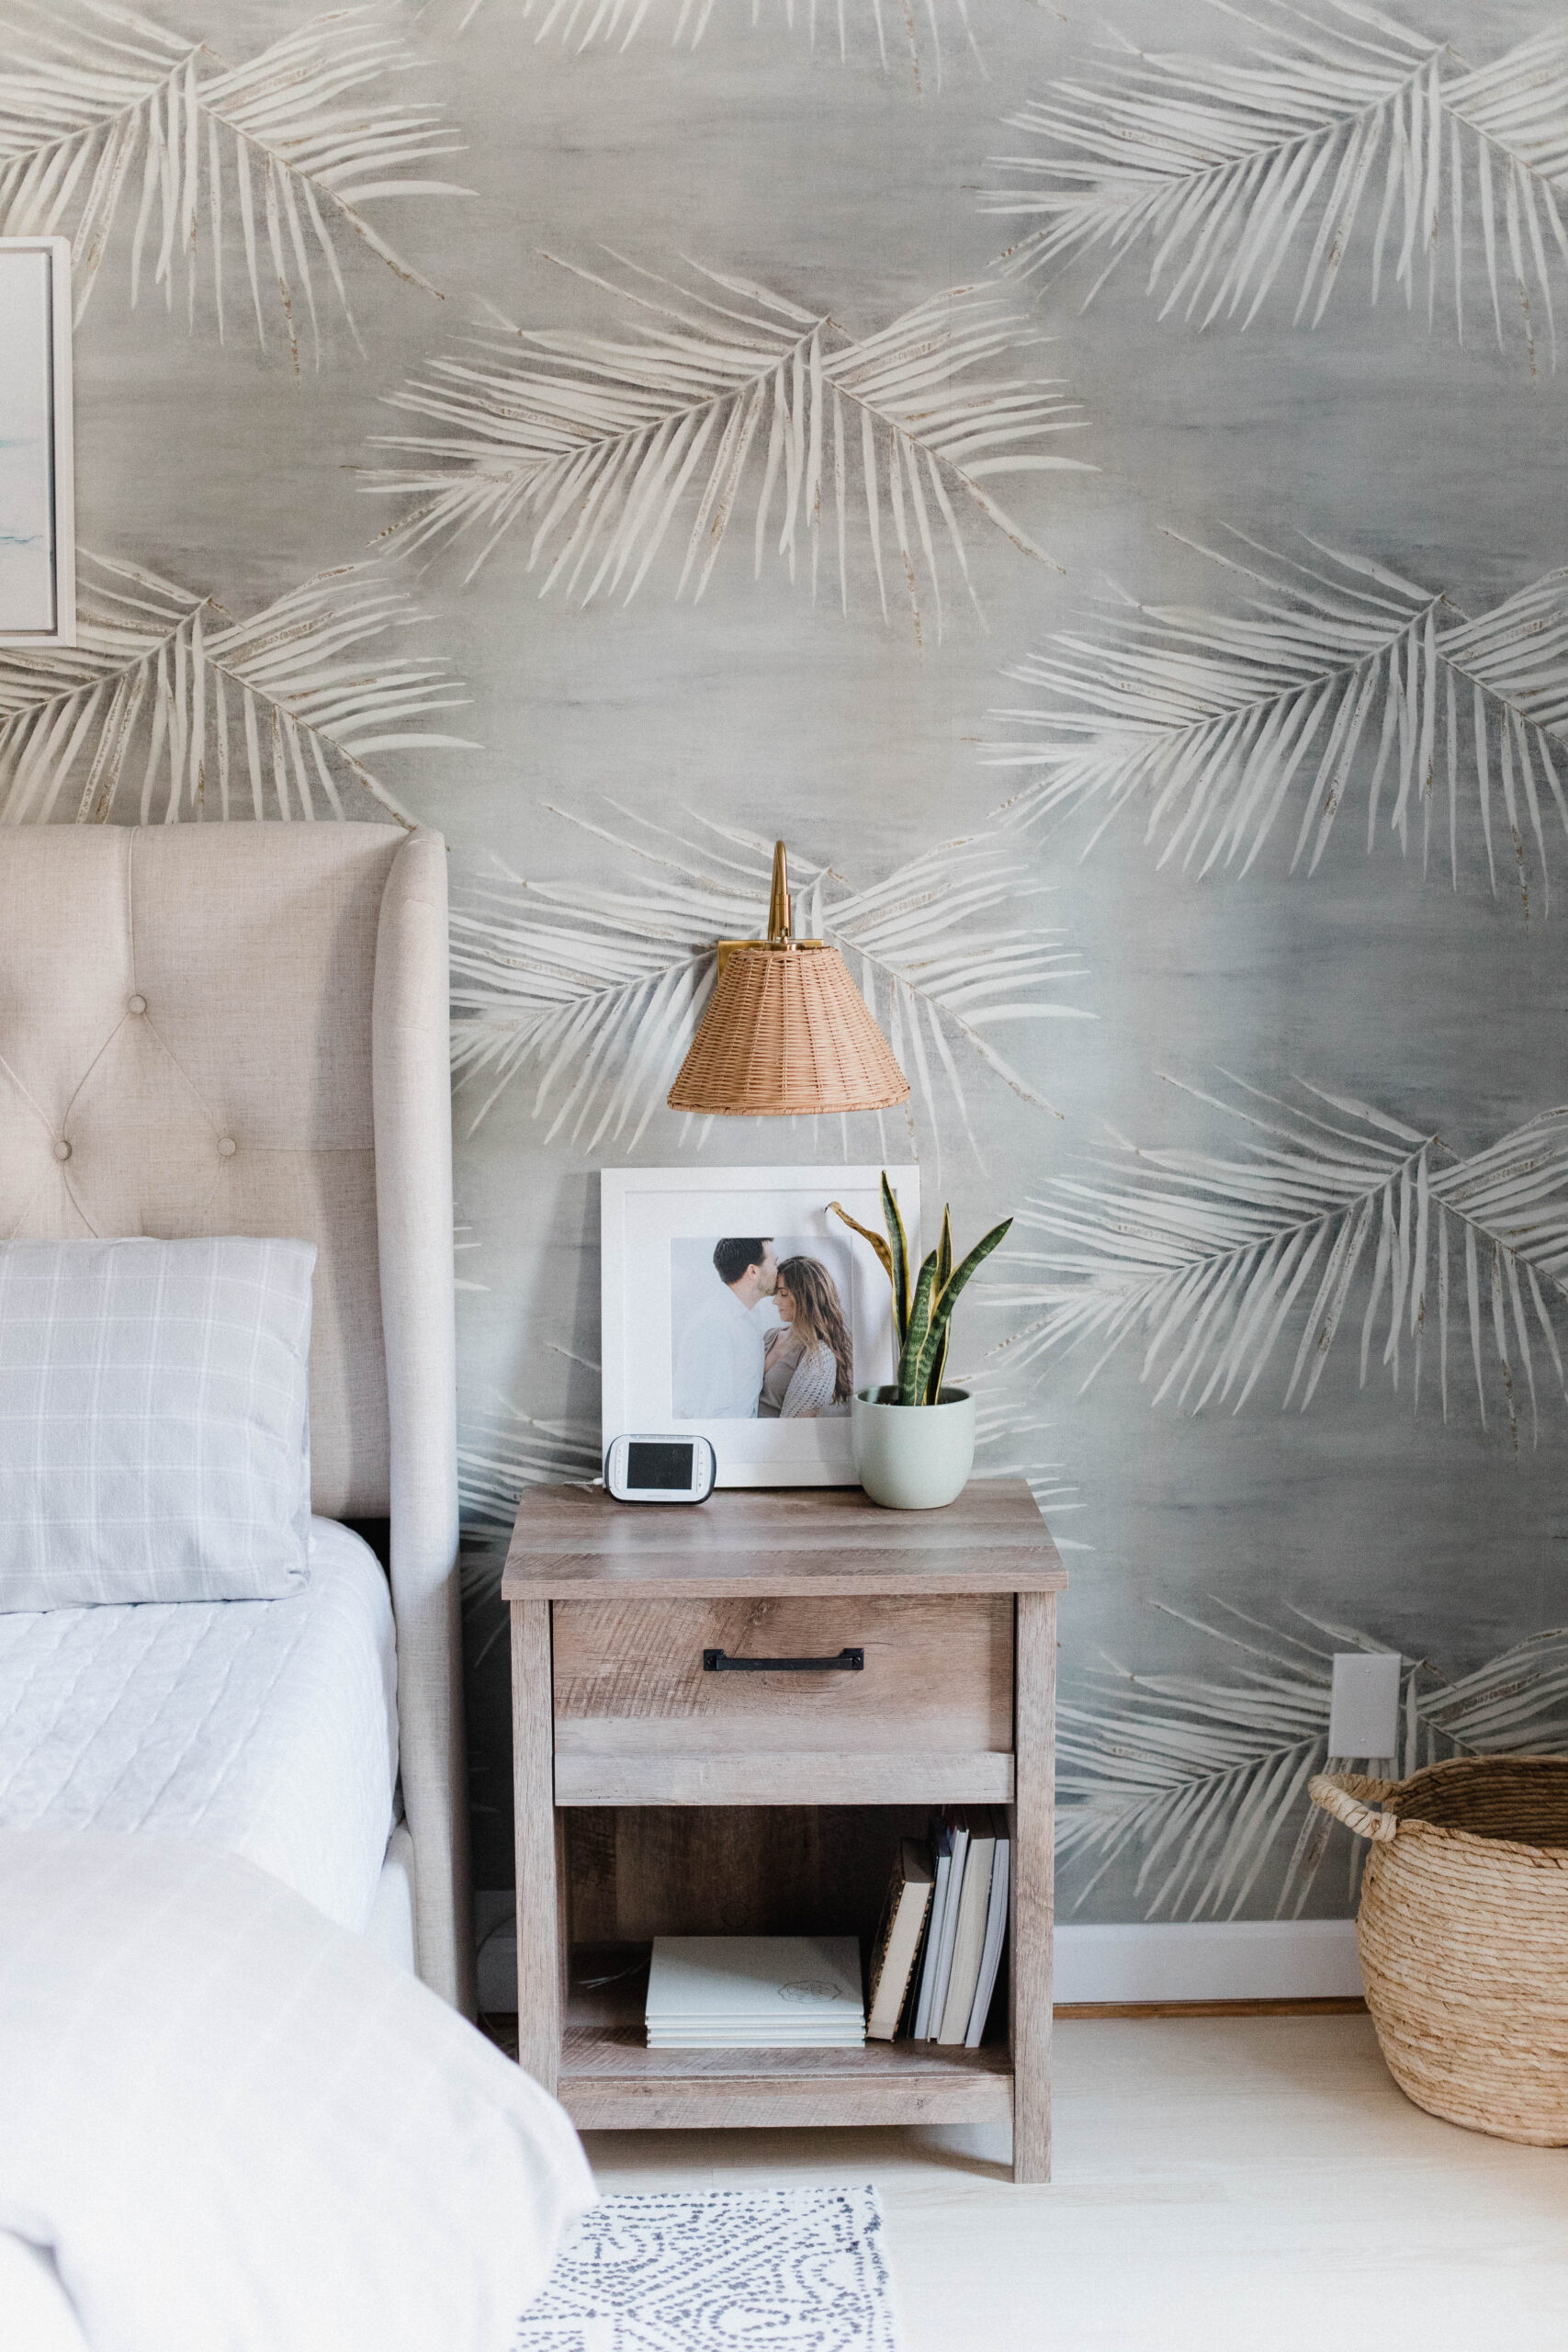
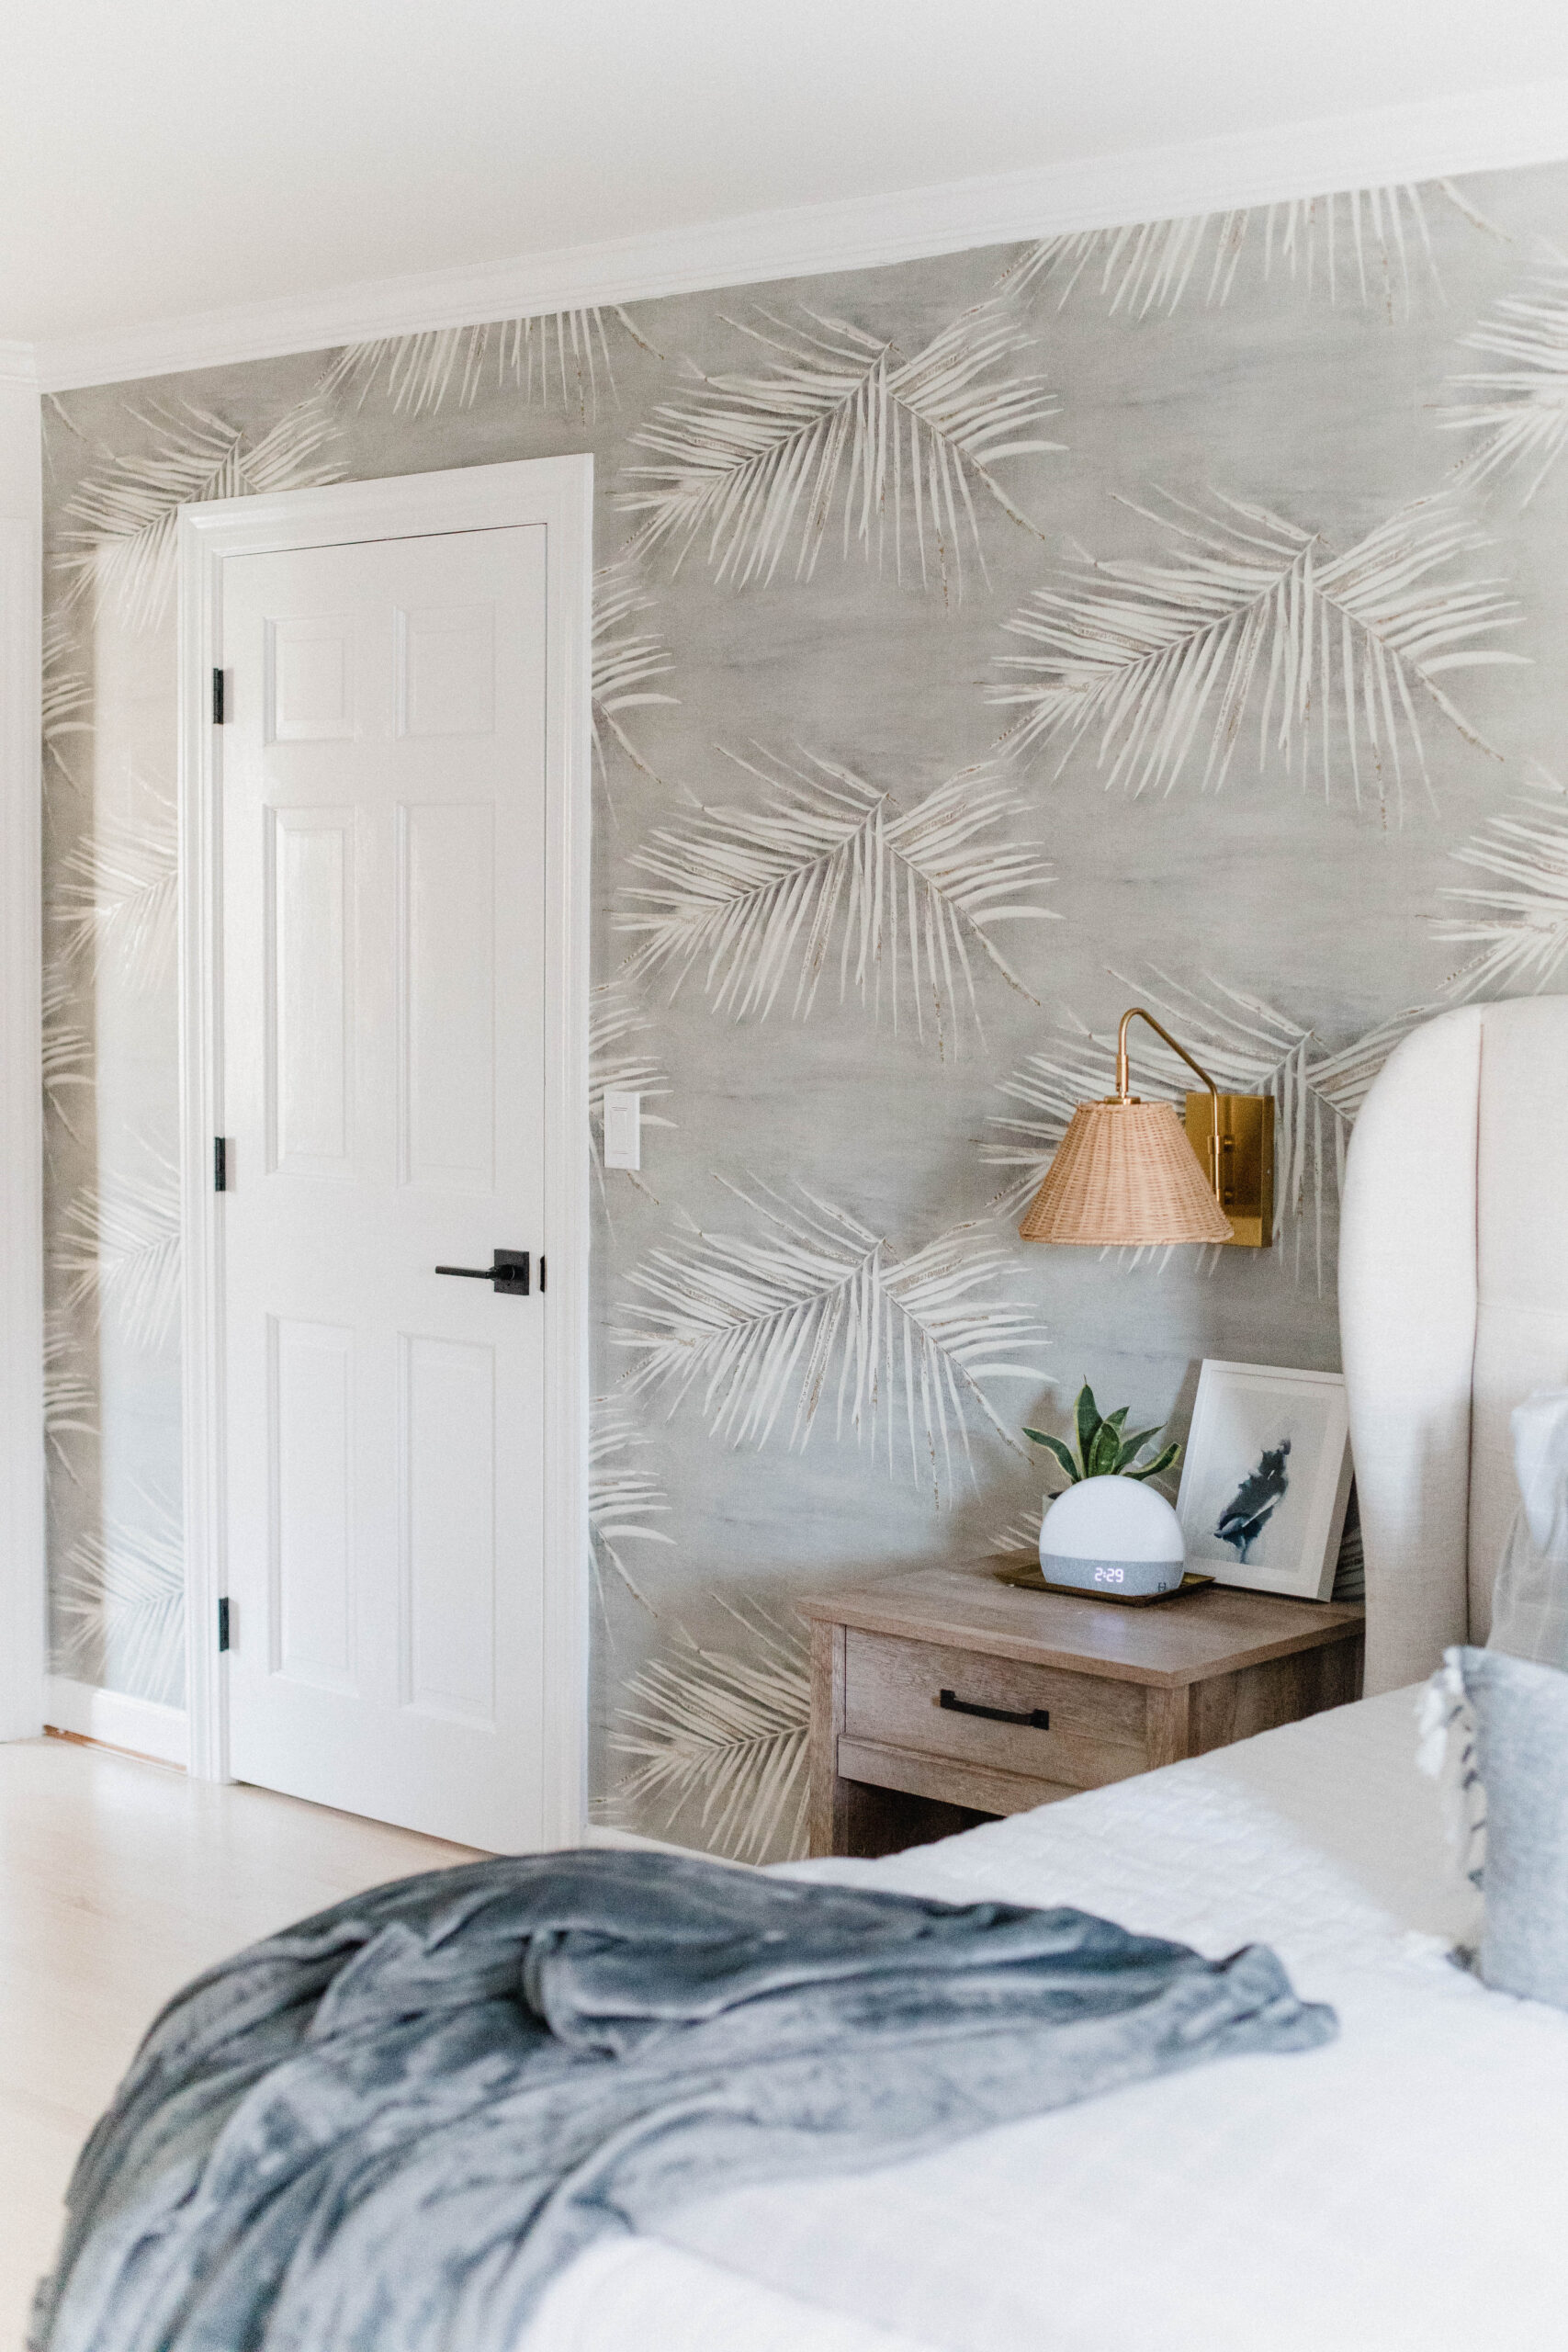
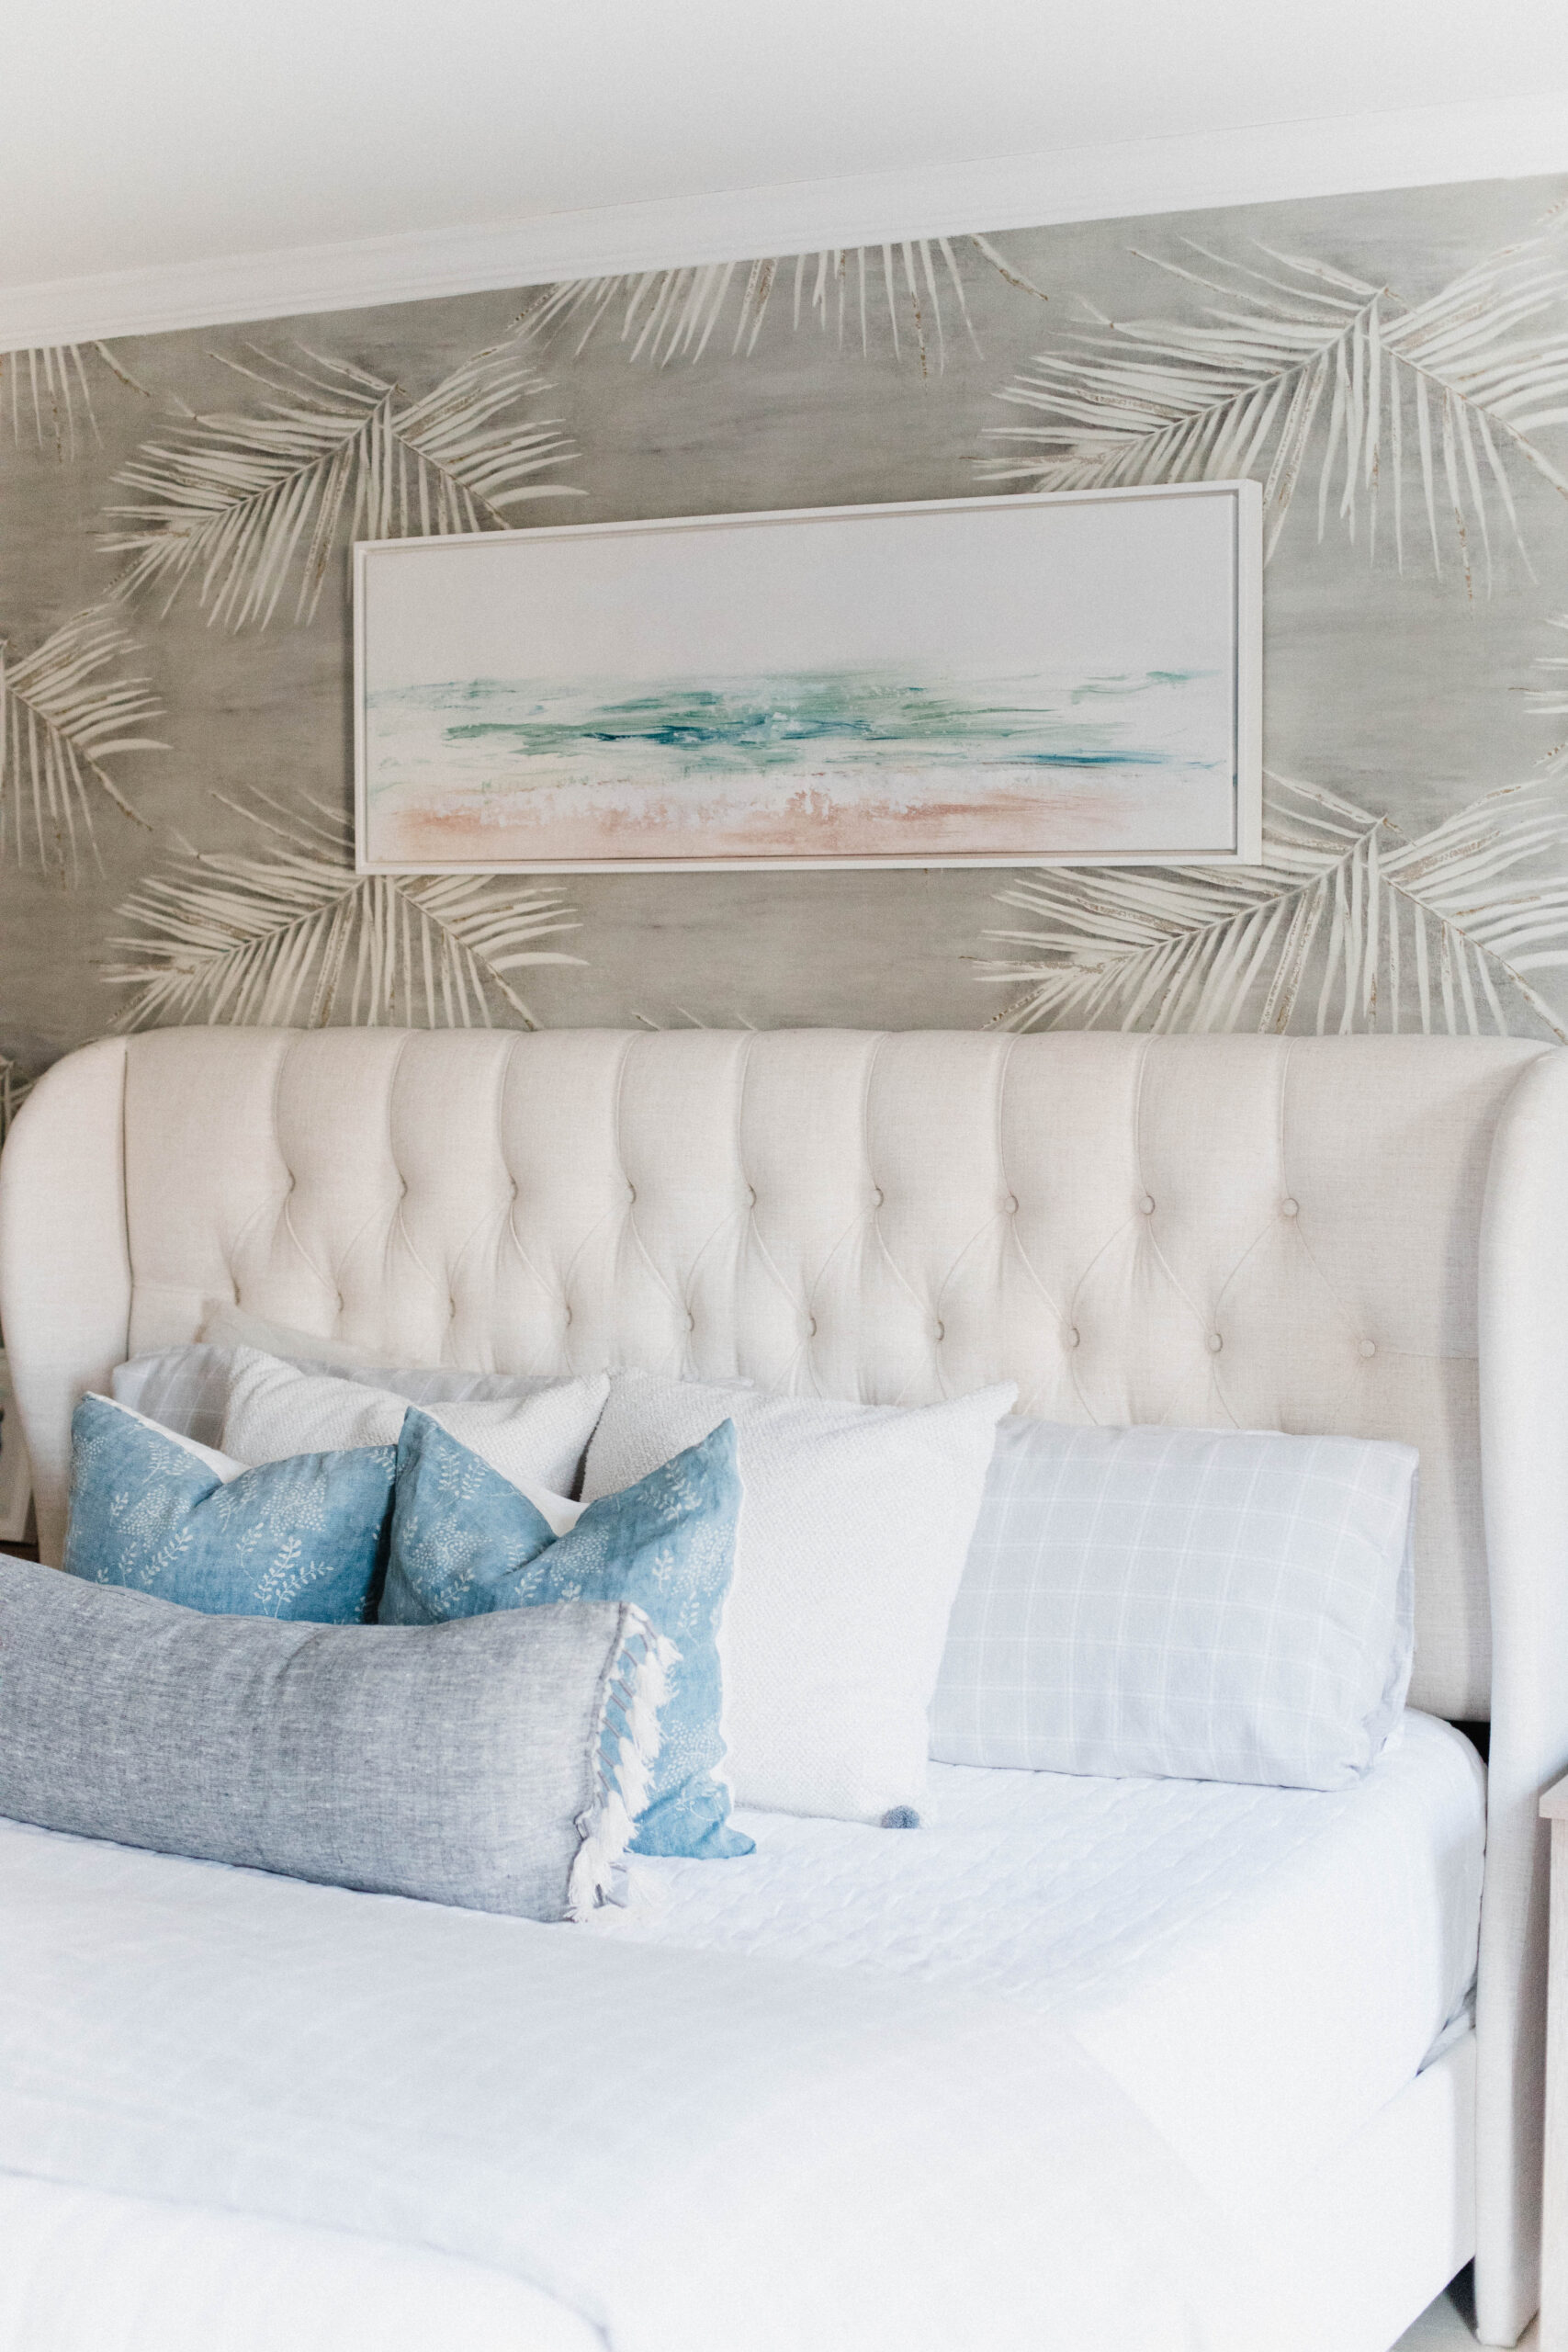
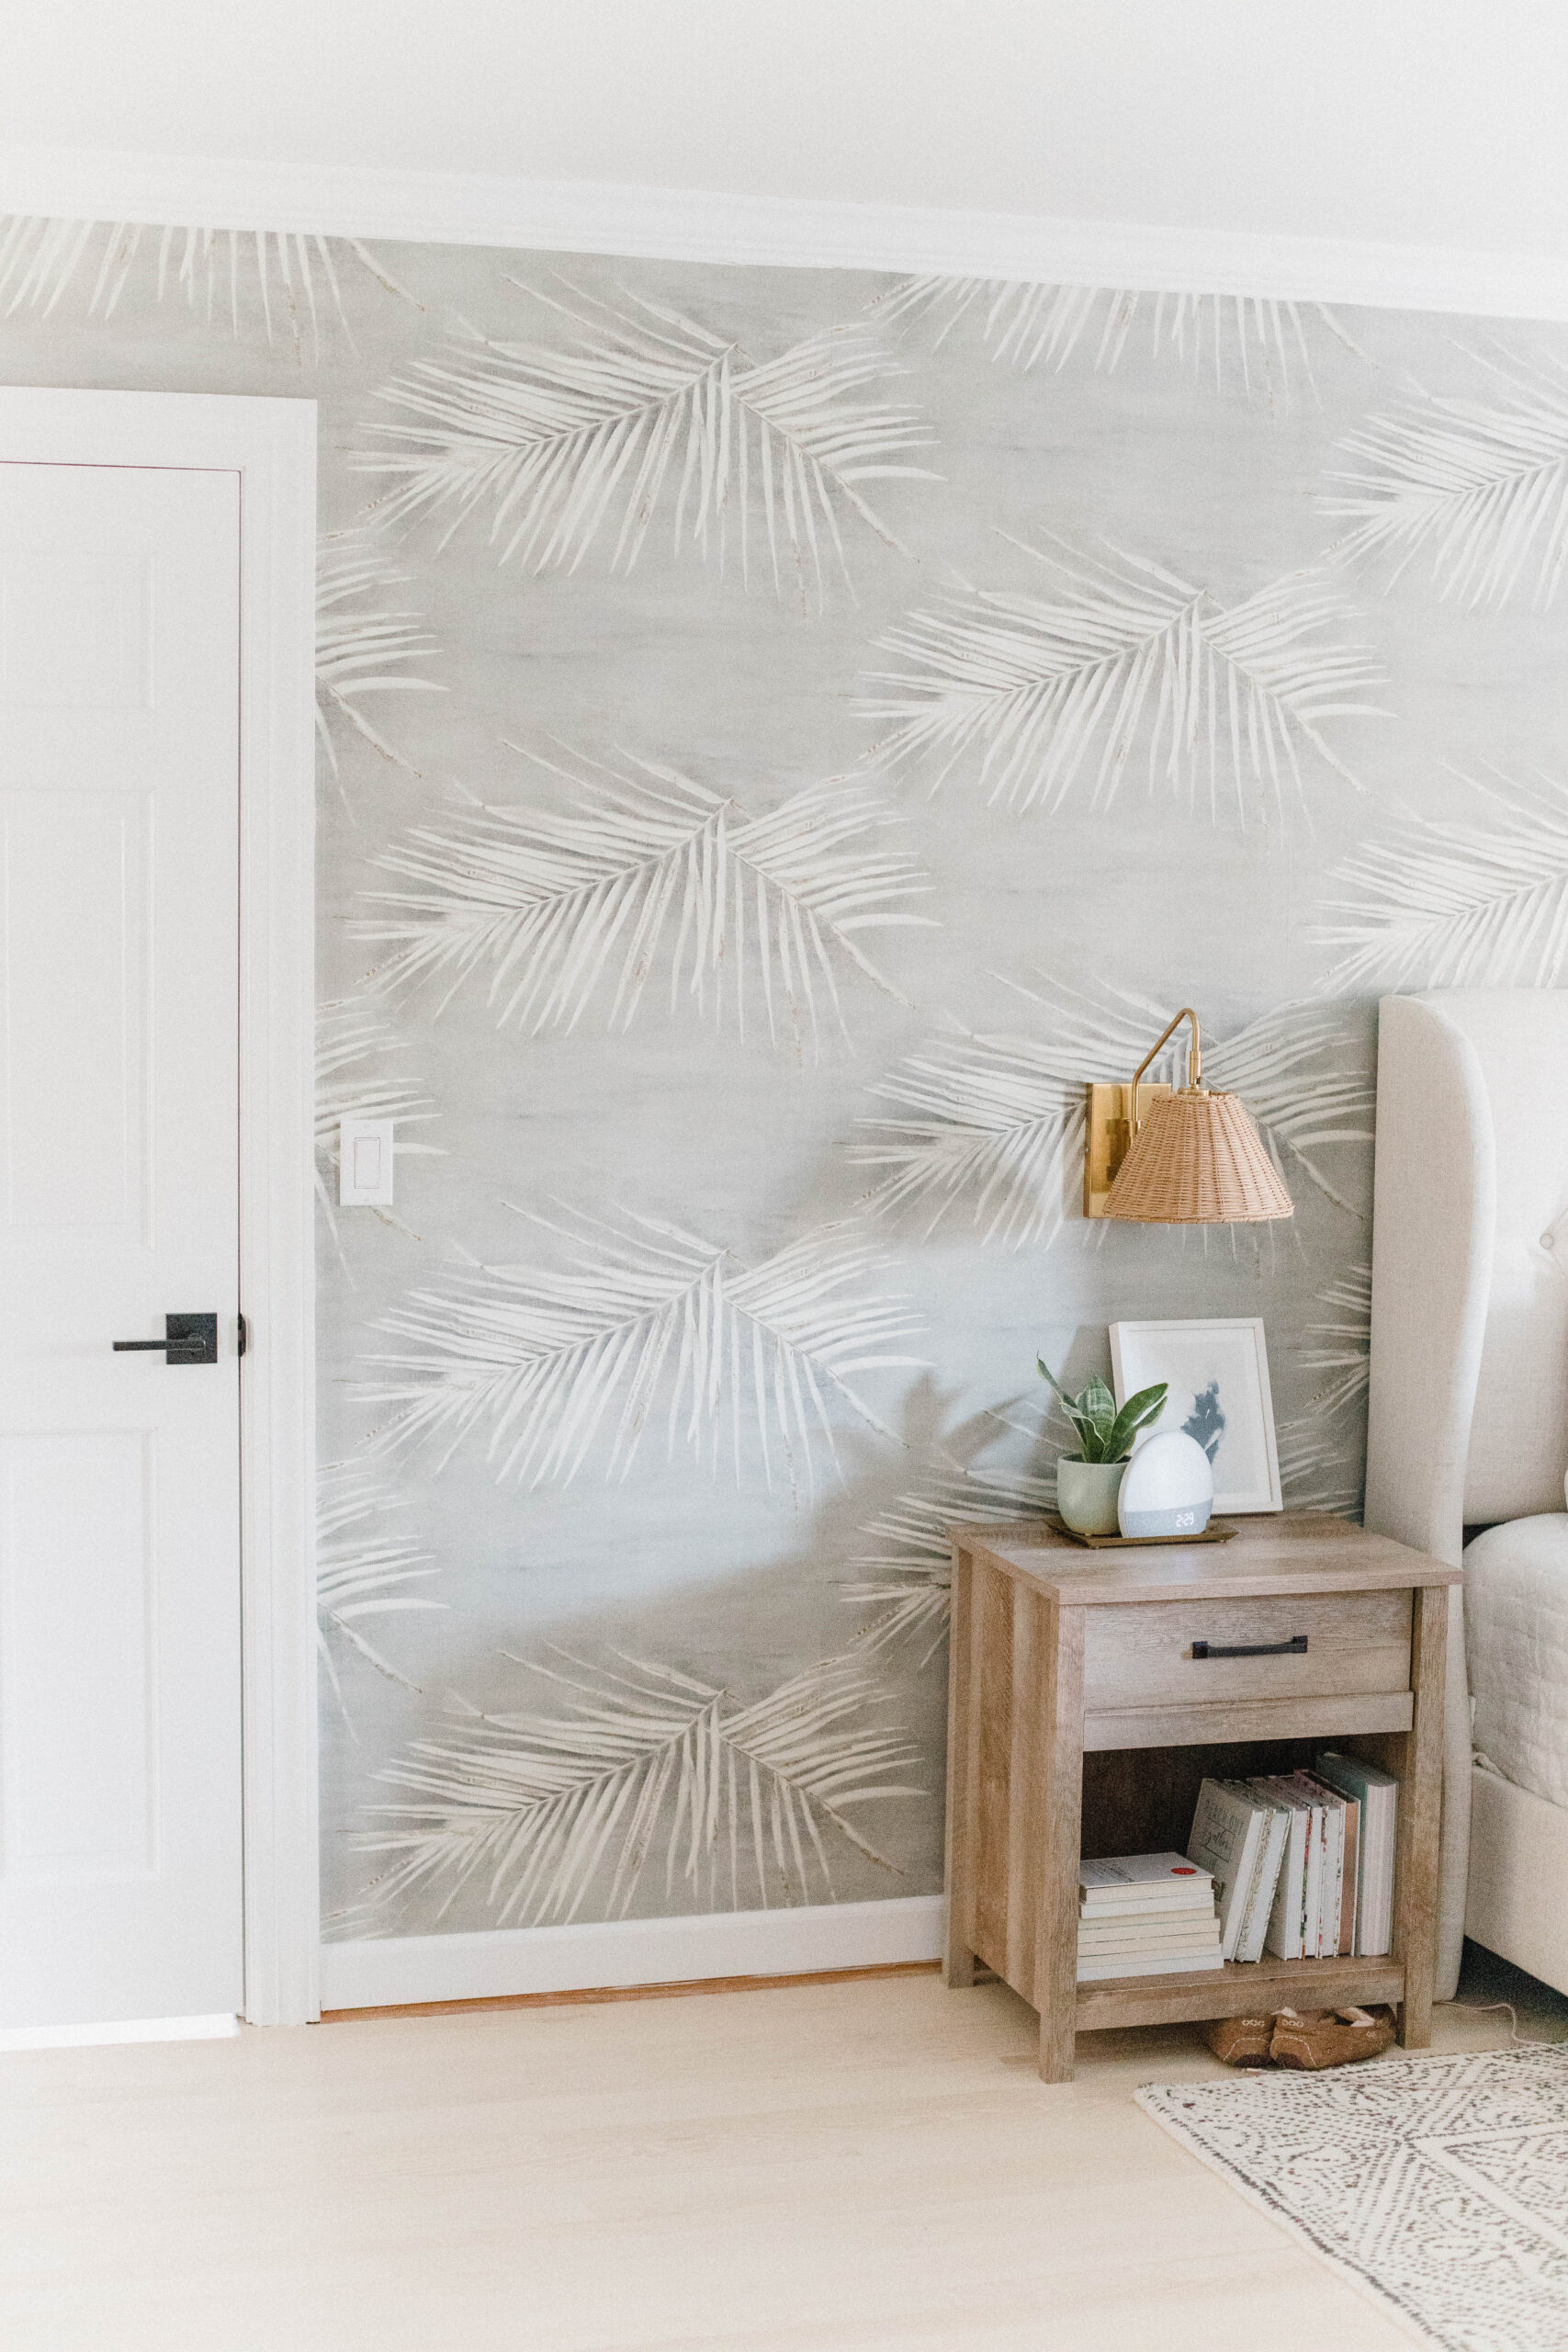
And here’s the after!
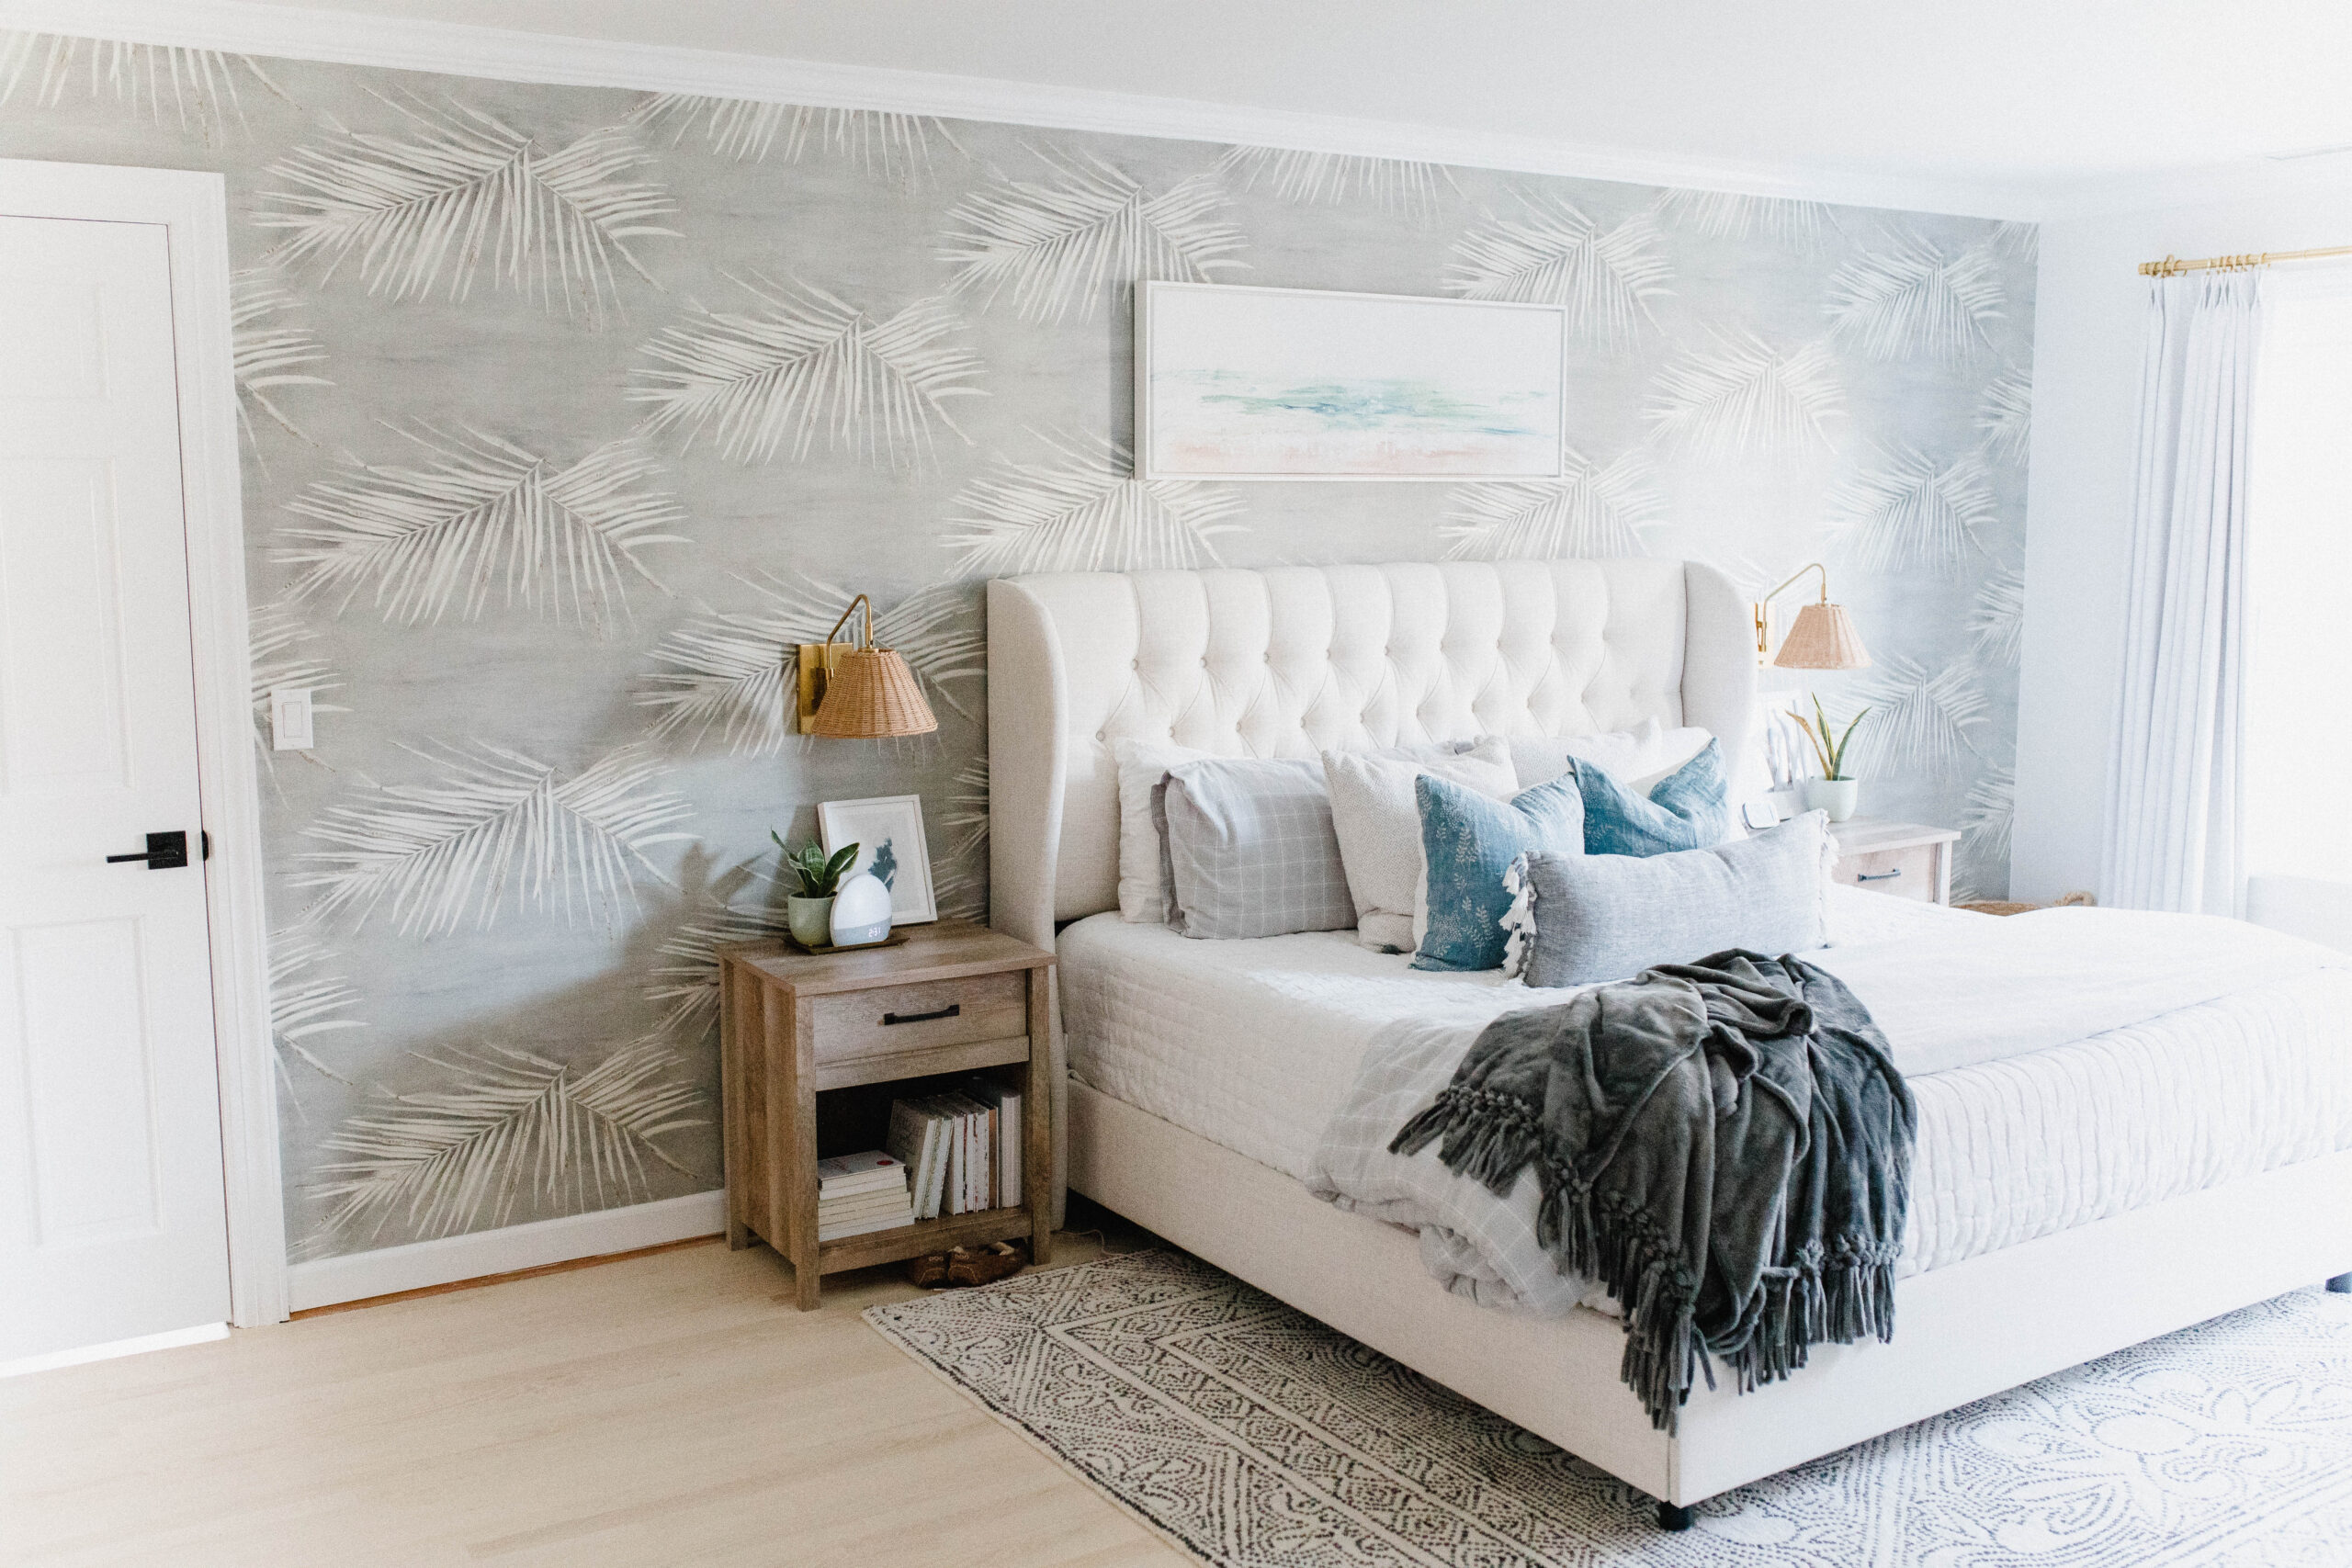
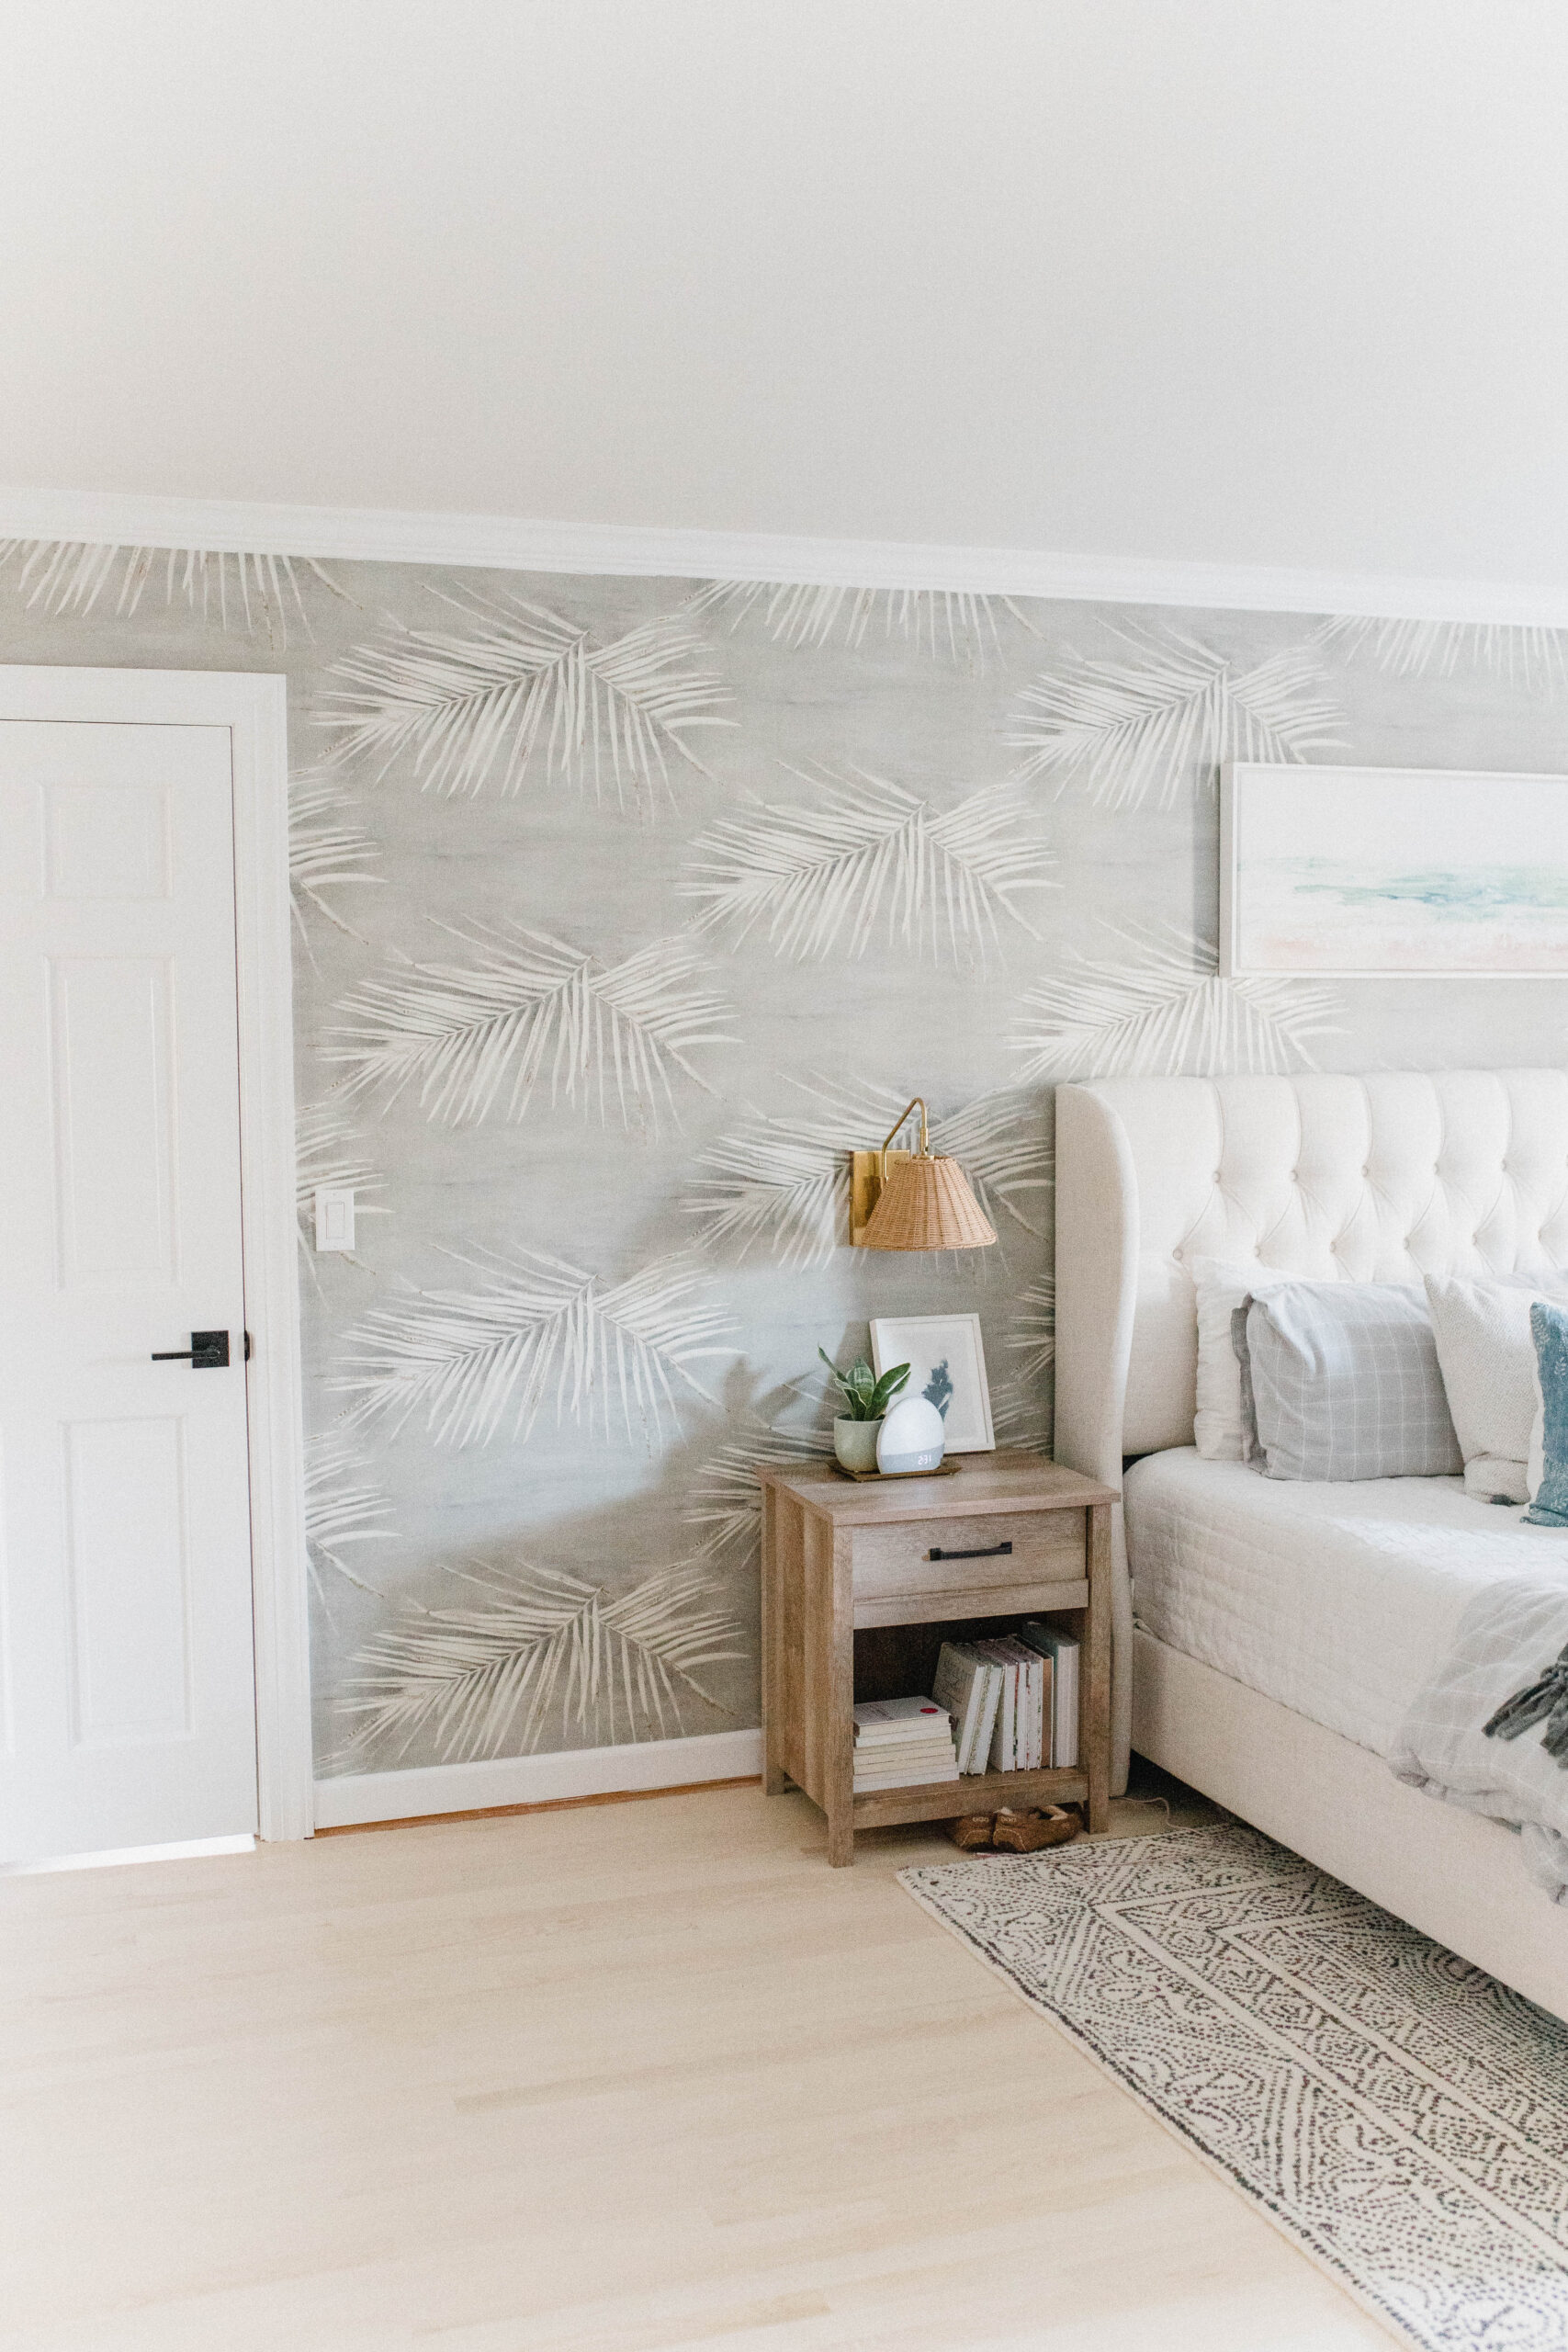
Isn’t the difference crazy?!?!?! I LOVE IT.
The Process
The process is actually quite simple! I found THIS VIDEO to be incredibly helpful and gave me quite a bit of confidence, haha. Actually, that video will explain it better than I can state directions, so definitely check that out! But really, it was super easy! I rolled on the adhesive like I would paint – a generous amount, because it’s easier to move the wallpaper around! Then it was just a matter of matching up the print at the seams, smoothing out the paper, and trimming the wallpaper at the ceiling and floor boards. Having the right tools here is KEY. The straight edge tool helps to make a smooth cut. I also really liked using the seam roller to roll right at the seams – I feel like it makes them nearly invisible. I have a highlight saved to my Instagram if you want to see the process in full.

What I Learned
Welp, I learned I’m not perfect and that’s okay, HAHA. I have some edges near the ceiling that didn’t cut the best, but this was before I found my groove with the entire process. It’s totally fine though because the only people actually seeing it are me and my husband. I don’t need it to be perfect! Progress is better than perfection, and it’s better than it was before. Also, I would’ve started at a different spot if I was to do this wall again – I’d start to the right of the door. OH! And I would order ONE ADDITIONAL ROLL to what the measurements say you’ll need. I ended up needing another roll even though I ordered more than enough according to their instructions. Luckily it came in pretty quickly. Overall, I’m so insanely happy with how it looks!!!! It adds SUCH a huge impact and makes me smile every time I walk in the room!
This process was MUCH EASIER than peel and stick and even pre-pasted wallpaper, and I would absolutely do it again! (Peel and stick can be hard to move around once it’s on the wall) I hope this helps give you the confidence to try it, too! 🙂


Leave a Comment