[…] jumbo braids that will help you get the hair out the way while having the time of your life, or tight French braid that turn into a spiral bun on the top of your […]
Simple French Braid Tutorial March 11, 2015
Disclosure: This simple french braid tutorial post is in collaboration with Lou & Grey. All thoughts, opinions, and tutorials are 100% my own.
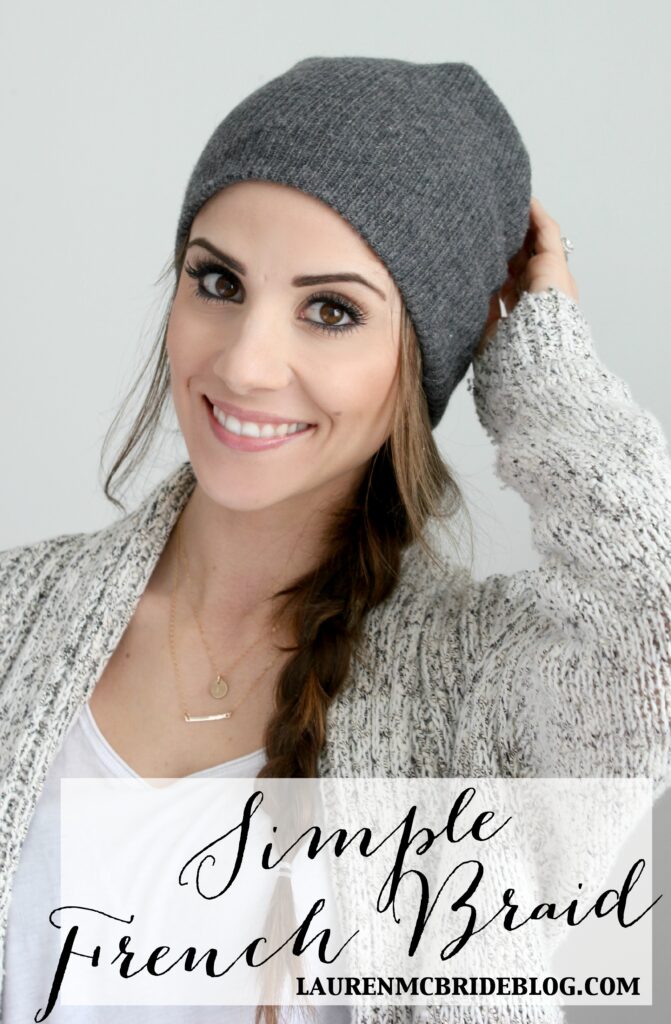
Confession: I definitely don’t wash my hair every day. I get super lazy and don’t feel like extending my shower, LOL. It’s also better for your hair! So on days when I just don’t feel like busting out my curling wand, I love utilizing beanies and simple techniques to create an easy, casual look. Like this simple french braid tutorial!
Simple French Braid Tutorial
The look is a basic french braid, pulled to one side, loosened for a slept-in look, and topped with my favorite Lou & Grey beanie. I know French braids can be challenging for some, but the beauty in this one is it does NOT have to be perfect! Enjoy!
1. Separate a small section of hair at the top of your head and divide into 3 pieces. Begin to braid the 3 sections, crossing the right over middle and then left over middle like a basic braid.
2. Gather a slightly larger section of hair and add it to the right strand, and continue crossing it over the middle. Do the same for the left strand.
3. & 4. Continue doing this, gathering a larger section of hair, adding it to the strand and then crossing it over the middle.
5. Continue adding sections until you run out of hair. This will be near the base of your neck.
6. With no hair left to add, continue with a basic braid until you reach the end of your hair.
7. Tie a clear elastic near the end of the braid.
8. Using your fingers, slowly pull on the braid to loosen it. It’s okay if pieces fall out, that’s the point! 😉
9. & 10. Also loosen the top of the french braid down through the bottom where it becomes a basic braid. I gently ran my fingers through the top part of my hair so it looked more slept-in than tight.
11. Pull some wispy sections of hair out around your face for a soft touch.
12. Top with your favorite beanie, and you’re good to go!
Remember, the point of this braid is to look slept-in and not perfect. So you can’t mess it up! That’s my kind of hair 😉
Thank you Lou & Grey for providing me with this great beanie!


dang, you made it look super easy, so I tried it right then and there and heck, my mind gets confused with the right over the middle 😉 Never have been able to get a decent french braid but will keep trying with your way … fingers crossed! Thanks for sharing over at The Makers!
haha just keep trying!!!! It’s a little tricky but once you get it, you’re golden!
Hi Lauren, GREAT photos. Found you on a blog party & pinned you on Pinterest. I have a link party too – come & share anytime! http://www.momresource.com/mom-blogs
Thank you Saira!!!!!! I’ll check it out 🙂
This looks incredible!Beautiful. Pinned and tweeted. We are so thrilled to have you at our party. Please stop by on Monday at 7, so we can see your amazing projects. Lou Lou Girls
French braids are the best!! It’s a great dirty hair trick, a little different from just a plain ponytail!
Thanks for linking up to Show & Share last week!