[…] source […]
Beauty // Half Up Side Braid Hair Tutorial October 25, 2016
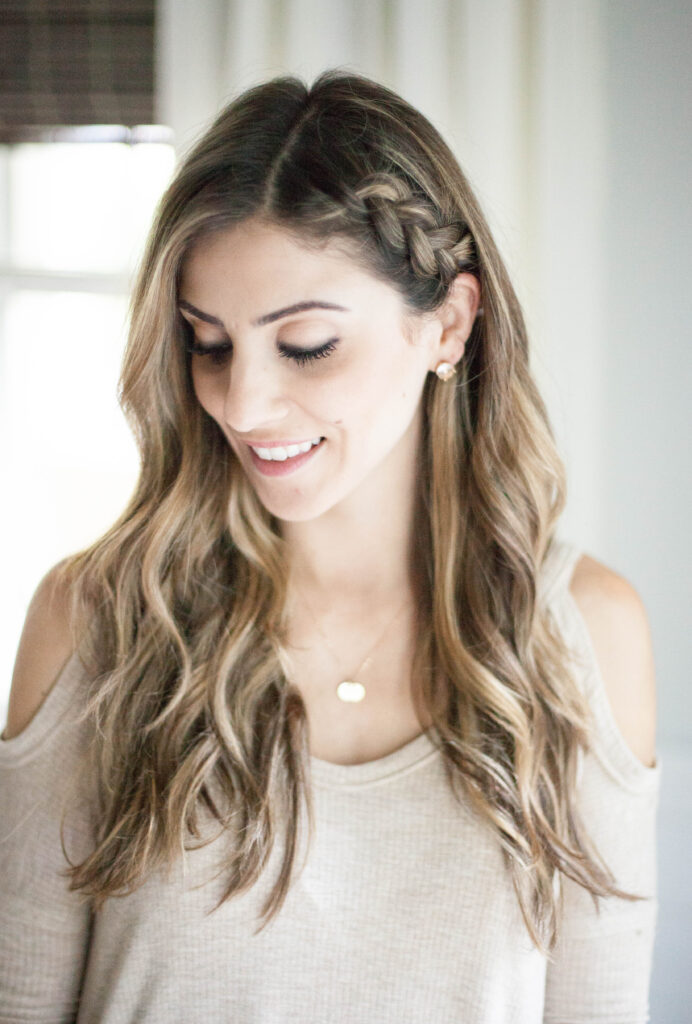
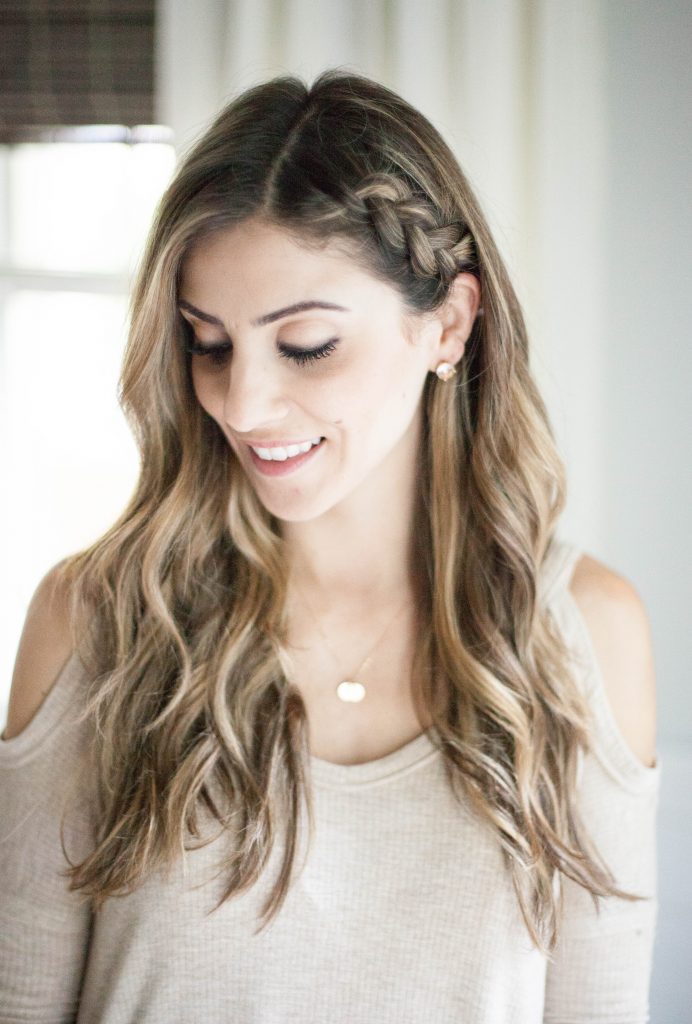
I was recently a bridesmaid in my best friend’s wedding and since I knew it would be cooler out that day, I wanted to keep my hair down and slightly pulled back. Also, I’ve learned my lesson asking for updos in previous weddings which I’ve ended up hating when I look back on photos. I always, ALWAYS, wear my hair down unless it’s like day 3 hair or I’m at the gym, so I wanted to keep it similar to what I usually do but with a slight twist. I’ve also been making an effort to be gentler with my hair since having Noelle, and I didn’t want to damage it with a ton of hair spray and bobby pins. My look for my friend’s wedding inspired this half side braid hair tutorial I’m sharing with you today!
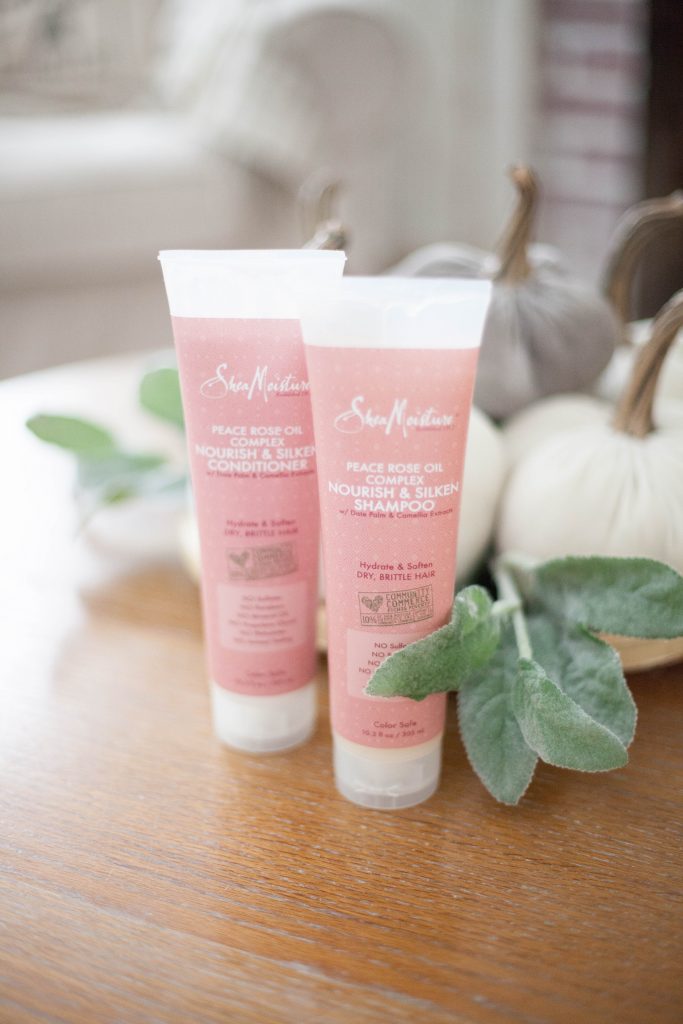
For this look, I picked up SheaMoisture Peace Rose Oil Complex Nourish & Silken Shampoo and Conditioner. I religiously use SheaMoisture’s shaving creams because I love how smooth they keep my legs and underarms, so I figured I would give their hair products a try too! My hair needs extra nourishment lately (it doesn’t help that we have well water, either), so this particular product seemed right. The Peace Rose Oil Complex Nourish & Silken variety restores lost moisture to dry and brittle hair, which mine is currently suffering from. SheaMoisture also offers Argan Oil & Almond Milk Smooth & Tame Shampoo and Conditioner, which is on my list for my next shopping trip to Target! In addition to this, SheaMoisture also has a Sea Kelp & Pearl Protein line to shield and soften color treated hair.
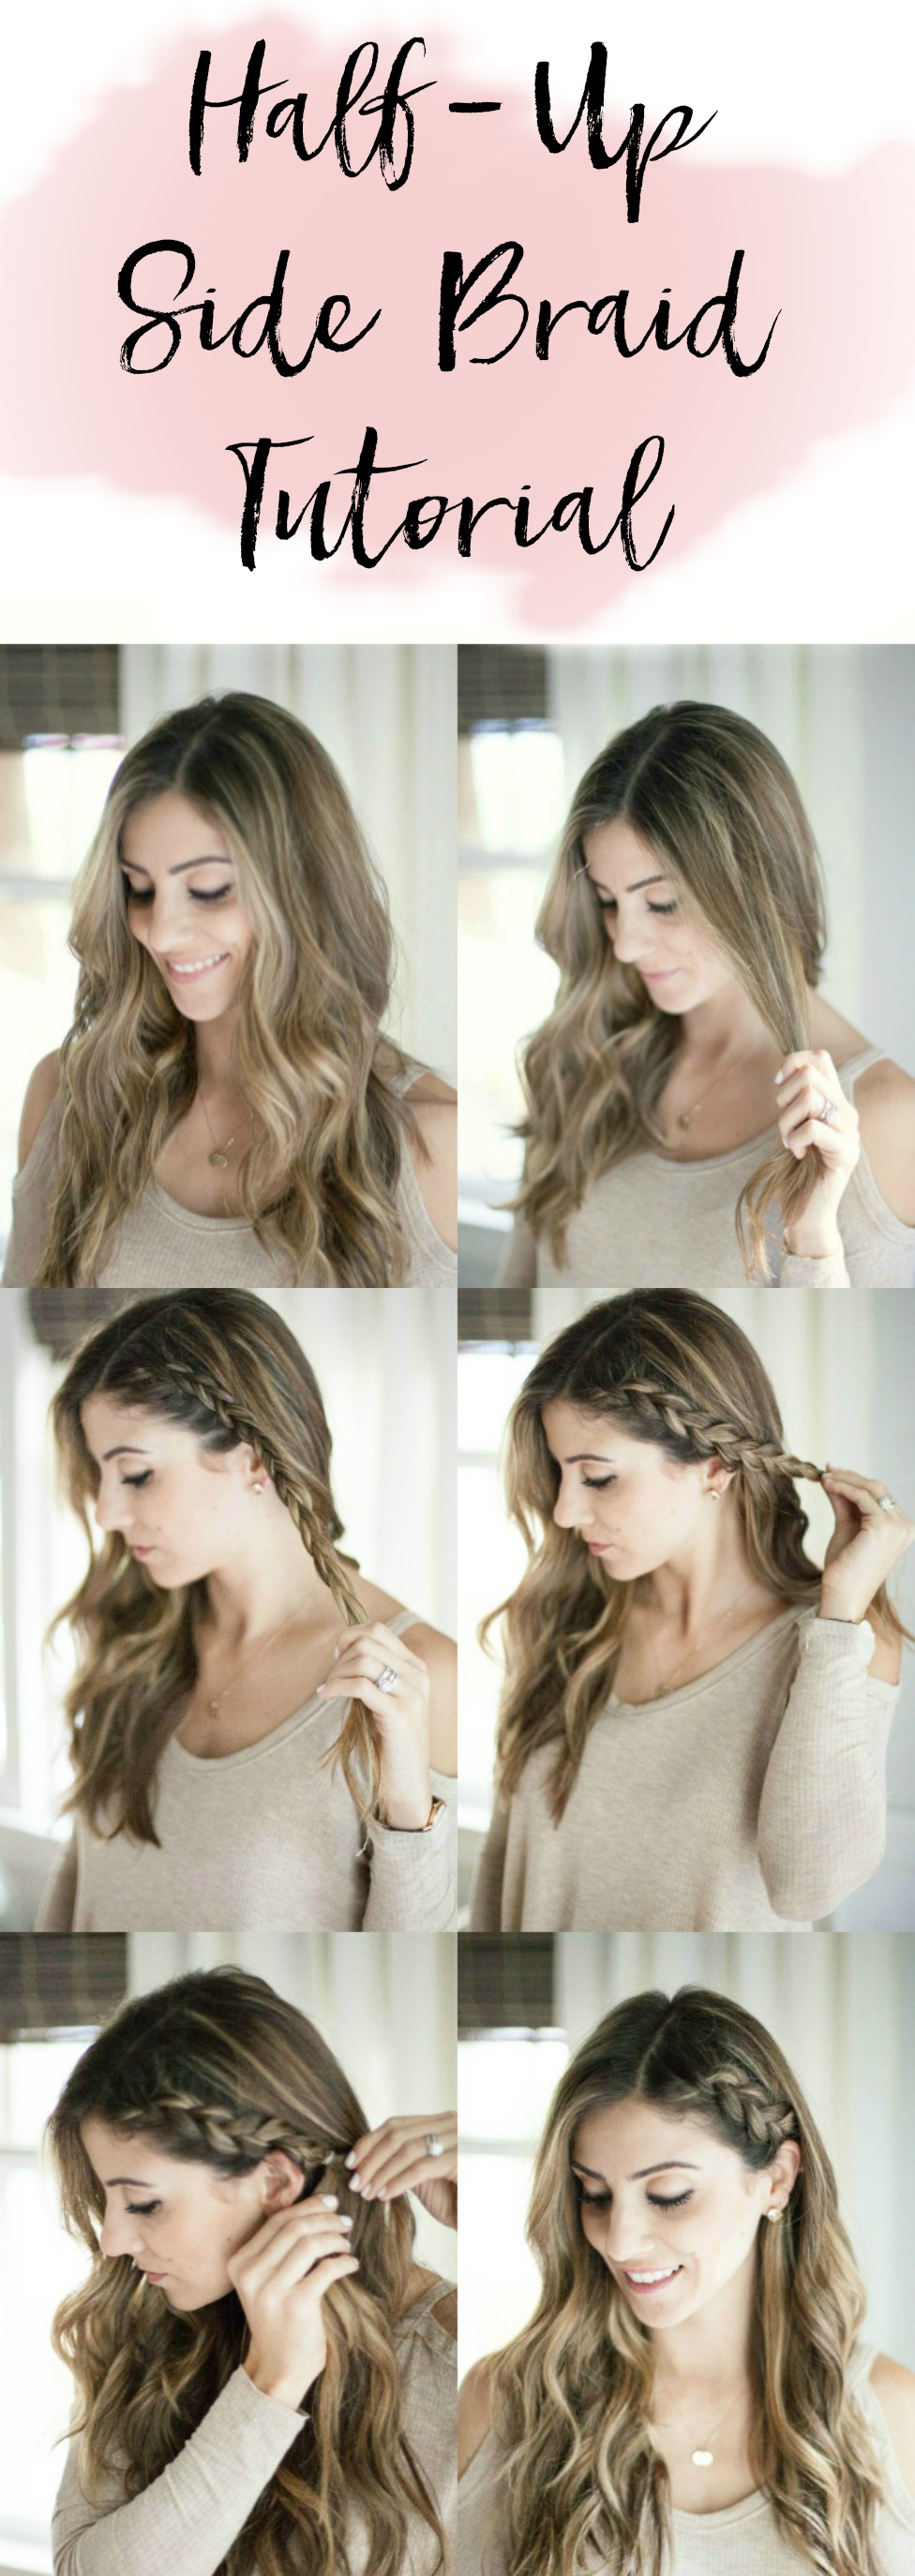
To start, I washed my hair the night before with SheaMoisture Peace Rose Oil Complex Nourish & Silken Shampoo and Conditioner. I always let my hair air dry becuse I find it gives a little extra texture to style with in the morning. My hair air dries pretty straight since having my kids, but still has a slight wave around my face. The next morning, my hair felt soft and silky but still had enough texture to it from air-drying. One of my biggest tips to add even more texture to get my hair to hold better is adding some dry shampoo. I like to spray some at the roots for a little bit of volume. I recommend a side part for this look, which is my usual. I curled my hair the way I normally do, using a simple curling wand and curling away from my face section by section.
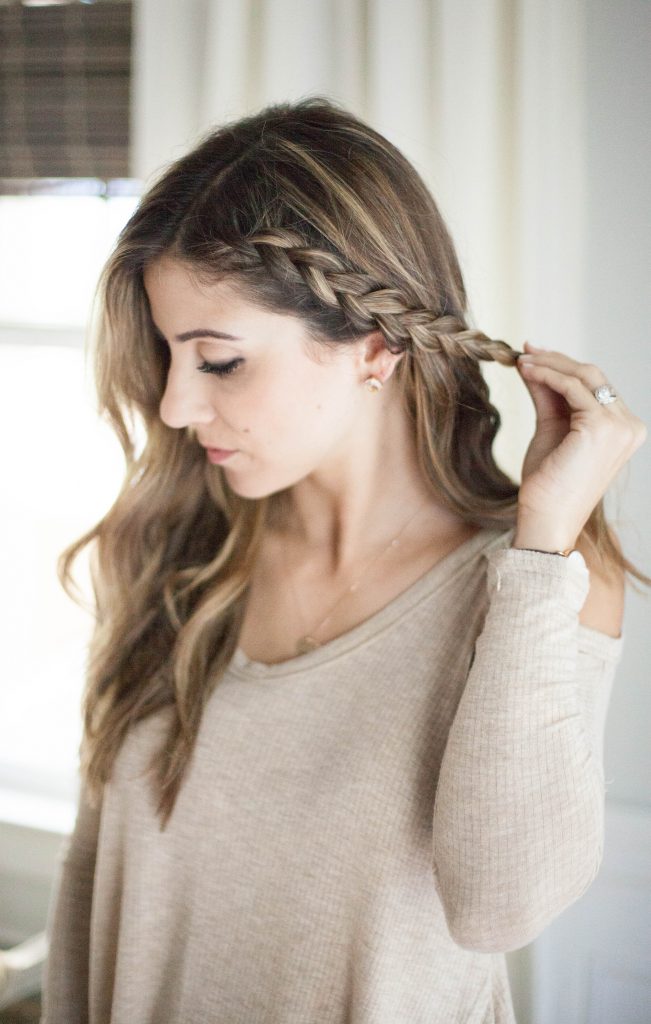
Taking the smaller side of my hair, I separated the front section and tied off the remainder in order to prepare for a braid. I then made a reverse French braid, pulling each section UNDER instead of over. I completed the French braid until I ran out of hair to add to the braid, and then finished with a regular braid.
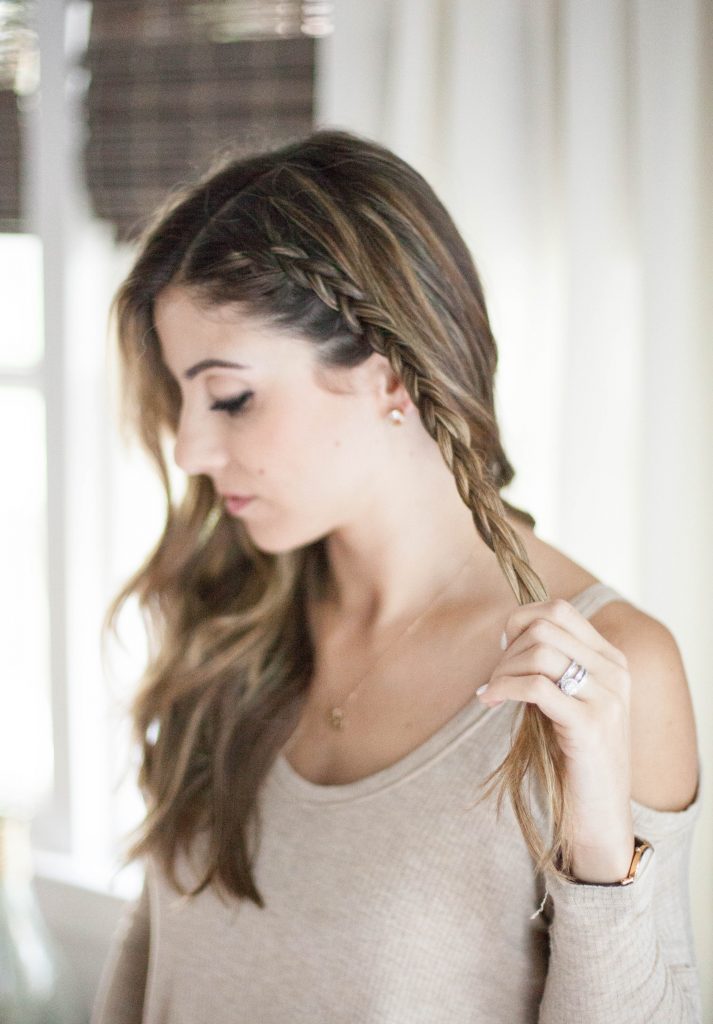
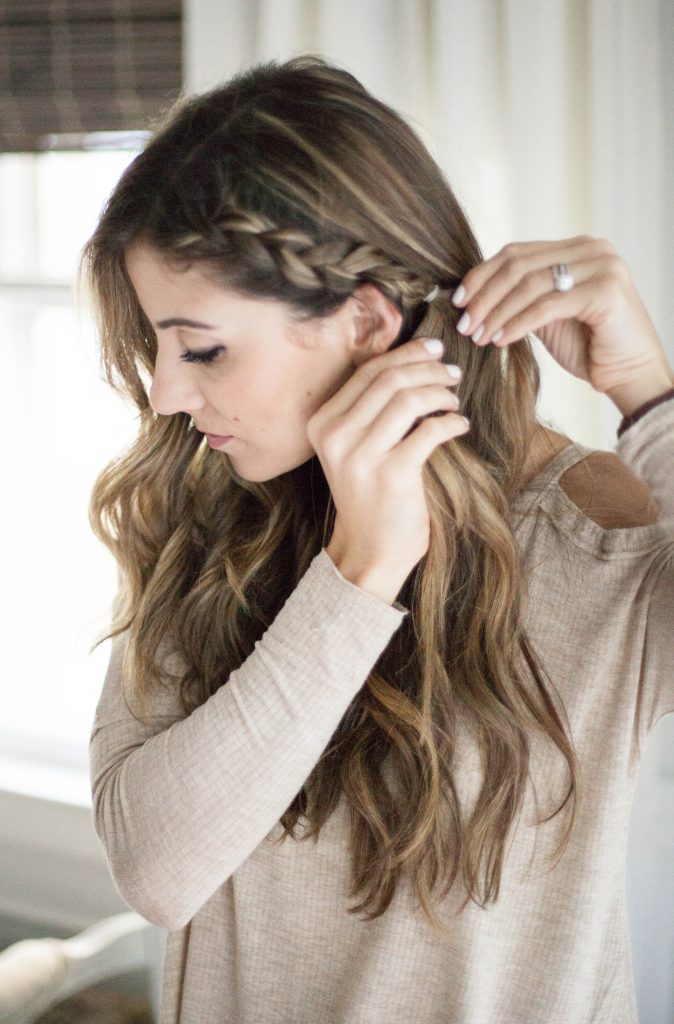
Holding the braid taut, I loosened each loop of the braid slightly to add a bit of volume and to make the braid a little more “slept-in.” I then tucked the braid behind my ear by securing it to a separate strand of hair underneath my head with a small clear hair tie.
It’s a simple, romantic look that’s perfect for day to day or a special night out!
Shea butter is the central ingredient to all SheaMoisture products, and they ethically source their shea butter from 13 women’s cooperatives in Northern Ghana as part of its purpose-driven Community Commerce business model. Under this model, SheaMoisture’s investments in these shea butter cooperatives help women entrepreneurs develop self-sustaining business! How awesome is that? I’m all for supporting brands that support others in whatever way that may be, so this is pretty amazing to me. I also love that SheaMoisture is made with natural and certified organic ingredients, and is apart of the ‘Made to Matter’ Target initiative.
Right now Ibotta is offering $2 back on your next SheaMoisture Hair Care Purchase at Target! You can find the offer right here!
#EveryBodyGetsLove @SheaMoisture
This is a sponsored conversation written by me on behalf of SheaMoisture . The opinions and text are all mine.




Your hair is GORGEOUS! I love, love, love it! Plus that top is absolutely perfect!
The Adored Life
Thank you!
I love your hair. Great tutorial 🙂