Home // Simple DIY Rustic Shelving March 31, 2017
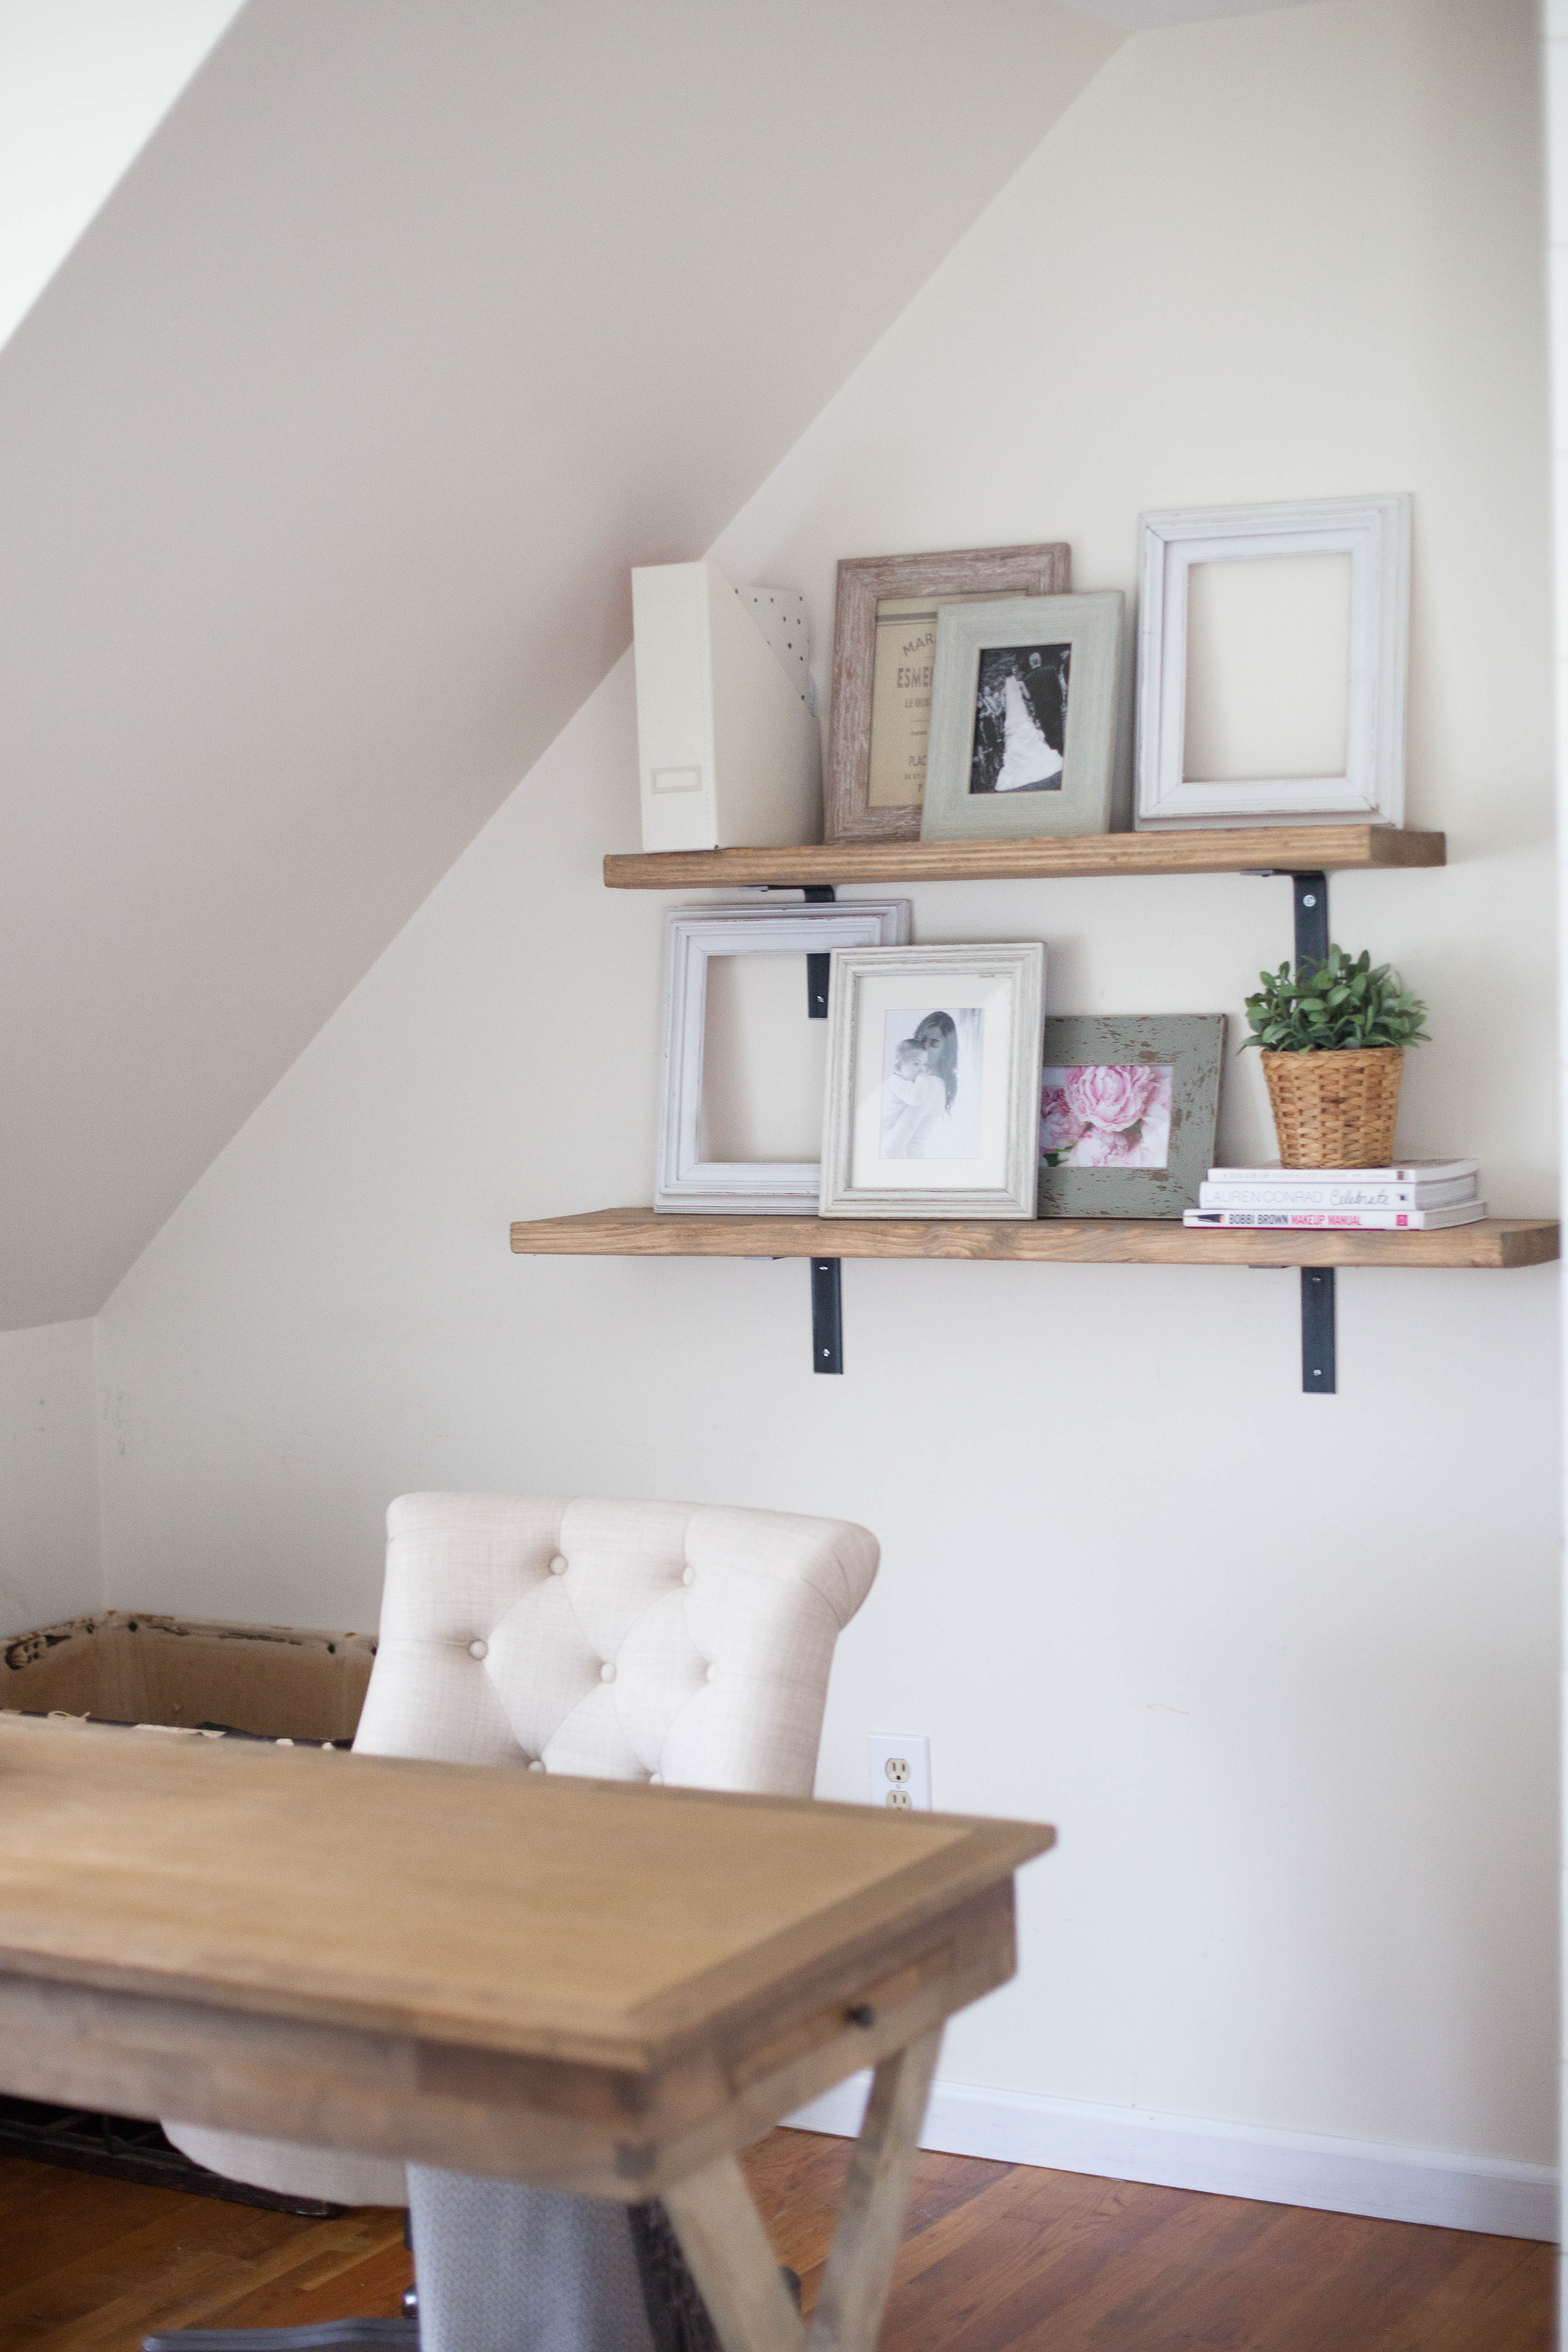
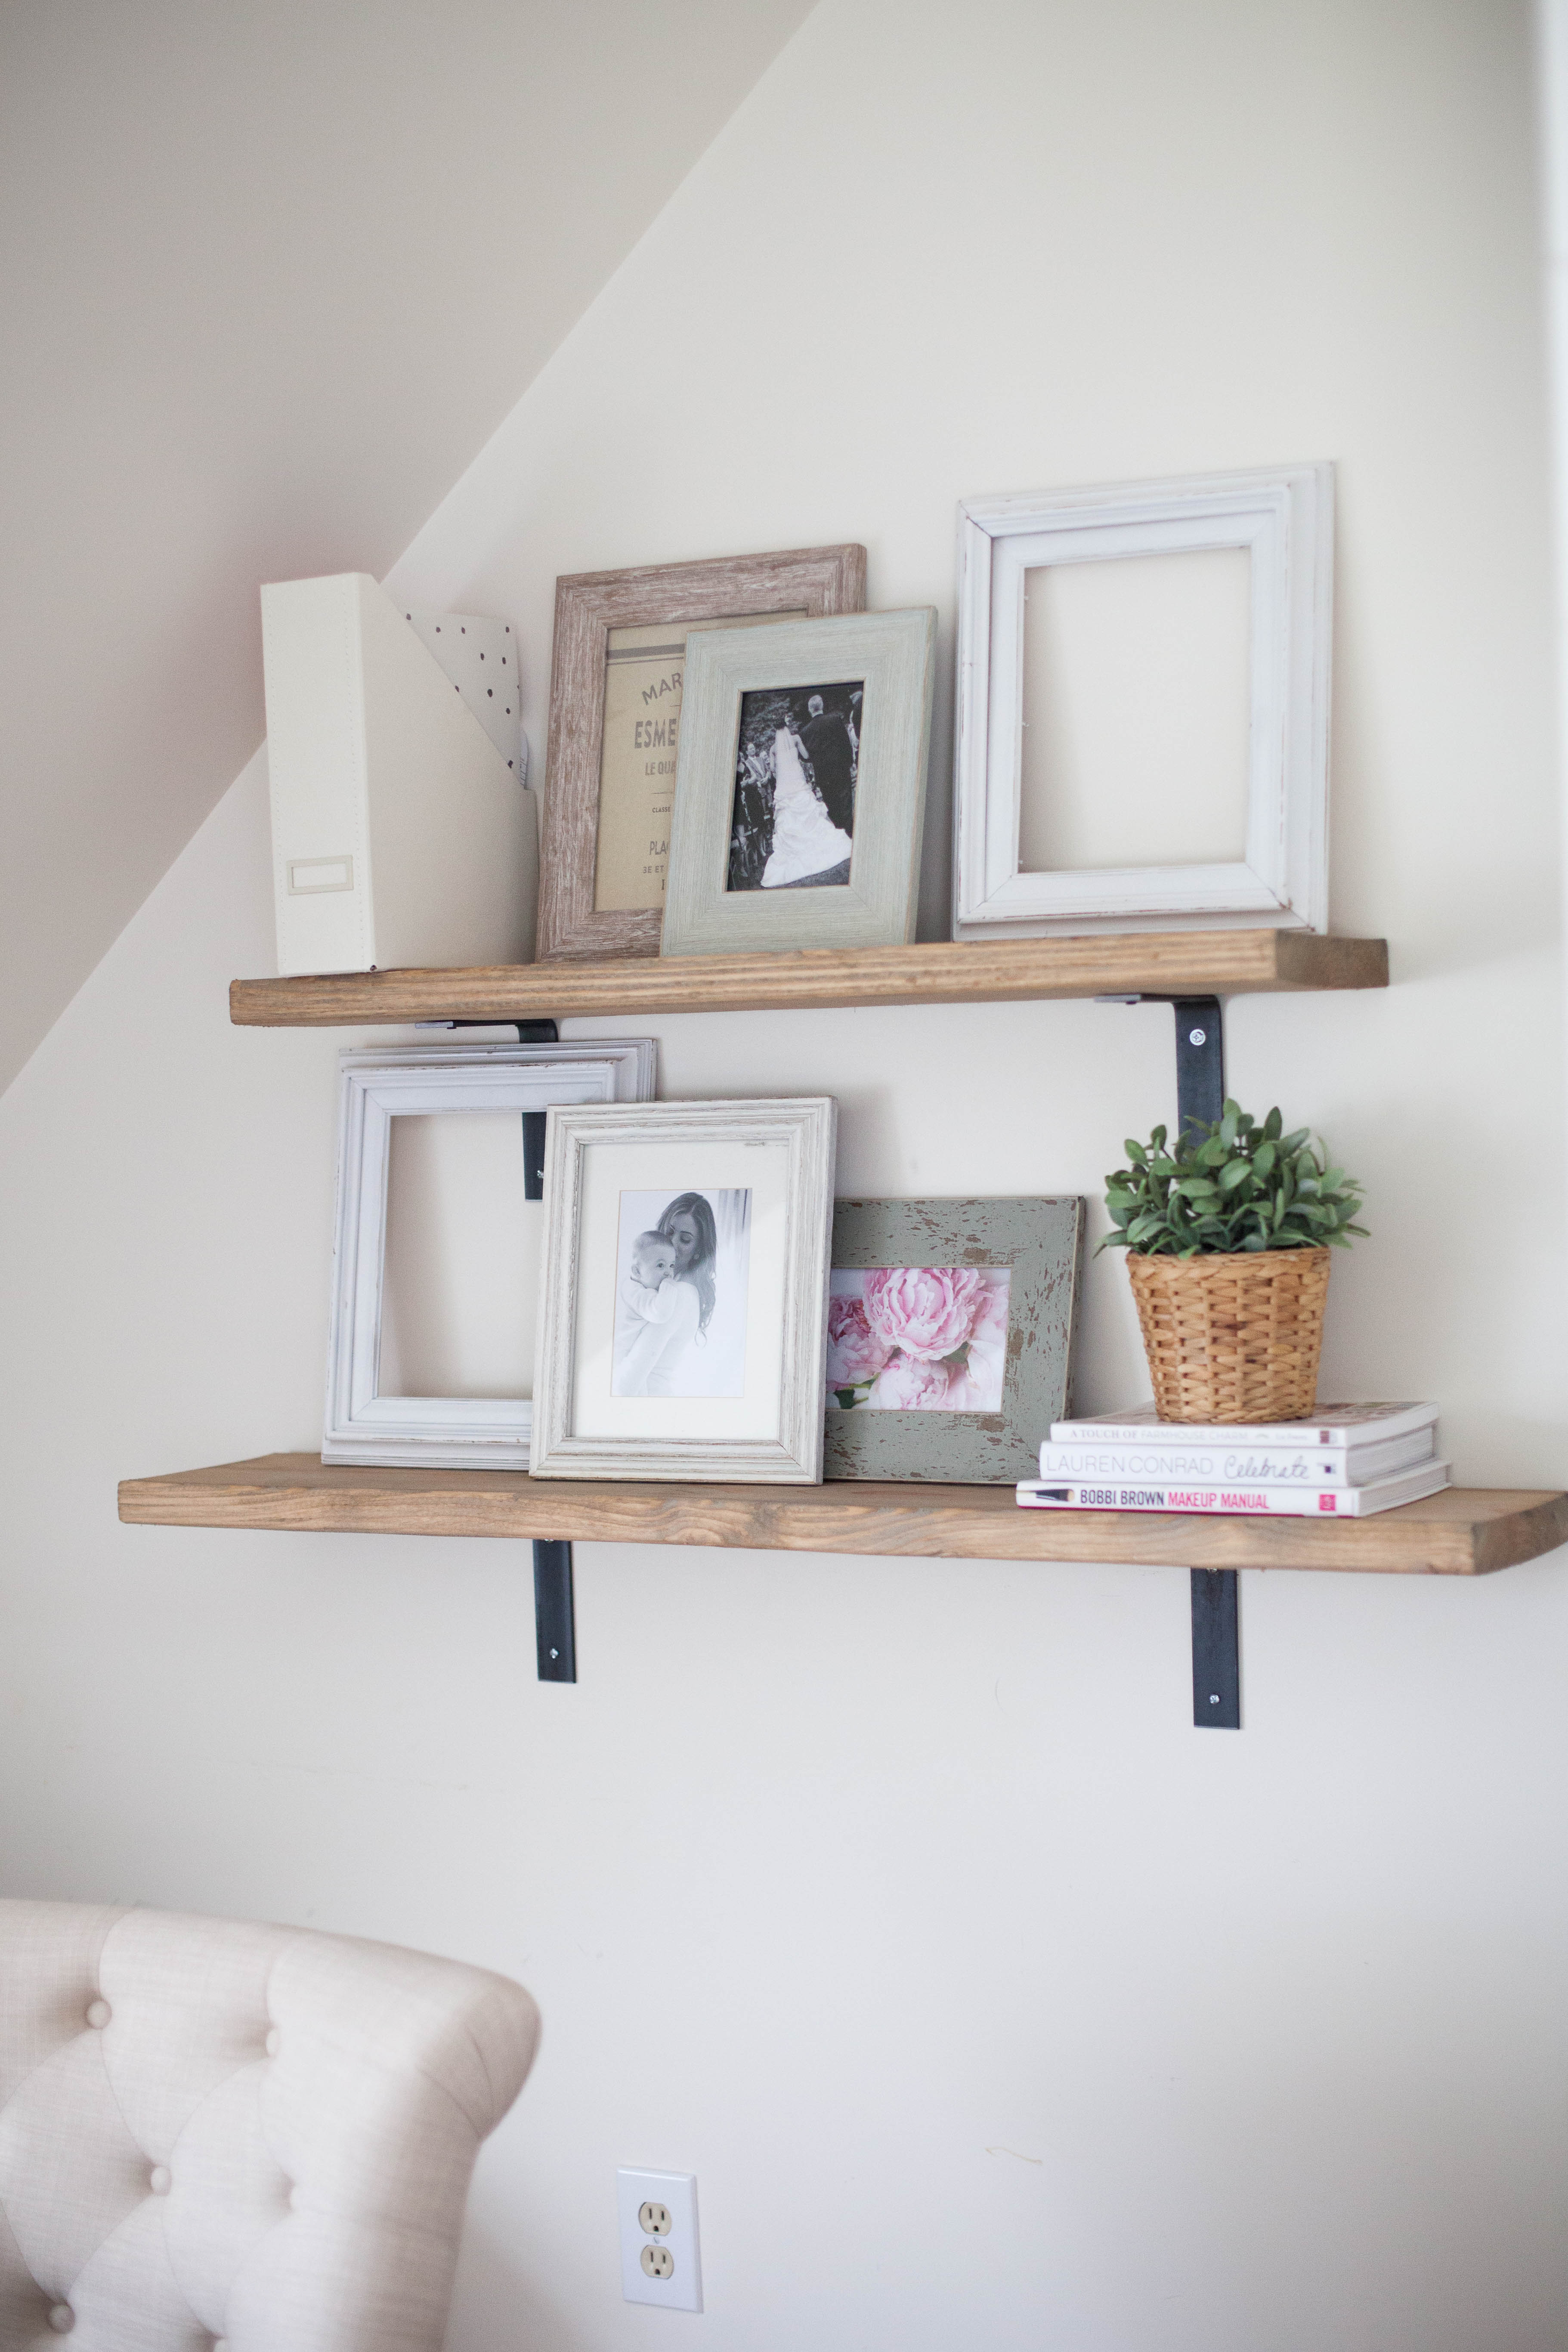
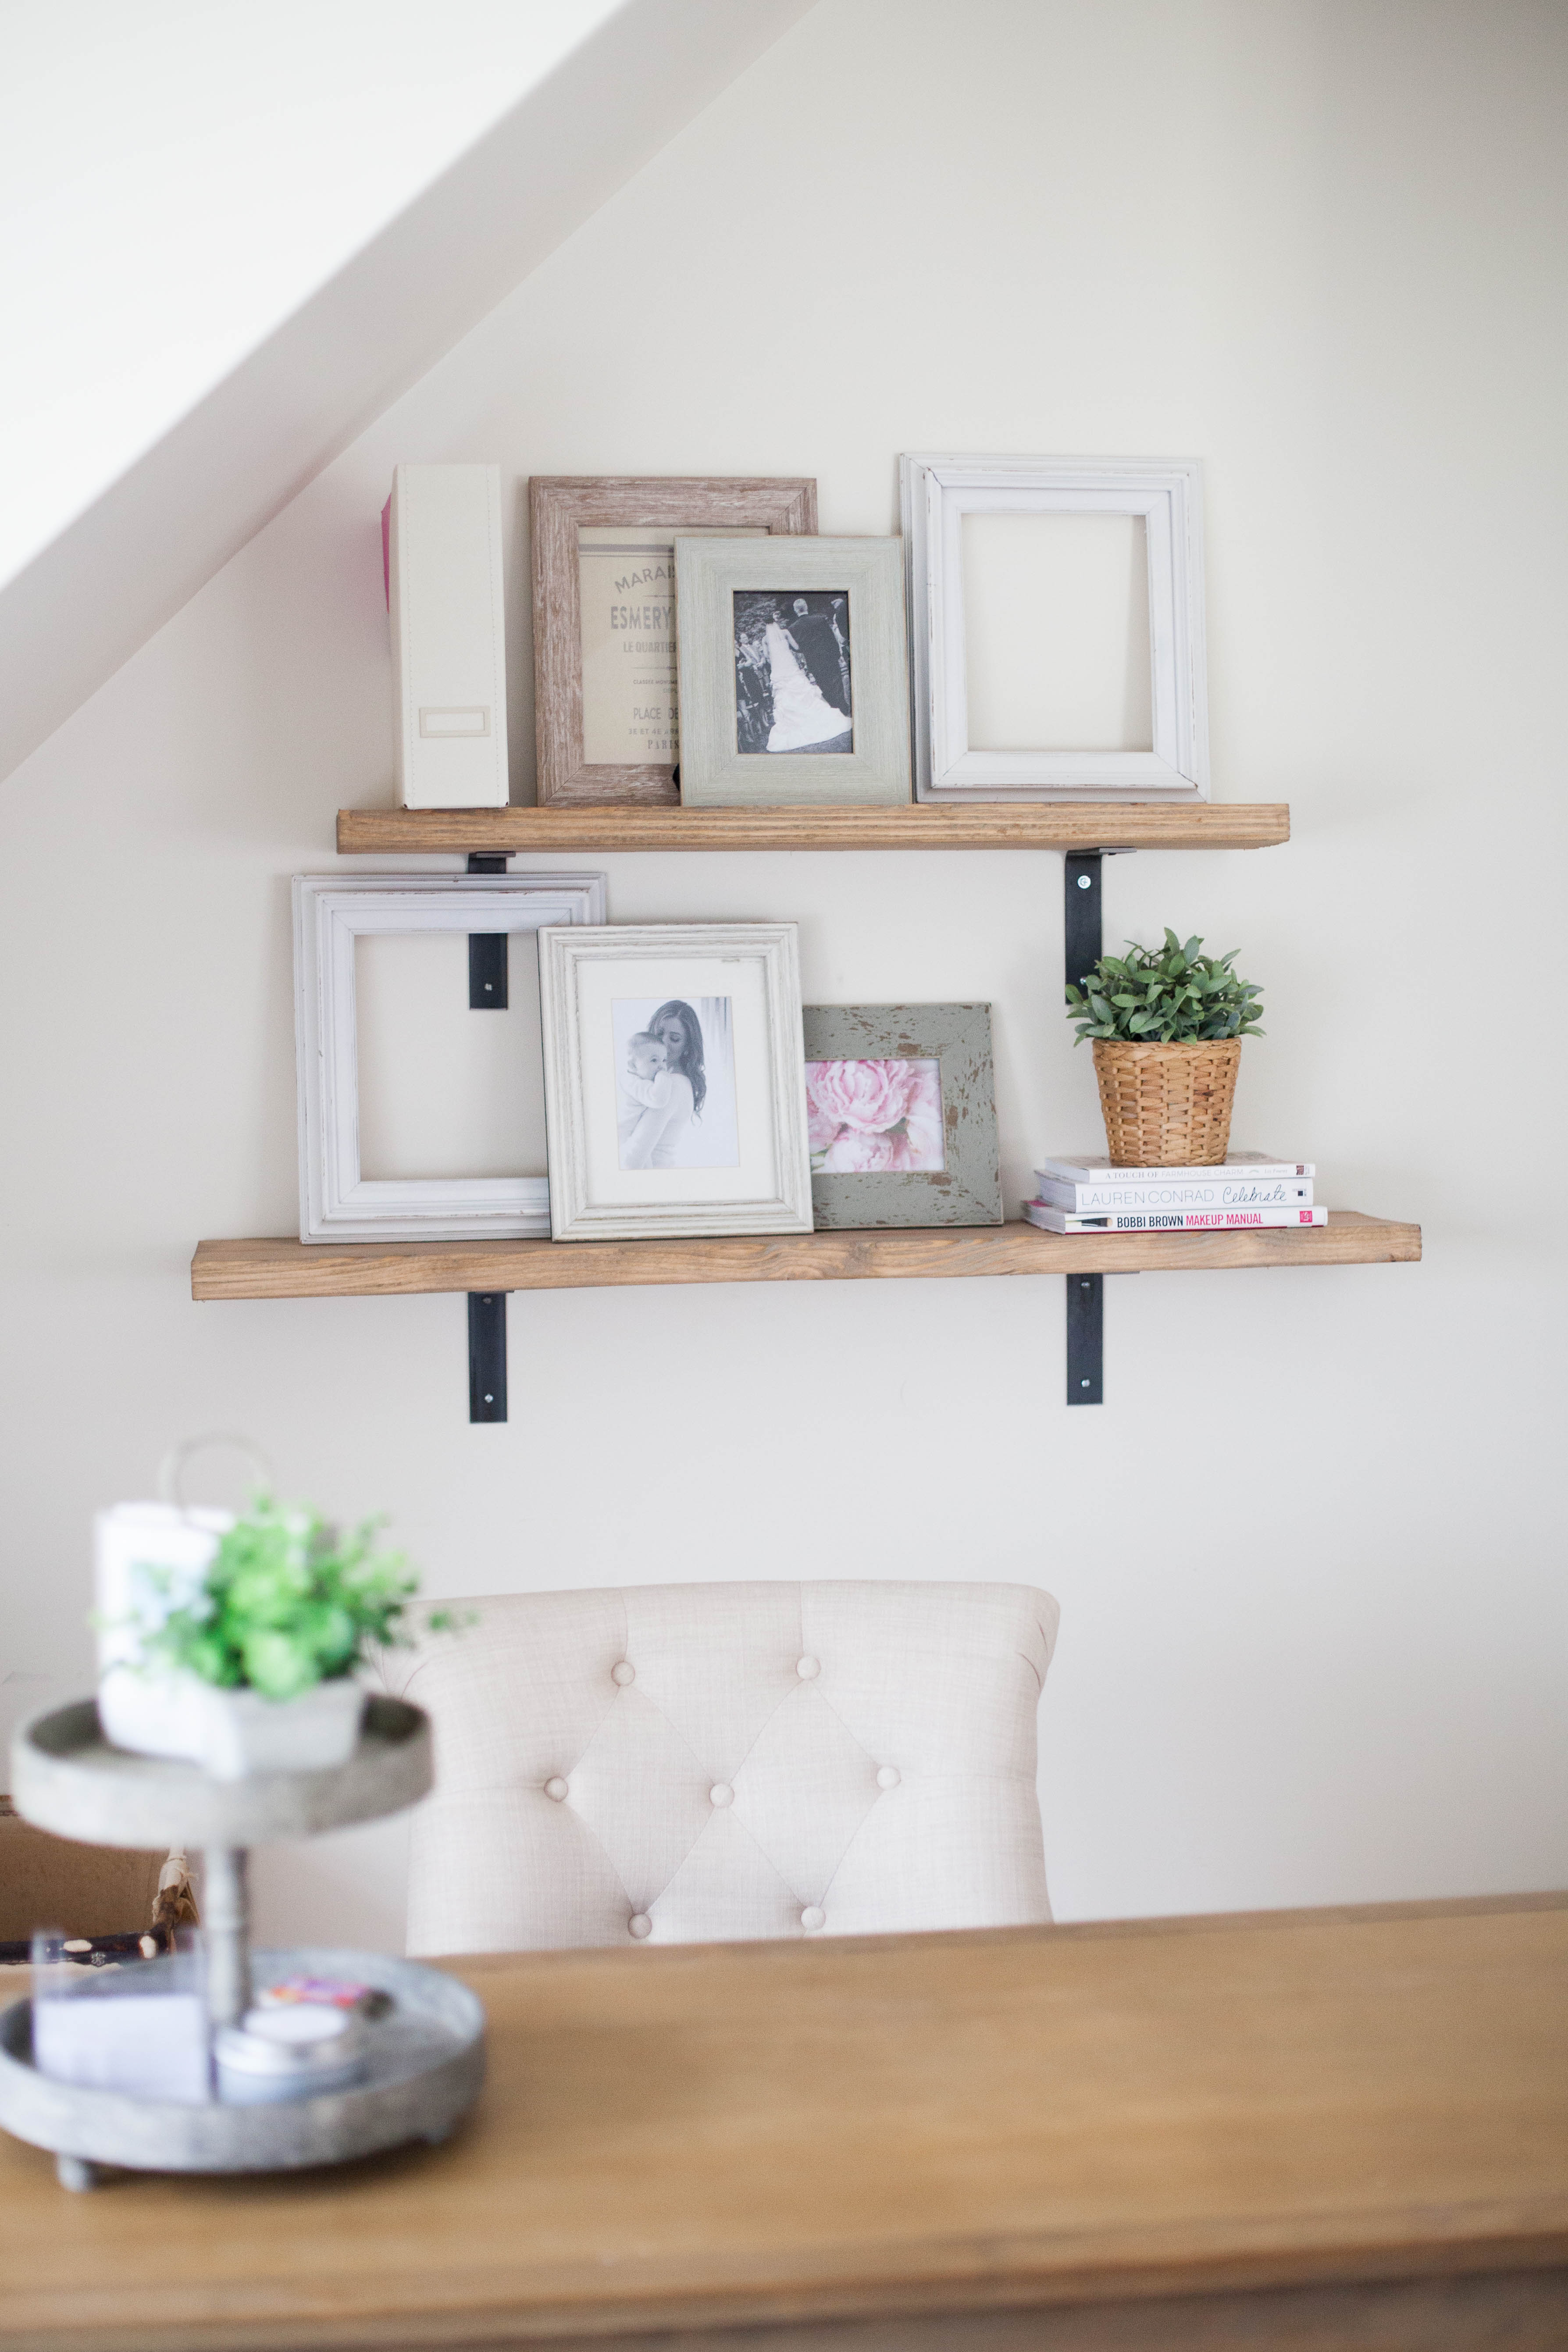
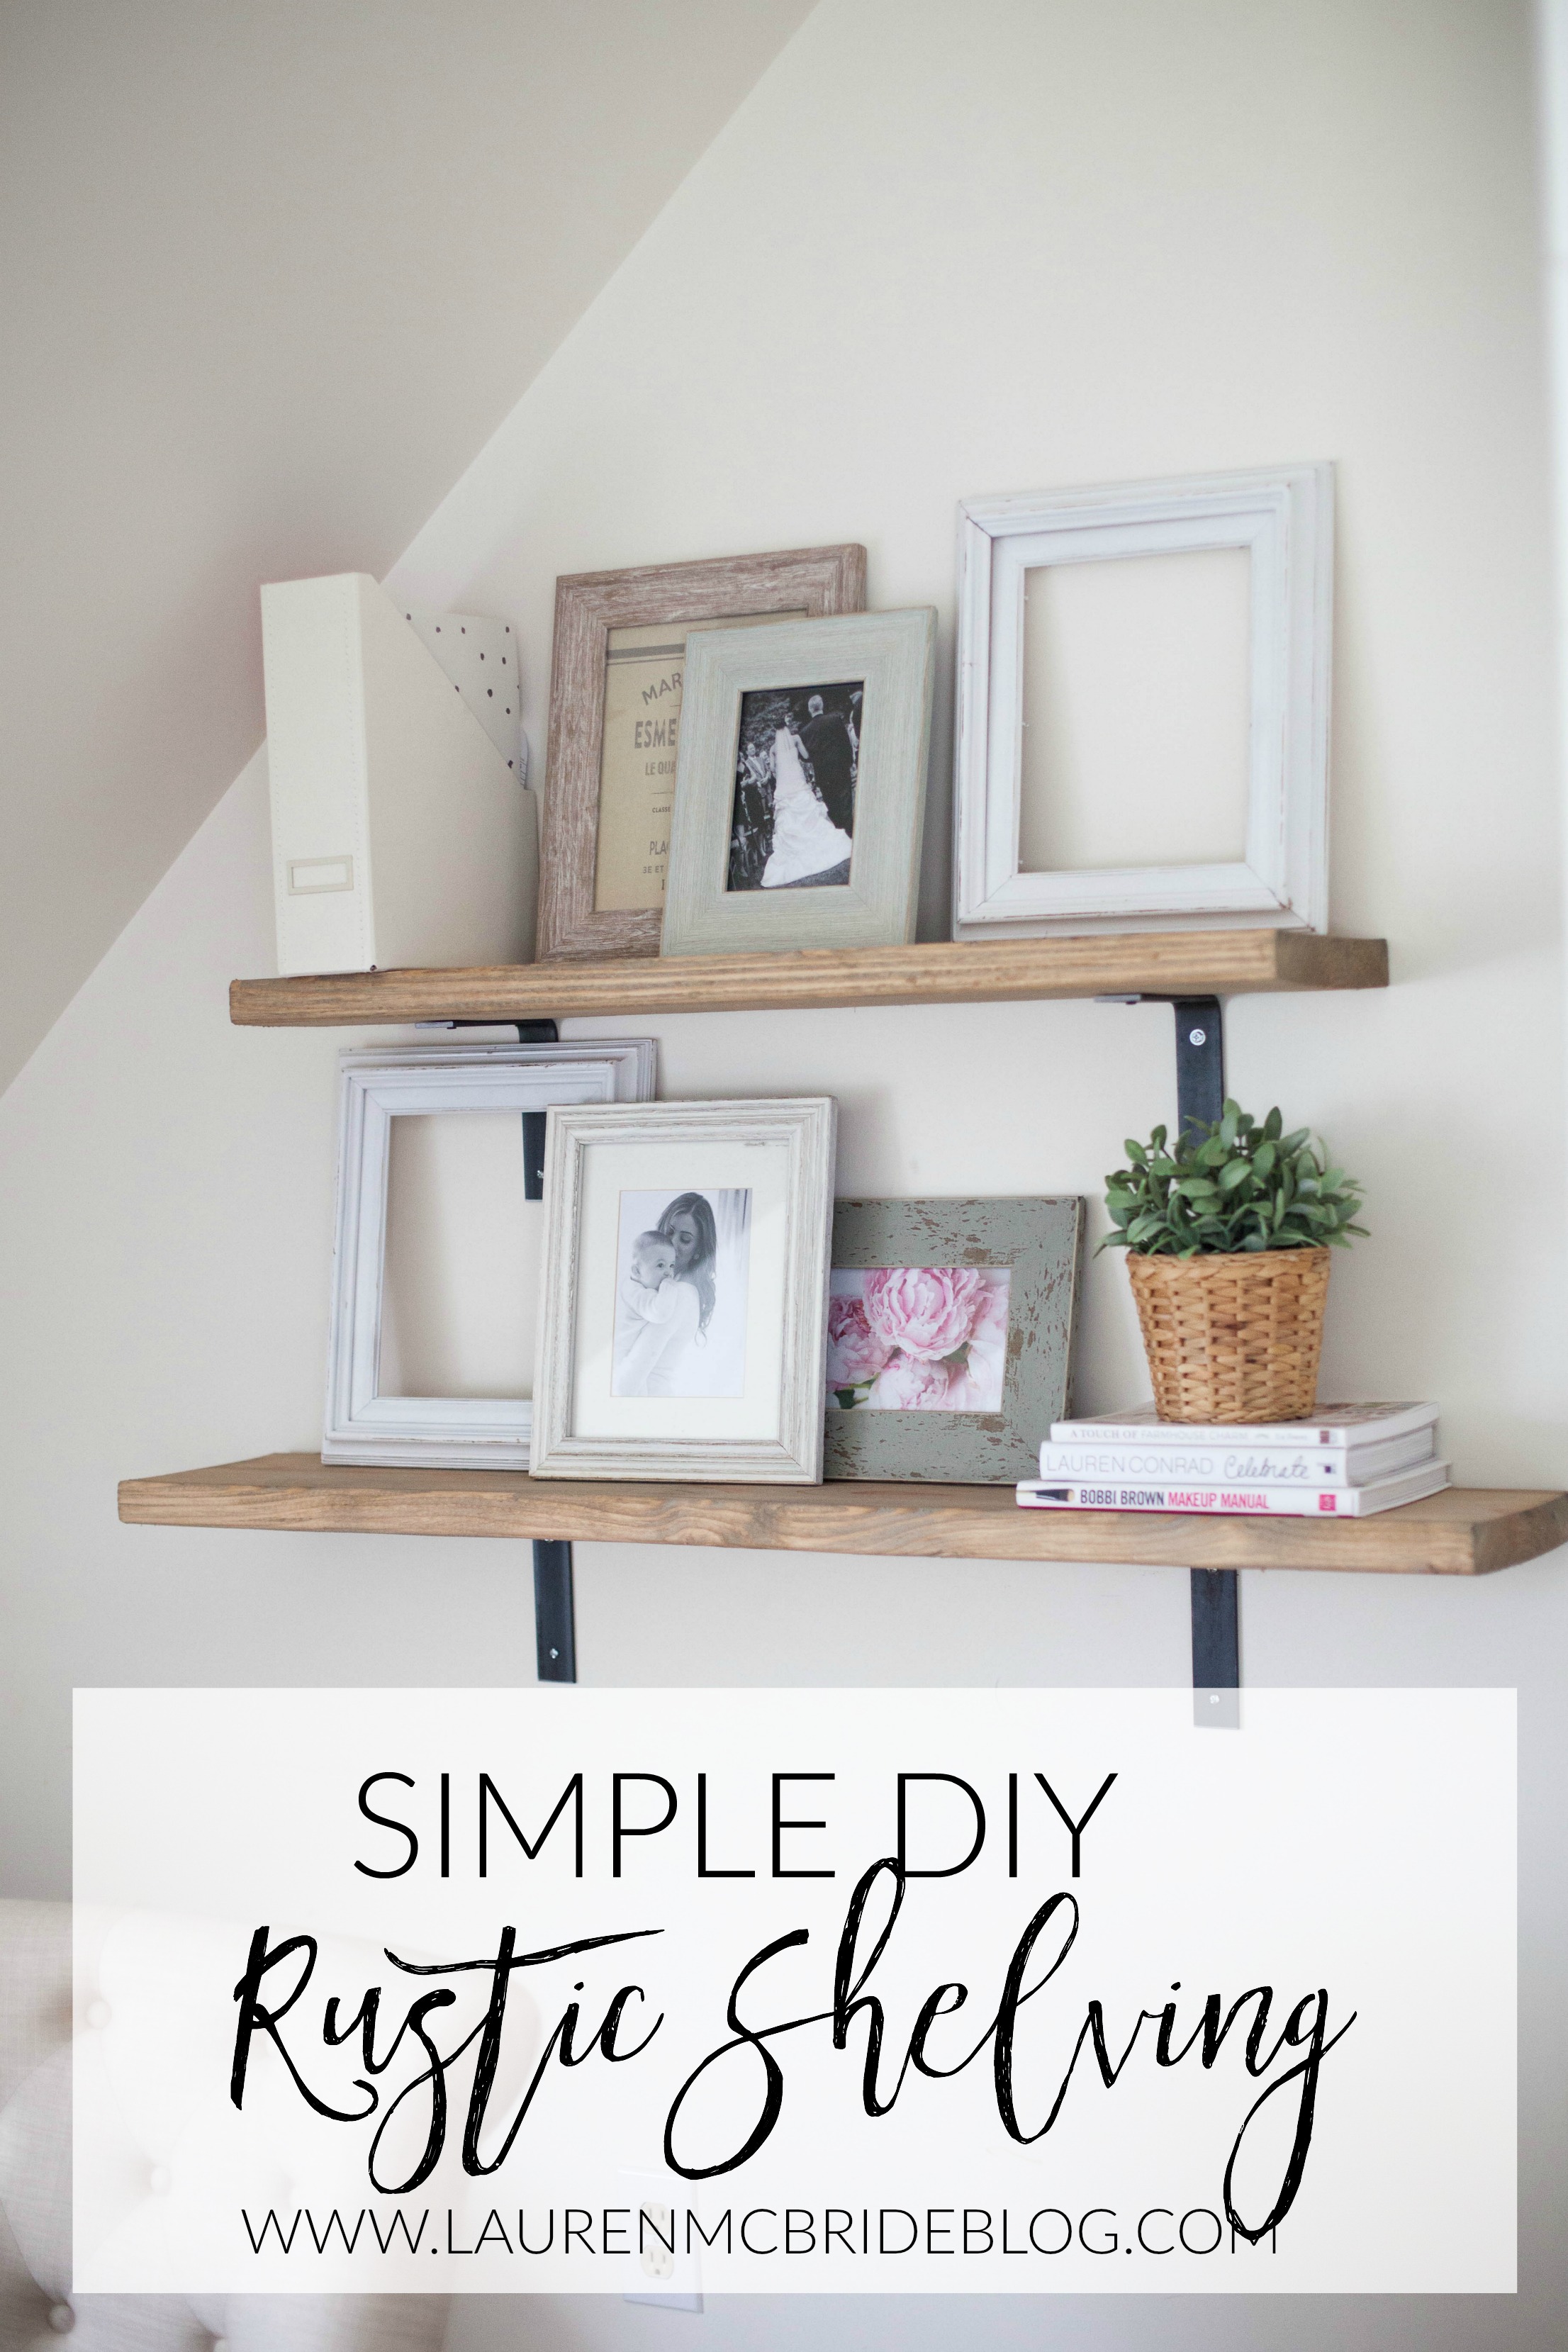
If you follow me on Instagram stories or Snapchat, you often see me sitting at my desk “working”…AKA procrastinating on whatever I need to be getting done and talking to you on social media 😉 Many of you have commented on the shelving you see in back of me, so I thought I’d do a quick post on our simple DIY rustic shelving so you know exactly how we did it!
I recently moved my home office to a corner of our bedroom because the area I was previously using is connected to our playroom. As many of you know, I have a sitter here a few days during the week so I can get work done and my kids’ can still enjoy themselves. It’s really helped with my productivity, and I like that they have a blast without seeing their mom glued to a computer all day. I moved my work area because I felt like it was hard to concentrate with them in the next room, and I found they also wanted to come “check on mom” more frequently with me right next door. Moving to our bedroom allowed me the separation and quiet that I needed to be even more productive. Also, it’s hard to have business calls with screaming kids in the background!
I felt like I needed something to fill the space of the wall, and I like the look and functionality of shelving. These were so easy to make, my toddler could do it. I swear, guys!
Materials
2’x8′ pine boards (the length will depend on how many shelves you want!)
Old paint brush (I use cheap ones I can toss with stain)
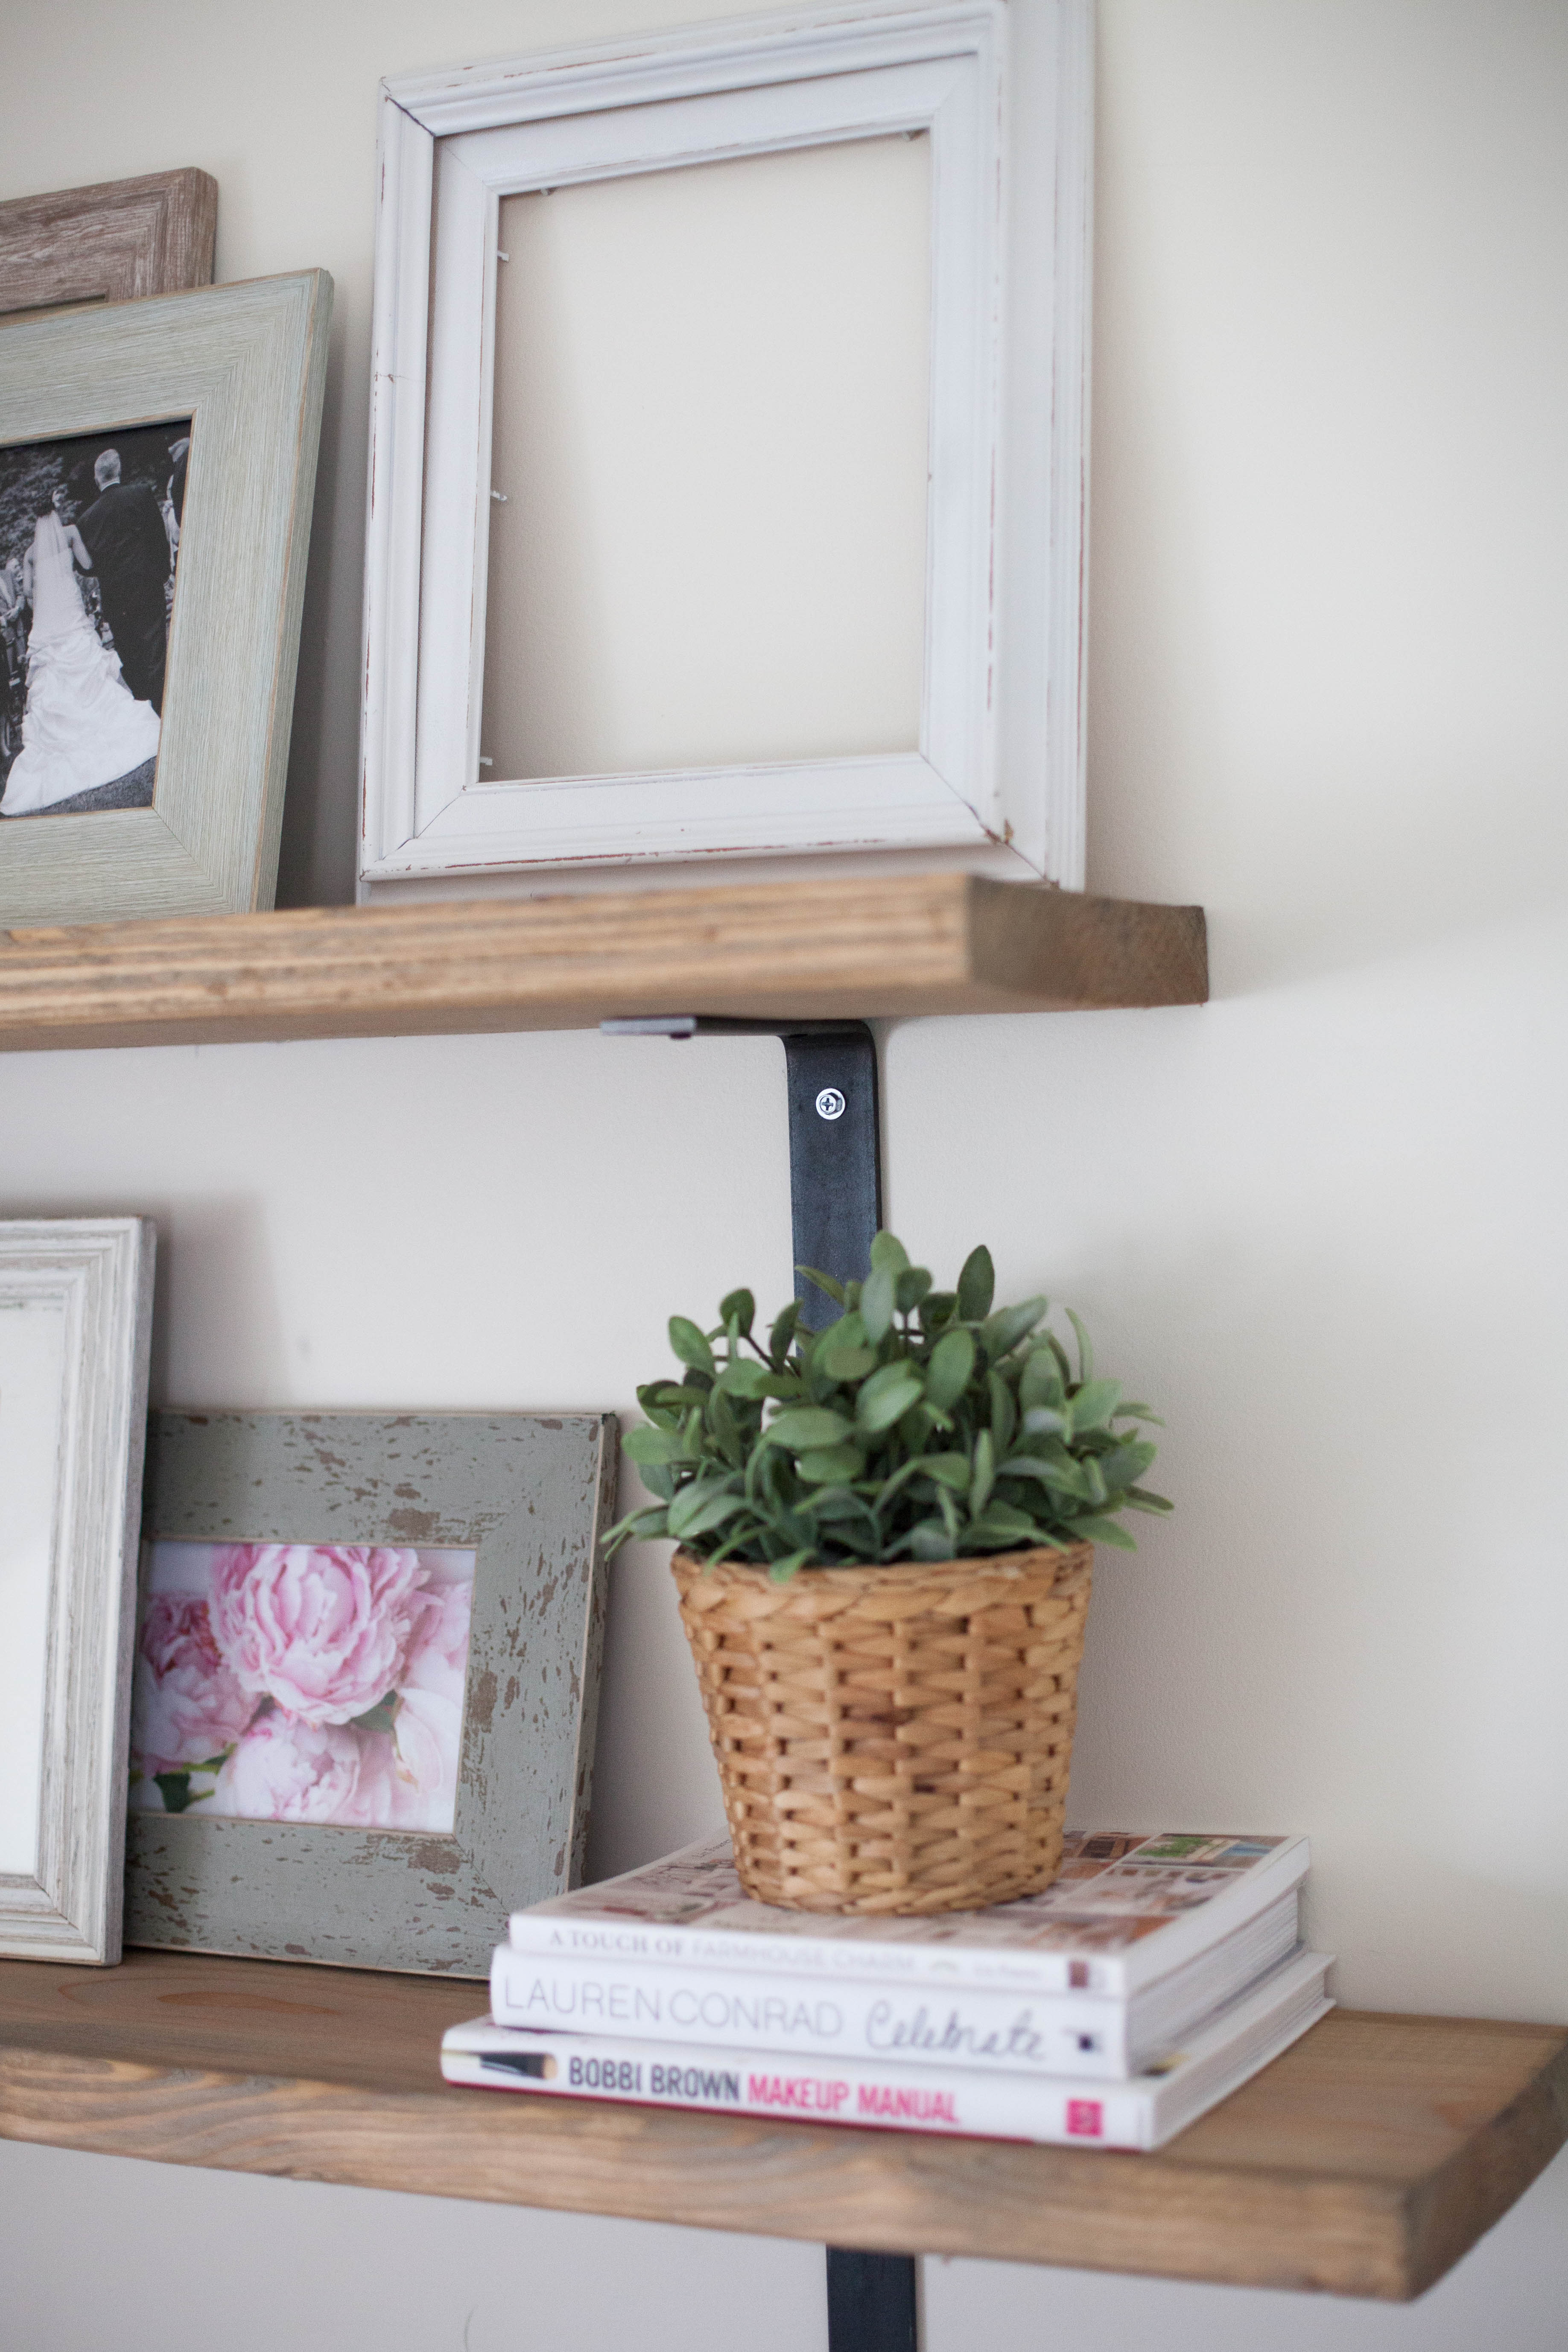
Brackets (THESE are the exact ones!)
Directions
K, guys, ready for how easy? Once you figure out how many shelves you want and the exact size, you can request the guys at Home Depot or Lowe’s to cut the boards down for you! BOOM, cuts done. When you get home, sand the wood if you care about it being smooth. I didn’t because it adds to the rustic look I was going for. Once you’re finished sanding, wipe the wood down with a clean, damp rag. Next, stain the boards with Minwax Weathered Oak stain. I did one side first, then flipped and did the other side once the first side was dry. I only did one coat because I prefer the lighter stain. This took a day for dry time, so just a heads up! I didn’t bother using polyurethane on these boards since they would be mounted to the wall with minimal use. It’s not a high traffic spot (like a table), plus I’m lazy. 😉 Next, I had my husband attached the brackets to the wall at the proper spot, and he then secured the shelves to the top part of the bracket. Done and done!
We also have these shelves in our kitchen, and I love that they look high quality for minimal price.
I’ll post the entire office space one things are finished soon!
I hope that helps guys! I promise they’re super easy to make yourself!






[…] Simple Rustic Industrial Shelves // Lauren McBride […]