• HOME
    • LMB x QVC
    • Decor By Season
      • Fall Decor
      • Spring Decor
      • Summer Decor
      • Winter Decor
    • DIY
    • Decor Tips & Tricks
    • Current Home
      • Home Tour
      • Outdoors (including Pool!)
      • Kitchen
      • Home Gym
      • Living Room
      • Guest Room
      • Mudroom
      • Laundry Room
      • Home Office
      • Master Bedroom
      • Bathroom
      • Boys Room
      • Dining Room
      • Girls Room
    • Second Home
      • Home Tour
      • Guest Room
      • Dining Room
      • Bathroom
      • Master Bedroom
      • Kitchen
      • Laundry Room
      • Boys Room
      • Girls Room
      • Living Room
    • First Home
      • Home Tour: Our First Home
      • Kitchen
      • Master Bedroom
      • Bathroom
      • Living Room
      • Dining Room
      • Nursery Room
        • Boys Nursery
        • Girls Nursery
    • Cleaning
    • HOLIDAY DECOR
      • Christmas
      • Easter
      • Halloween
    • Product Round Ups
  • TRAVEL
    • St. John, USVI
    • USA
    • Disney
    • Mexico
  • FASHION
    • Outfit Inspo
      • 2023
      • 2022
      • 2021
      • 2020
      • 2019
      • 2018
    • Kids Style
    • Fall Fashion
    • Summer Fashion
    • Winter Fashion
    • Spring Fashion
    • Special Occassions
      • Wedding Guest
      • Festival Style
    • Maternity
    • Fitness
    • Product Round Ups
    • Accessories
  • BEAUTY
    • Skincare
      • 2023
      • 2022
      • 2021
      • 2020
      • 2019
      • 2018
    • Hair
      • 2023
      • 2022
      • 2021
      • 2020
      • 2019
      • 2018
    • Makeup
      • 2023
      • 2022
      • 2021
      • 2020
      • 2019
      • 2018
    • Nails
    • Tips & Tricks
      • 2023
      • 2022
      • 2021
      • 2020
      • 2019
      • 2018
    • Product Round Ups
  • GIFT GUIDES
    • Mother’s Day
    • Father’s Day
    • Christmas
      • Kids
      • For Her
      • For Him
    • Easter
    • Valentine’s Day
  • LIFE
    • Marriage
    • Christmas
    • Motherhood
    • Miscarriage
    • Wellness
      • Self Care
    • Fitness
    • Food
      • Recipes
        • Drinks
        • Christmas
        • Halloween
        • Thanksgiving
        • Valentine’s Day
        • Paleo
      • Allergen Specific Posts
    • Beach Favorites
  • BOOKS
  • SHOP
    • FAVORITE BRANDS
      • PRODUCT REVIEWS
        • Baby Products
        • Home Appliances
        • Cars
        • Beauty Products
      • Fashion
        • Abercrombie & Fitch
        • Amazon
        • American Eagle / Aerie
        • Athleta
        • Everlane
        • Faherty
        • Free People
        • Forever 21
        • H&M
        • Hunter Boots
        • Lulu’s
        • Madewell
        • Marshall’s
        • Nordstrom
        • Old Navy
        • SHEIN
        • Shopbop
        • Summersalt
        • Target
        • T.J. Maxx
        • Urban Outfitters
        • Vuori
        • Walmart
      • Home Decor
        • Amazon
        • HomeGoods
        • Minted
        • Pottery Barn
        • Serena & Lily
        • Target
        • Walmart
        • Wayfair
        • World Market
      • Beauty
        • Aveeno
        • Mario Badescu
    • SHOP MY FAVES
    • SHOP MY INSTAGRAM
    • SHOP MY AMAZON
  • SHOP THE LMB COLLECTION
  • VILLA DAL MARE

Lauren McBride

Uncategorized

Tip and Tricks on How to Install Pergo Flooring

January 5, 2016

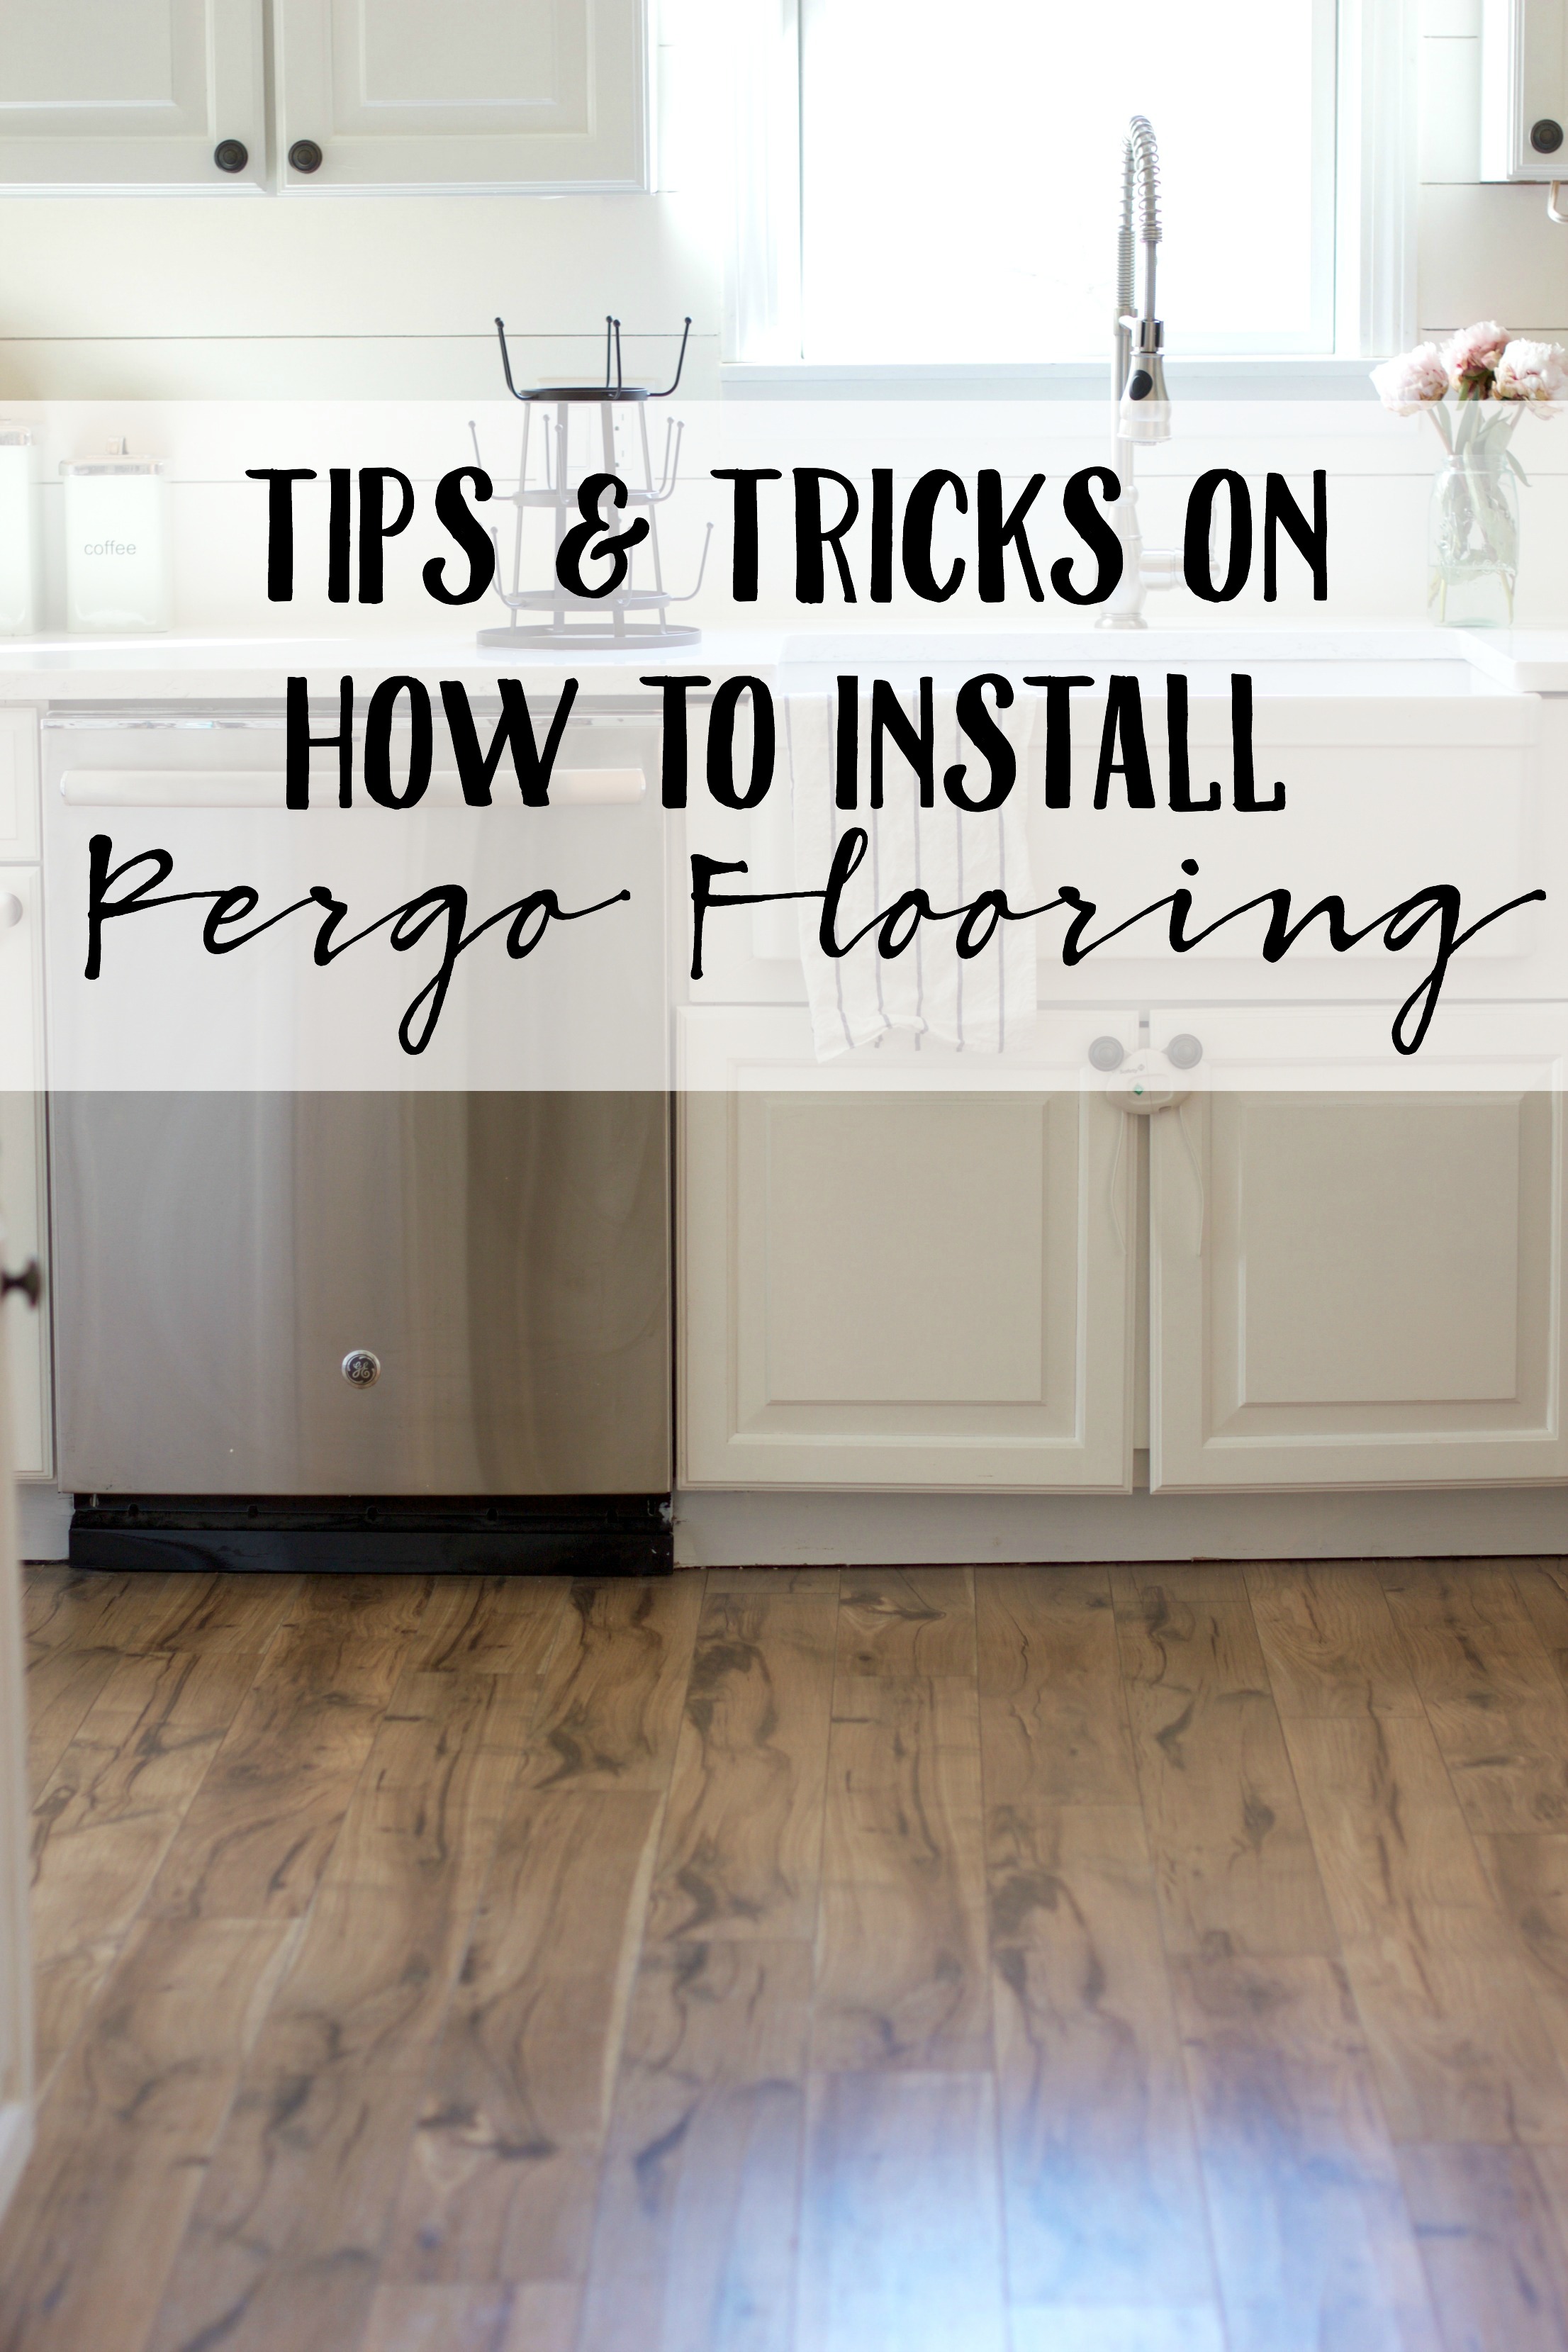
How To Install Pergo Flooring

Are you ready for these tips and tricks on how to install Pergo Flooring? It doesn't have to be a daunting task, just a bit of research and you'll be fine!

Let me just start by saying that I always choose to tackle the biggest home projects at the worst possible times. I was going on 9 months pregnant, dealing with a toddler with a husband who was at the height of his busy season all while trying to move into our new home. And now our baby is here, which means there’s even less time to do anything. And the truth is? Things still aren’t complete. It has taken us forever and a day to complete even the smallest project because this is real life and we have to prioritize our family over house projects. So this has taken us way longer than I would’ve originally liked, but what can I say? Things happen. You understand that, right? I don’t think I know one person who sets out to complete a home DIY project by a certain date and actually completes it by said date.

Are you ready for these tips and tricks on how to install Pergo Flooring? It doesn't have to be a daunting task, just a bit of research and you'll be fine!

For this reason, we had to hire help for my husband to complete this floor install. You can see my previous Pergo posts here and here for why we chose to go with Pergo laminate and the maintenance of the flooring. This post will be about how to install Pergo flooring, and my first suggestion is to have at least one other person there to help you. It goes by a lot quicker if you have an extra set of hands or two to measure, cut, and help piece it together. We asked my husband’s apprentice to assist, since he has a love for all things DIY related and claims to be a “pro” from watching “This Old House.” 😉

Before installing anything, we had to prep our floors. We had tile in our dining room, which was a lengthy (and filthy) process to rip up. There was also old Pergo flooring in our kitchen (the color was not my taste) that came up very easily. The beauty in Pergo is that it can be installed over most old flooring, but we wanted to remove everything to avoid a height difference between our existing hardwood in the living room and the two rooms we were installing in. Once everything was removed down to the subfloor, we were good to go.

We first downloaded the copy of Pergo’s flooring essential guide on how to install laminate flooring. We also watched videos on Pergo’s YouTube channel to help us fully understand the process. I will tell you, it takes a bit to get the click-lock method down. My husband and I weren’t doing it right at first, but we then found that using an installation kit was what we needed for success with install. It includes a tapping block, pull bar and spacers that help the boards click and lock correctly, which ensures secure joints. The YouTube channel was the key to our success.

Are you ready for these tips and tricks on how to install Pergo Flooring? It doesn't have to be a daunting task, just a bit of research and you'll be fine!

Some key points to keep in mind during install:

There NEEDS to be a 3/8ths inch gap between the boards and the wall on all sides. The boards will expand and contract with climate change, and if there’s no room for the boards to move, it will cause them to lift and essentially ruin your beautiful floors. Use the spacers that come in the installation kit, as they are already sized accordingly.

There should be at least 12 inches between joints, from row to row. Don’t make this mistake. We did, and had to start all over (ask my husband how happy he was about that). If there isn’t at least 12 inches, the pressure of the boards shifting can cause issues and the floor to gap.

Make sure the boards are clicked in correctly. We didn’t at first and had a difficult time installing the first and second row because we were worried about ruining the boards. The installation kit will make your experience easier!

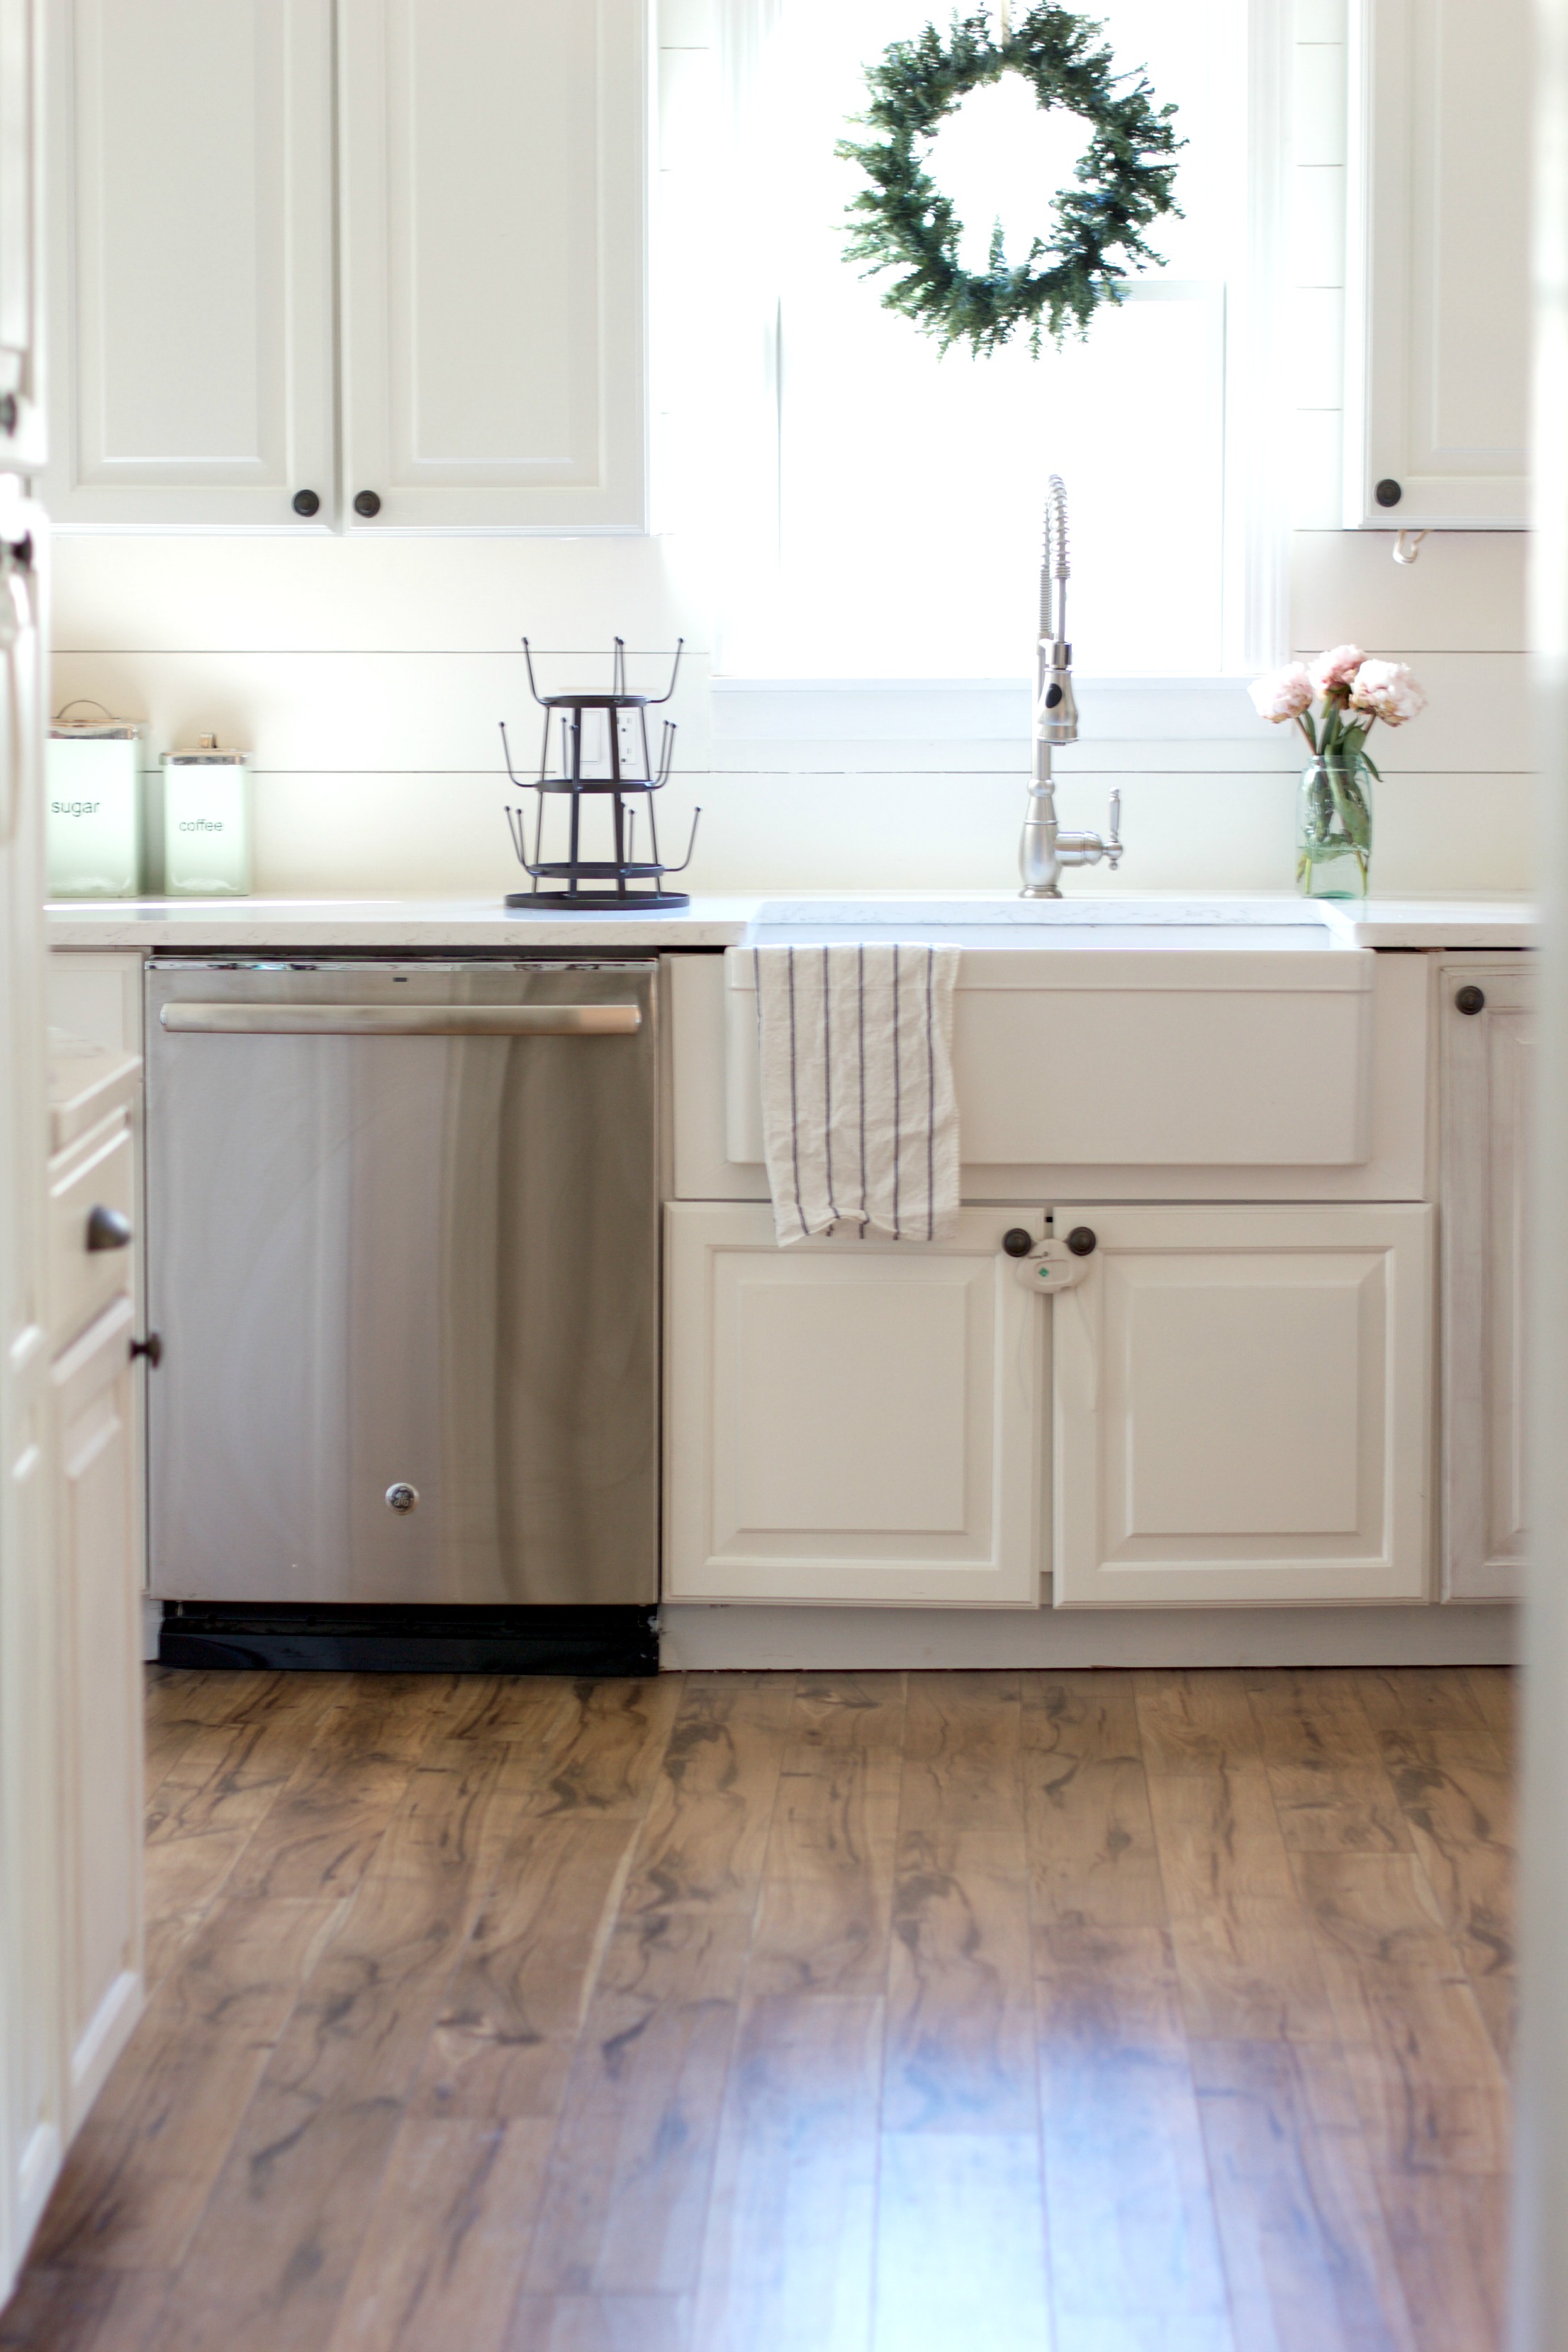
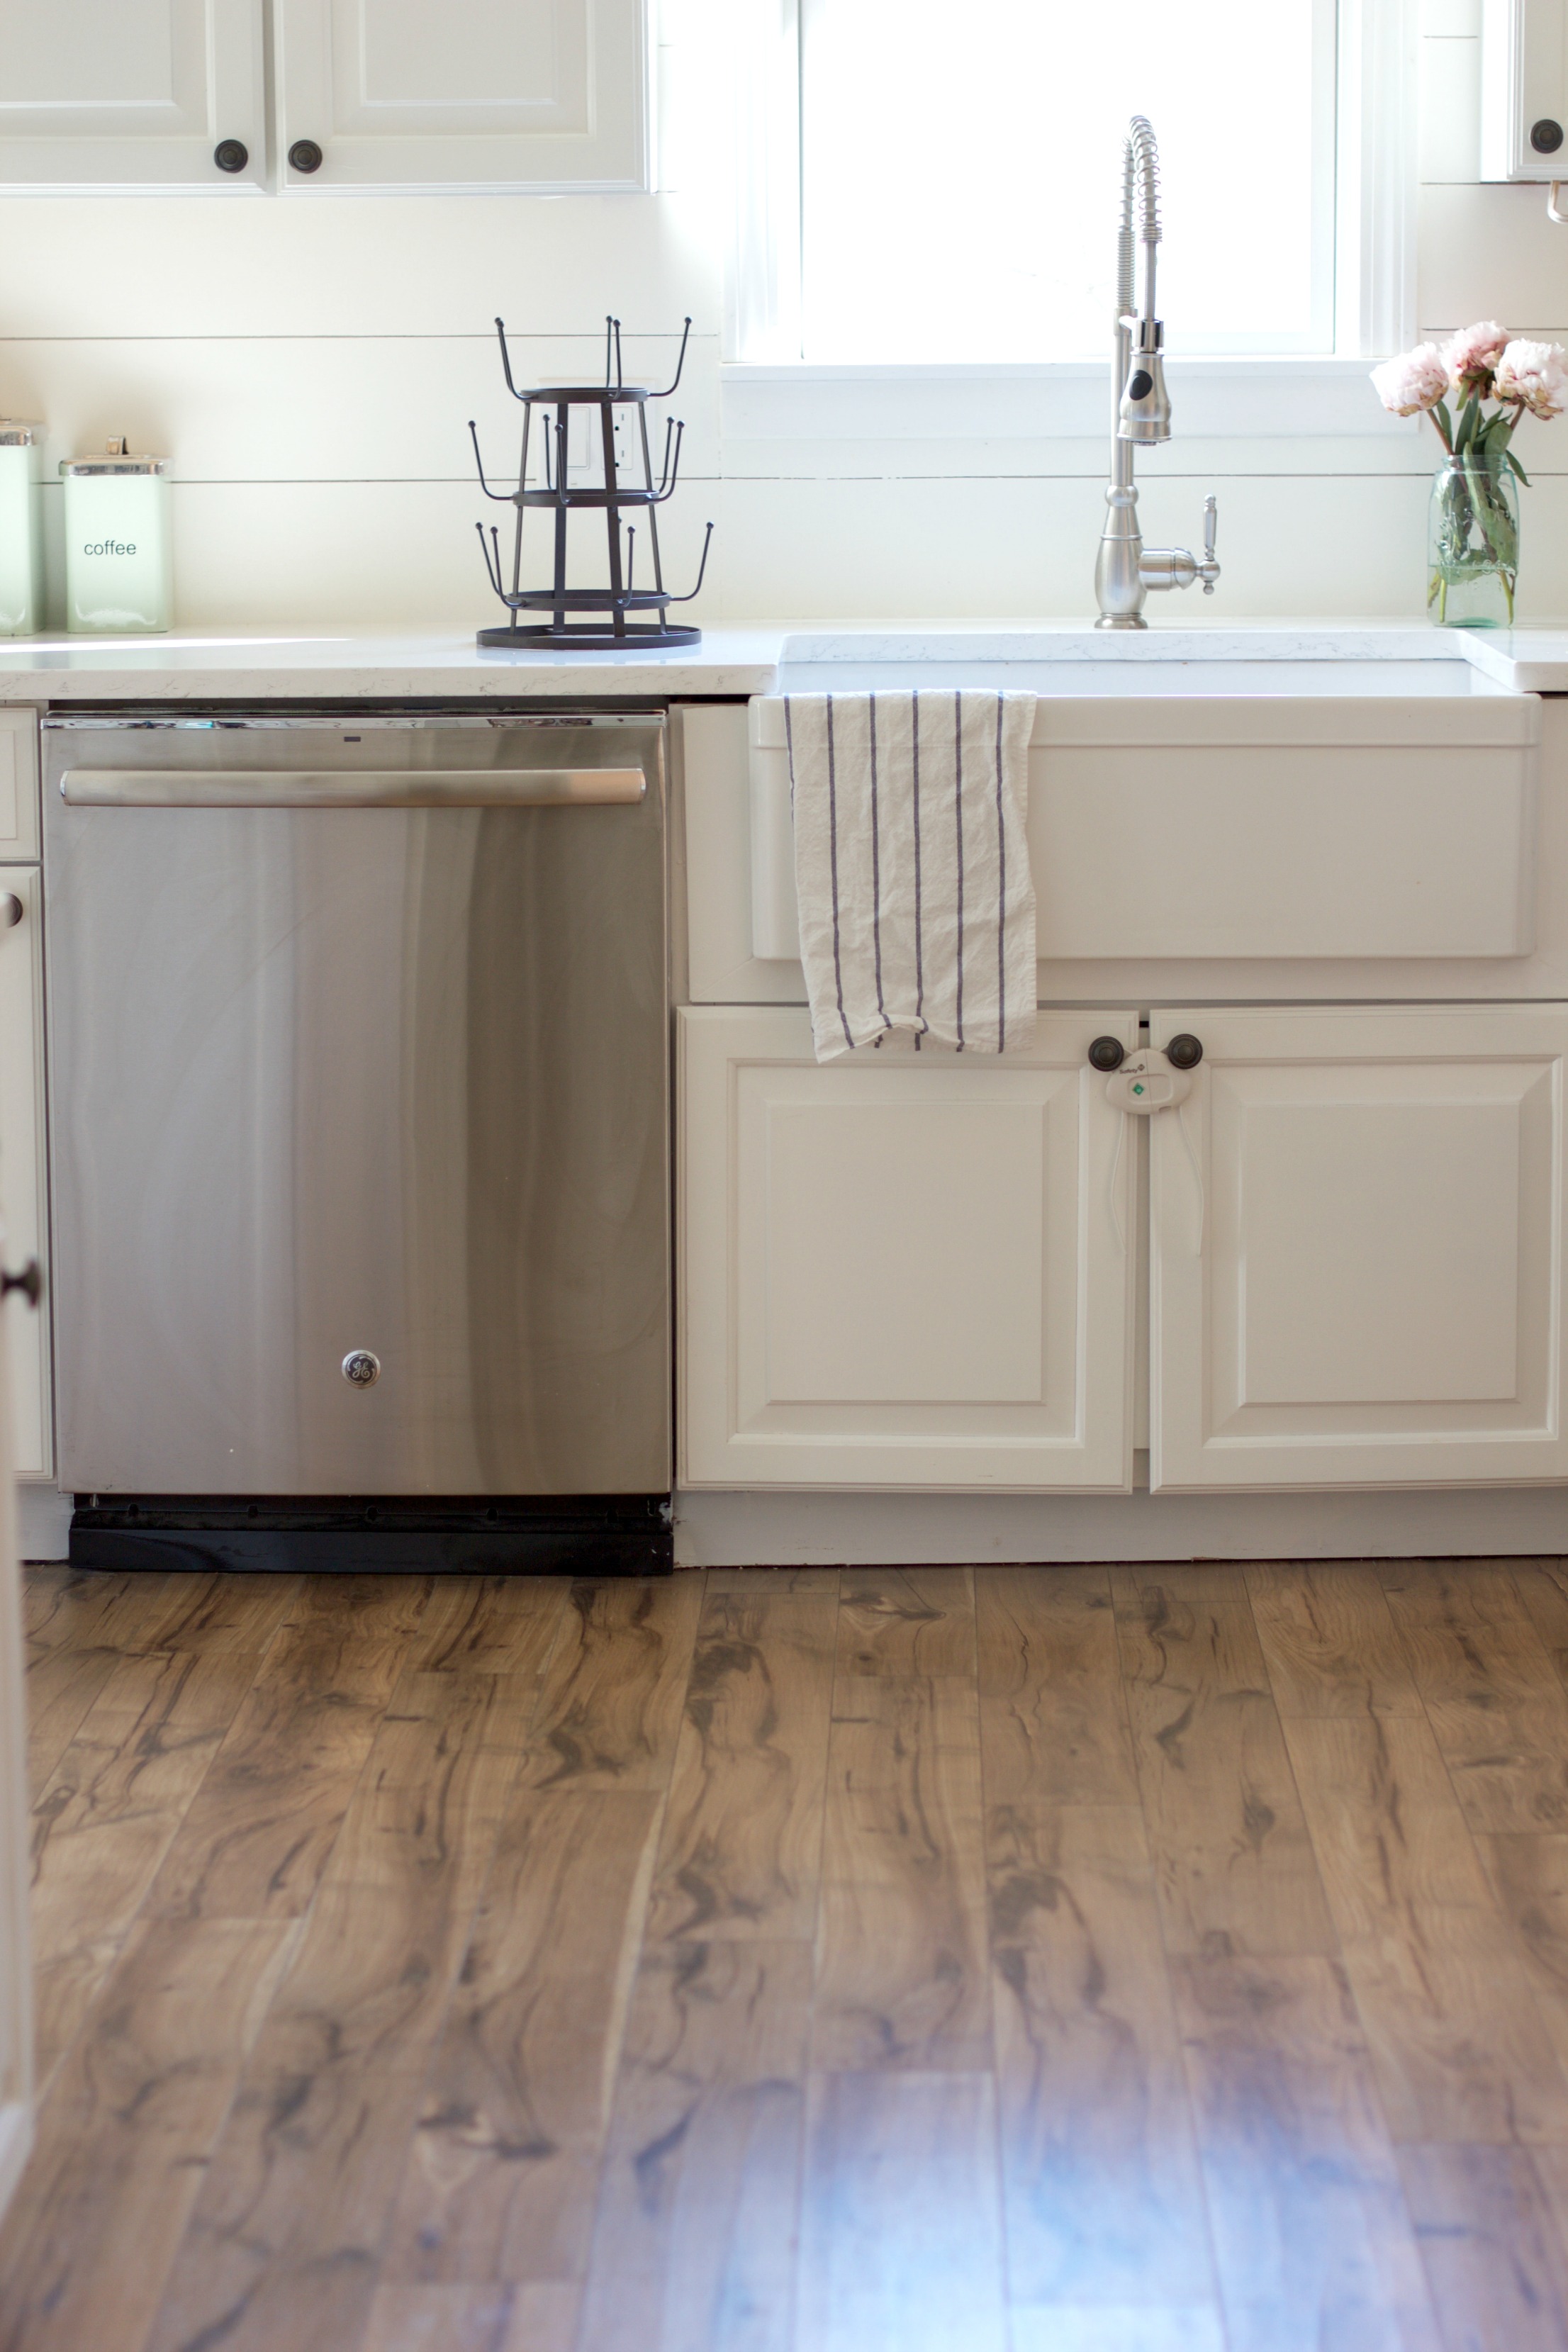
Overall, once we got the hang of how the boards click together, installation was easy! The only time consuming part was cutting around air vents and our kitchen cabinets because they’re on an angle. The boards cut really easily, much to my surprise. And because Pergo laminate is so forgiving (difficult to scratch, stain, etc), we had not ONE issue with board damage during install.

We highly recommend choosing Pergo for your laminate flooring needs due to the ease of installation and high quality of the flooring. Use Pergo’s store locator to see what local retailer carries the brand and all the tools you need for install!

LMB-Signature

Share this post:

  • Email
  • Facebook
  • Twitter
  • Pinterest

Pergo

Reader Interactions

Leave a Comment Cancel reply

Your email address will not be published. Required fields are marked *

Comments

  1. Danielle Siess says

    March 22, 2017 at 9:25 pm

    Hi Lauren, thank you for the tips. You sound like me! My husband will be so grateful for the heads up. Do you know which color Prego you used in your kitchen? I love your choice!

    Thank you,

    Danielle

    Reply
    • Lauren McBride says

      March 23, 2017 at 10:45 pm

      Yes! It’s called Providence Hickory. 🙂

      Reply
  2. Jesse Hansen says

    May 12, 2017 at 9:25 pm

    What did you use to cut your pergo? Also could you explain the 12 inches between joints?

    Reply
    • Lauren McBride says

      May 18, 2017 at 8:38 pm

      The joints need to be 12″ apart between boards! We used a table saw for cuts.

      Reply
      • Ian says

        August 5, 2018 at 10:29 pm

        I think she’s saying, each row should be offset by at least 12″. Every other row, you should cut the first board roughly in half. It doesn’t need to be exact, just enough to make sure the joints in each row don’t line up.

        Reply
  3. terry vrshek says

    March 25, 2020 at 9:07 pm

    I am having difficulty getting the Pergo Outlast to click and lay flat. Any suggestions?

    Reply
Previous Tips on Finding Time to Workout as a Busy Mom
Next Four Ways to Style a Graphic Tee

Related Posts

Mom + Baby // Meal Times Made Easy with Nurture Life...

Mom + Baby // Everything I Need To Know, I Learned From...

Style // Best Swimsuits for Postpartum Bodies

Fringe Poncho

Primary Sidebar

VISIT

Villa Dal Mare

St John, USVI
SHOP THE

LAUREN MCBRIDE COLLECTION

#LMBXQVC
SHOP

MY AMAZON

FAVES

FOLLOW ALONG ON SOCIAL

  • ABOUT LAUREN
  • COLLABORATE
  • DISCLOSURES
  • F.A.Qs.
  • PRESS
  • CONTACT
on pinterest@laurmcbrideblog

AMAZON AFFILIATE DISCLAIMER

We are a participant in the Amazon Services LLC Associates Program, an affiliate advertising program designed to provide a means for us to earn fees by linking to Amazon.com and affiliated sites.
  • ABOUT
  • CONTACT
  • COLLABORATE
  • LEGAL TERMS
  • PRIVACY POLICY
Copyright © Lauren McBride | Design By: MLL Branding +Design Studio
loading Cancel
Post was not sent - check your email addresses!
Email check failed, please try again
Sorry, your blog cannot share posts by email.