Enchanted Forest Christmas Ideas November 30, 2022
This past October, I transformed our sun room into a Harry Potter themed Halloween room! The kids absolutely loved it and so did I! With Halloween far behind us, I’ve been having a hard time parting with our Harry Potter room so I decided to keep it up for another season and give it a Christmas makeover! Watch me transform it on YouTube, or read on if you’d rather read about the decorating process.
The Ceiling
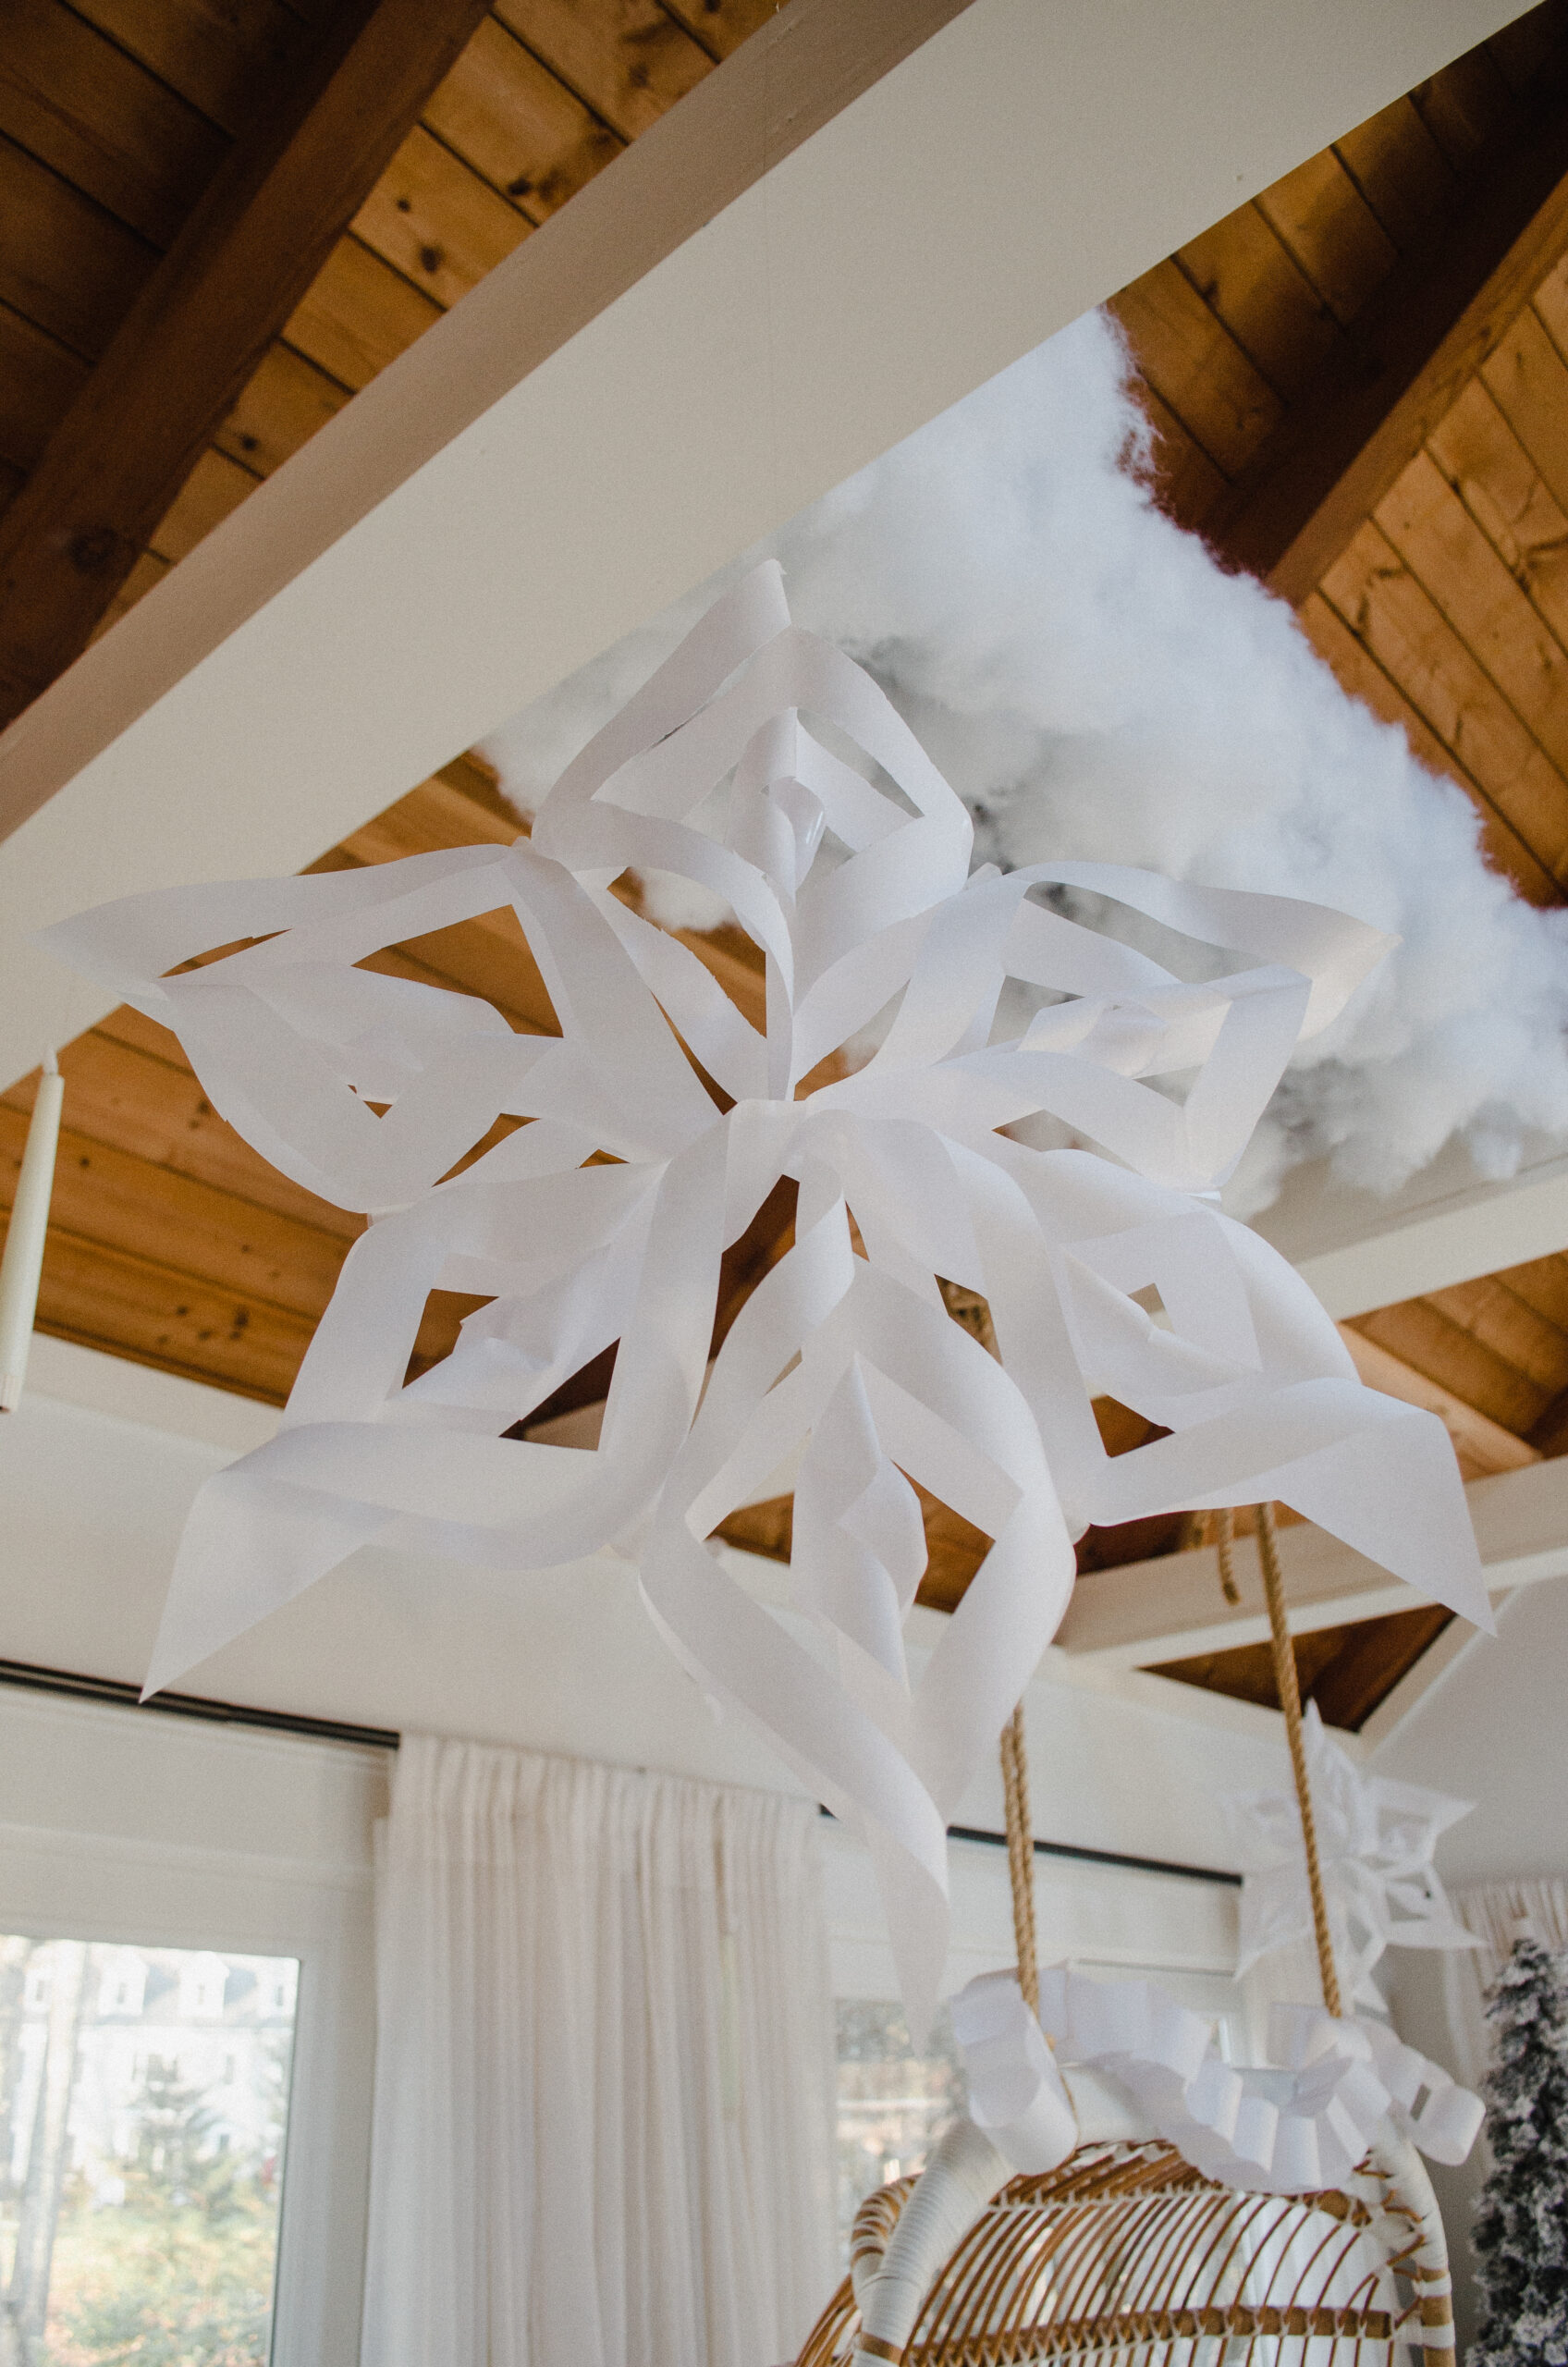
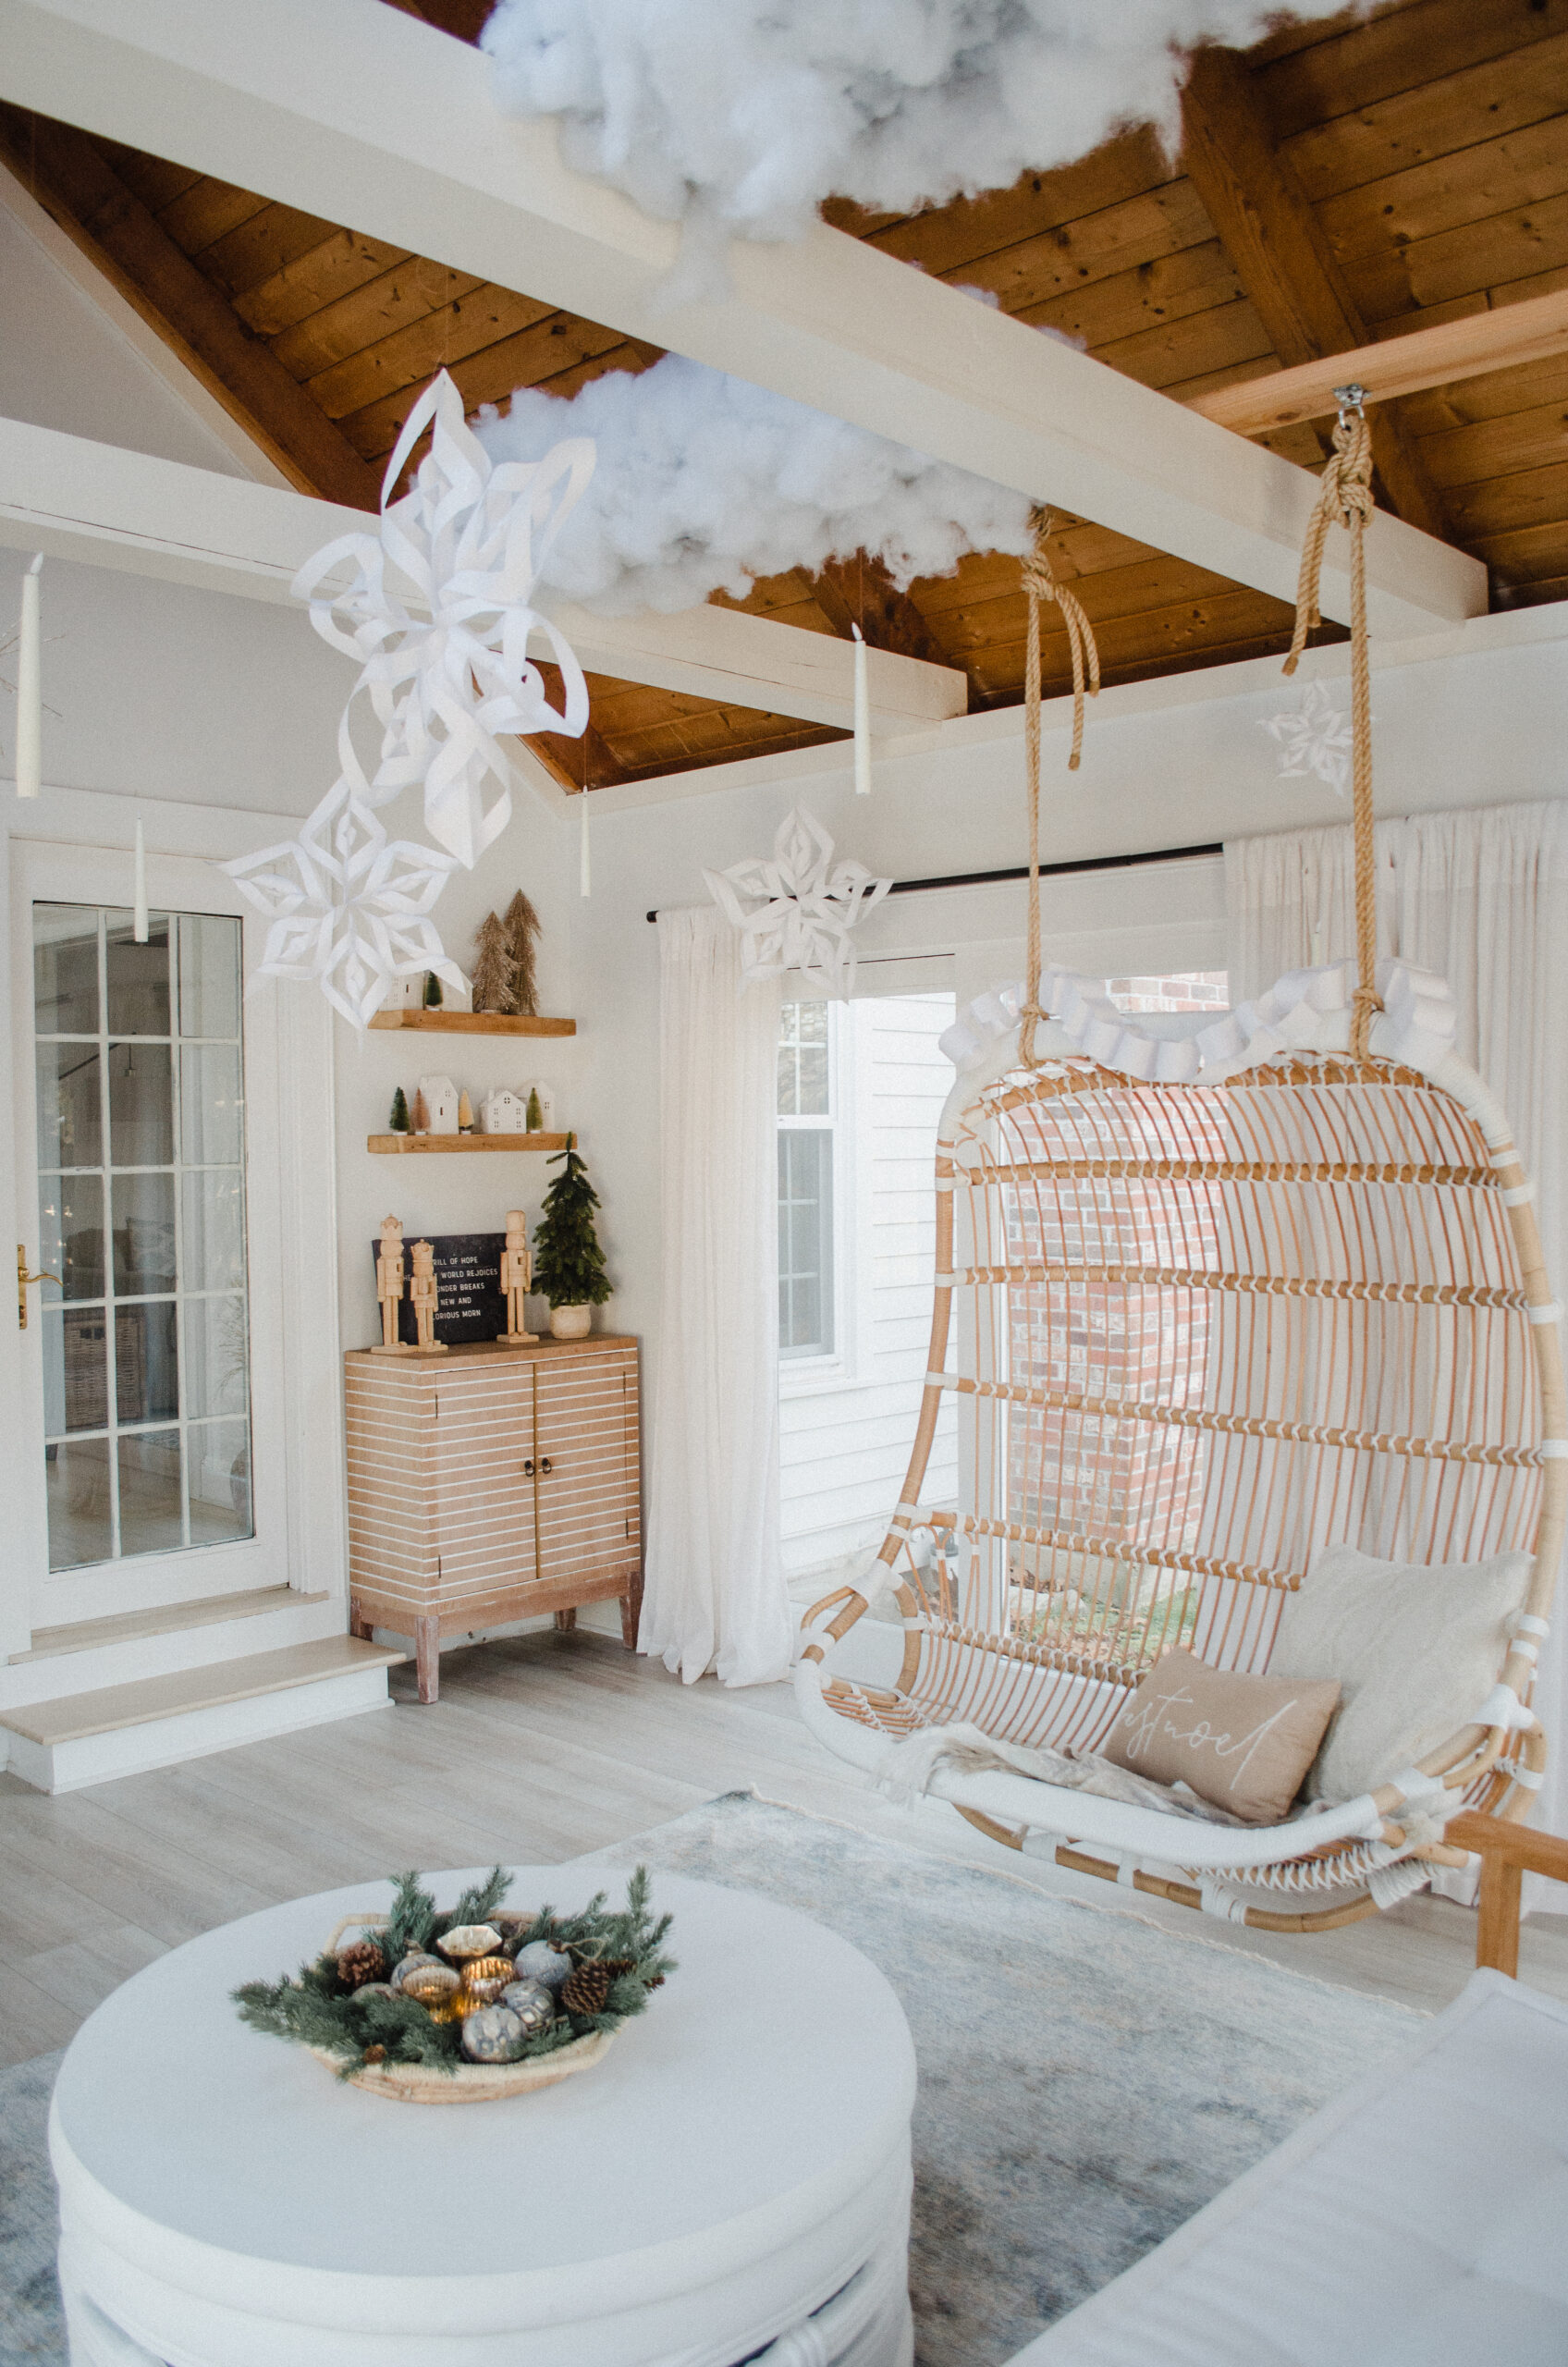
Normally when I’m decorating a room, the ceiling is not a section I’m too worried about. But, this room is unique in many ways and the ceiling is one of them! During the Halloween season, I tackled a few DIY projects to adorn the ceiling in Harry Potter inspired candles and clouds. This season, I tackled these 3D Snowflakes and I love the way they turned out! And, they’re super cheap and easy! Check out my tutorial for them here. All you need is 6 pieces of printer paper, tape and scissors!
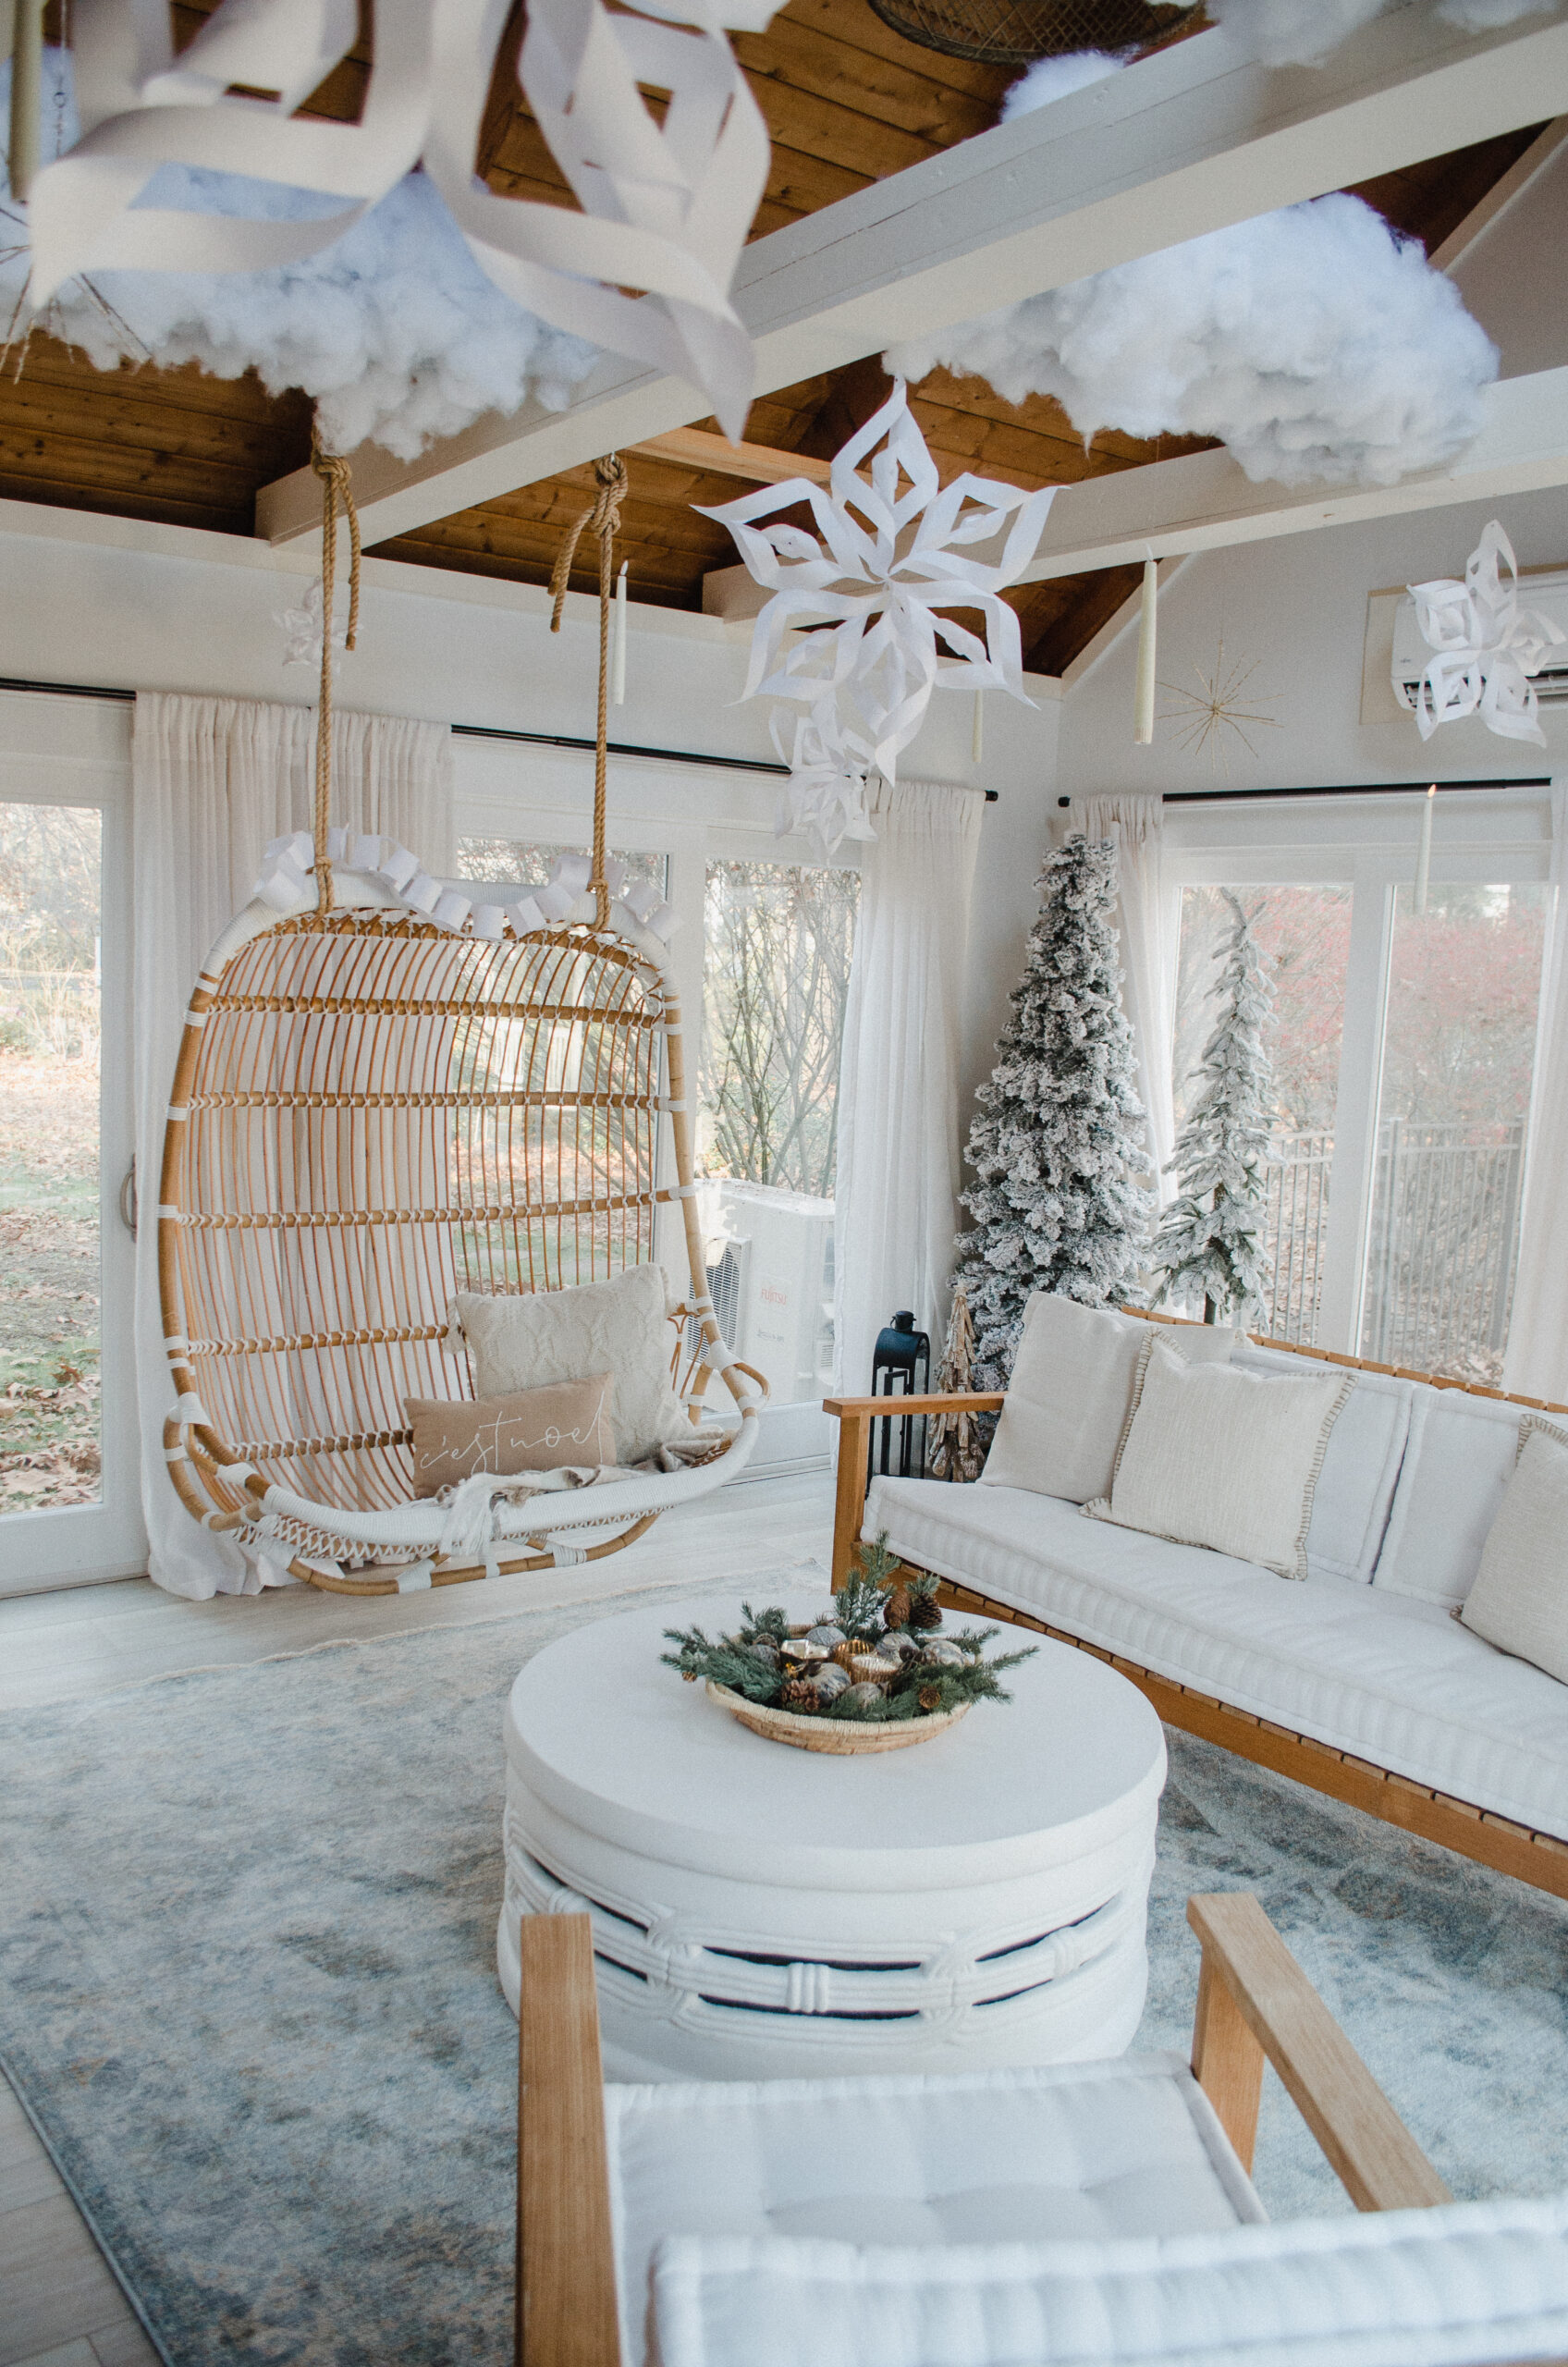
I also wove these lights from Target throughout my ceiling decor and I really think this pop of gold helped elevate the whole space!
Shelving
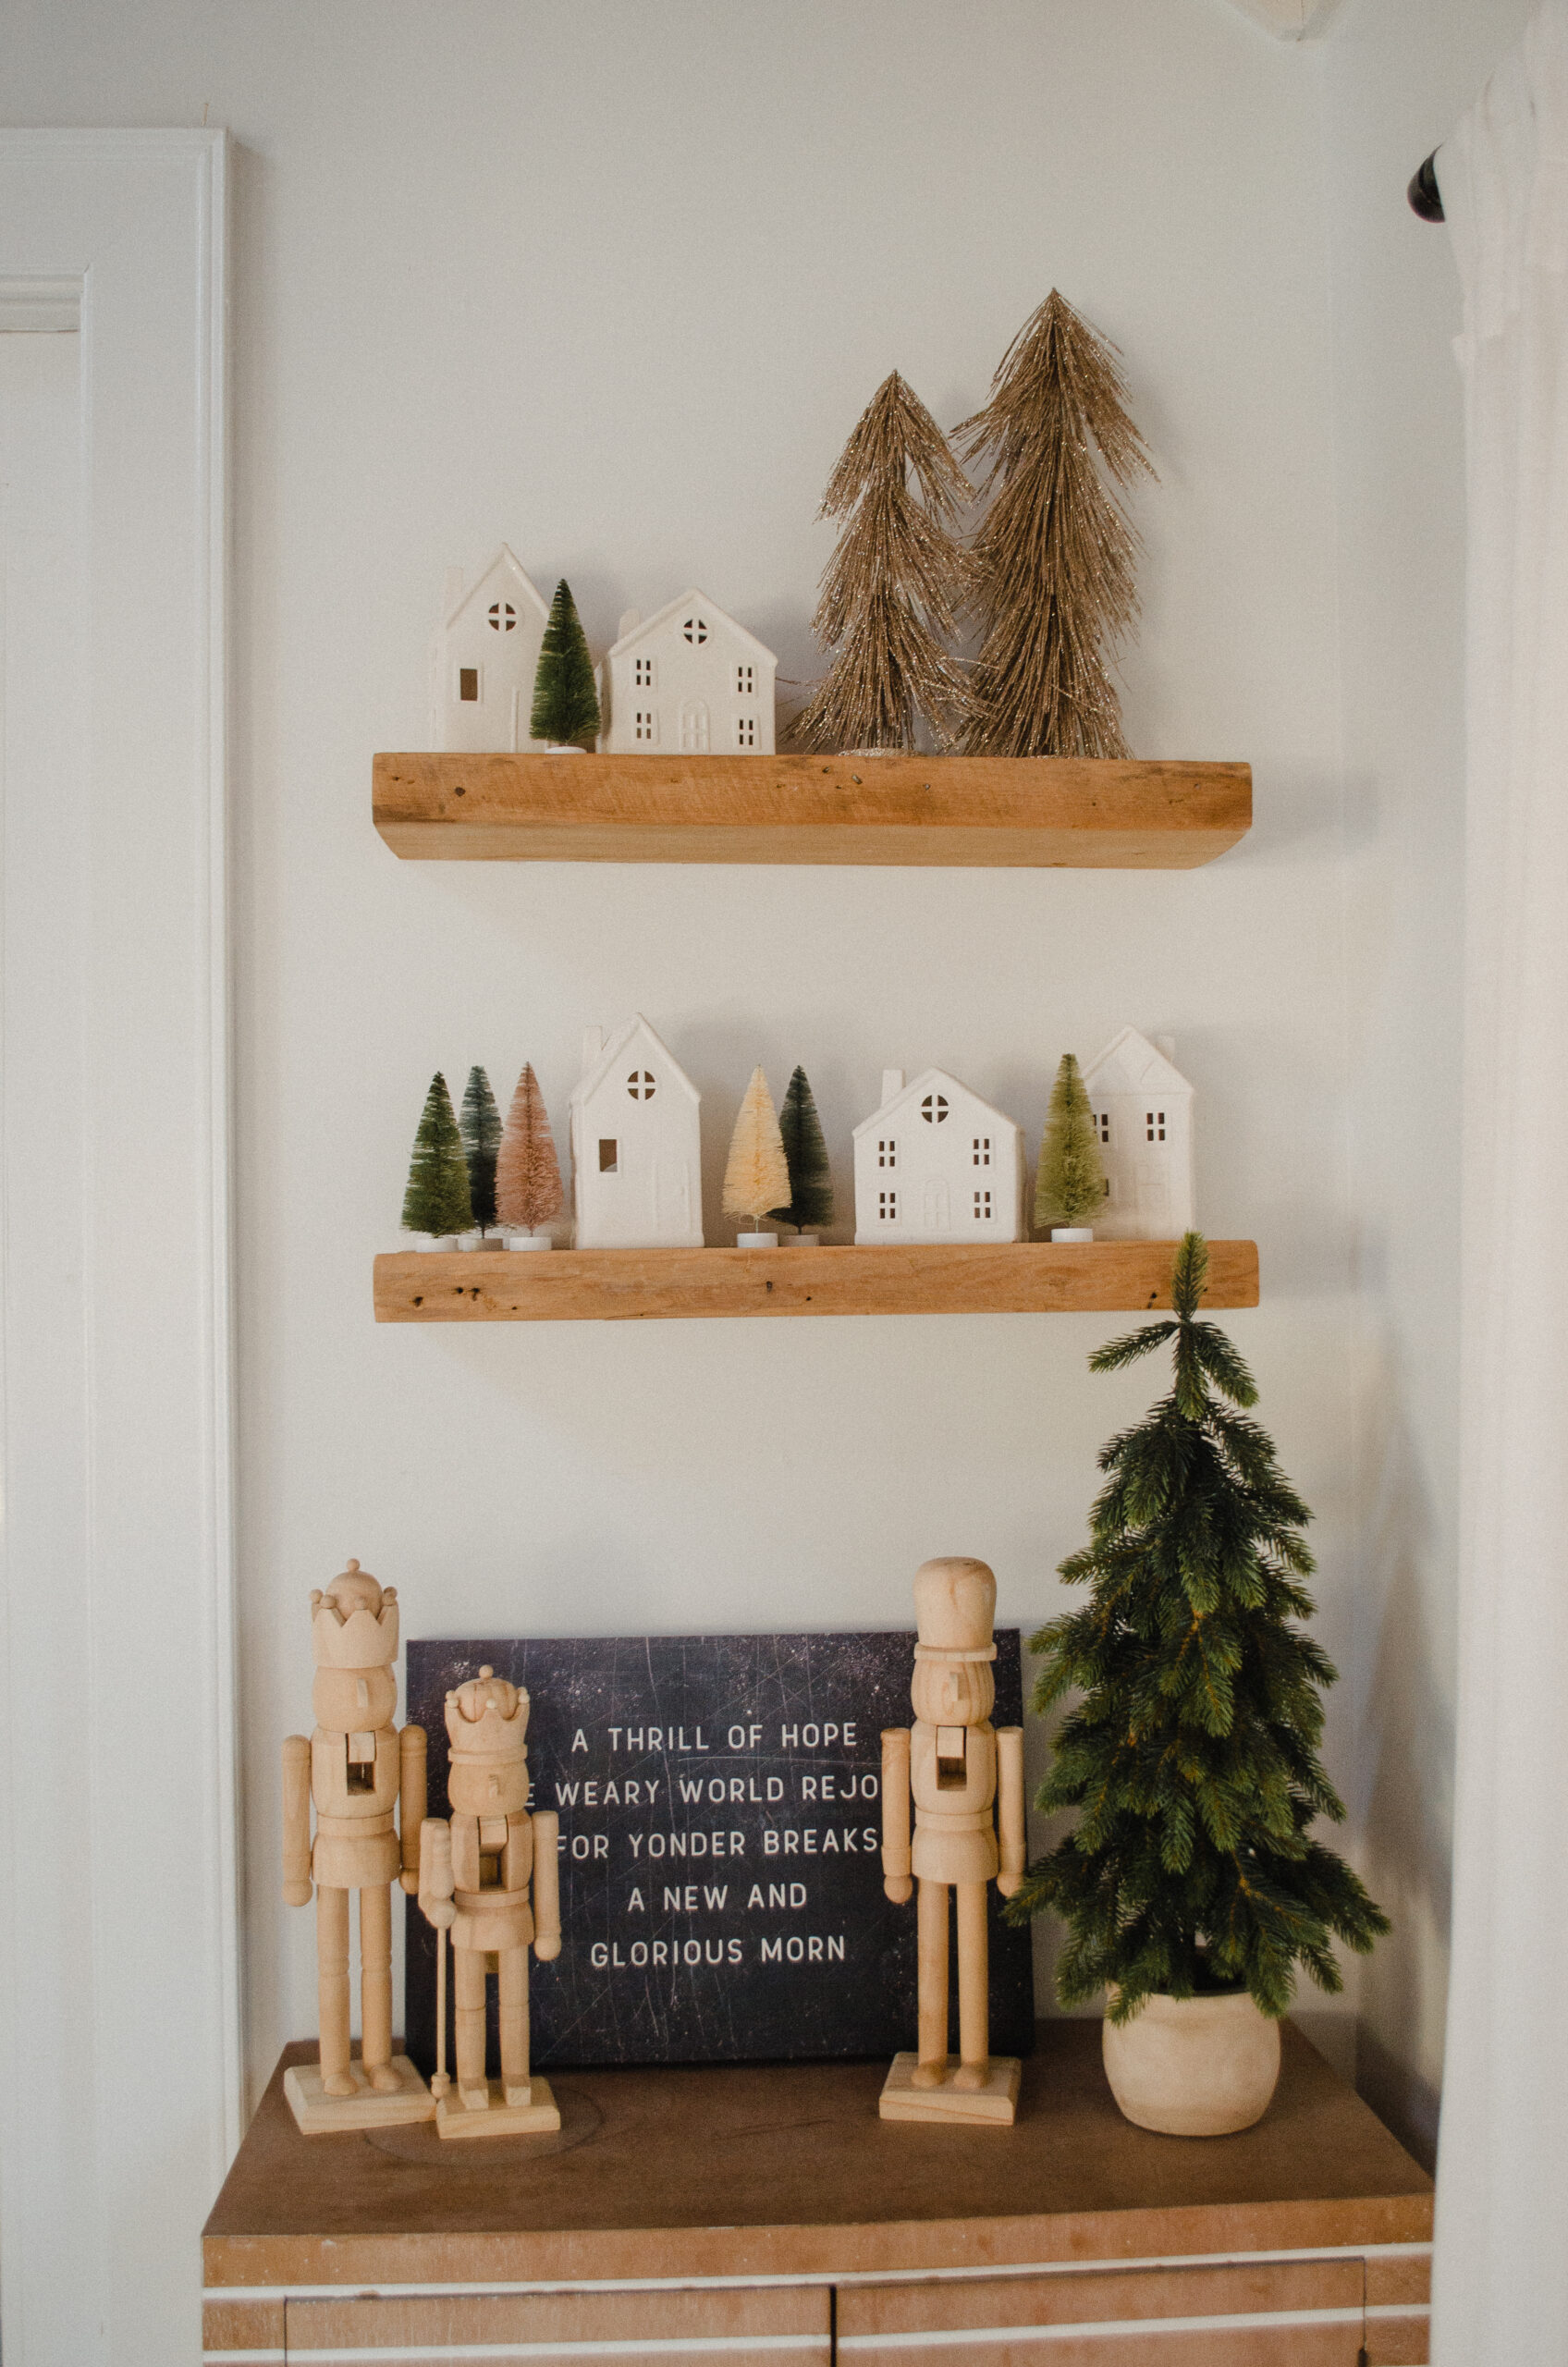
The shelving in this room is always fun to decorate and I’m really happy with the final product! I started with the bottom layer, which is more of a table-scape than a shelf set up. I took advantage of the room between the top of my table and bottom of my lowest shelf and used a lot of my tall decor here. My nutcrackers and tree (linking a similar one here) help draw the eye up and keep your gaze elevated. I also felt like it was the perfect place for this piece I have from Lindsey Letters Co. I have a bunch of her pieces and love her work! My bottom shelf has the lowest ceiling, so I put some bottle brush trees and ceramic house candle holders here. The final product emulated a sort of whimsical Christmas town (similar to my playroom mantel scape)! Finally the top shelf carried over from the bottom, but I added these metallic trees as well (linking similar ones here).
Coffee Table Centerpiece

This centerpiece is really fun and super easy! I actually cut up some old garland to get the greenery for this set up! It’s a great way to repurpose old garland that you may have grown tired of. Next I scattered these vintage inspired ornaments and mercury glass votives. This made for a great, festive centerpiece that helped me bring the “forest” aesthetic to the coffee table without adding another tree.
The Forest
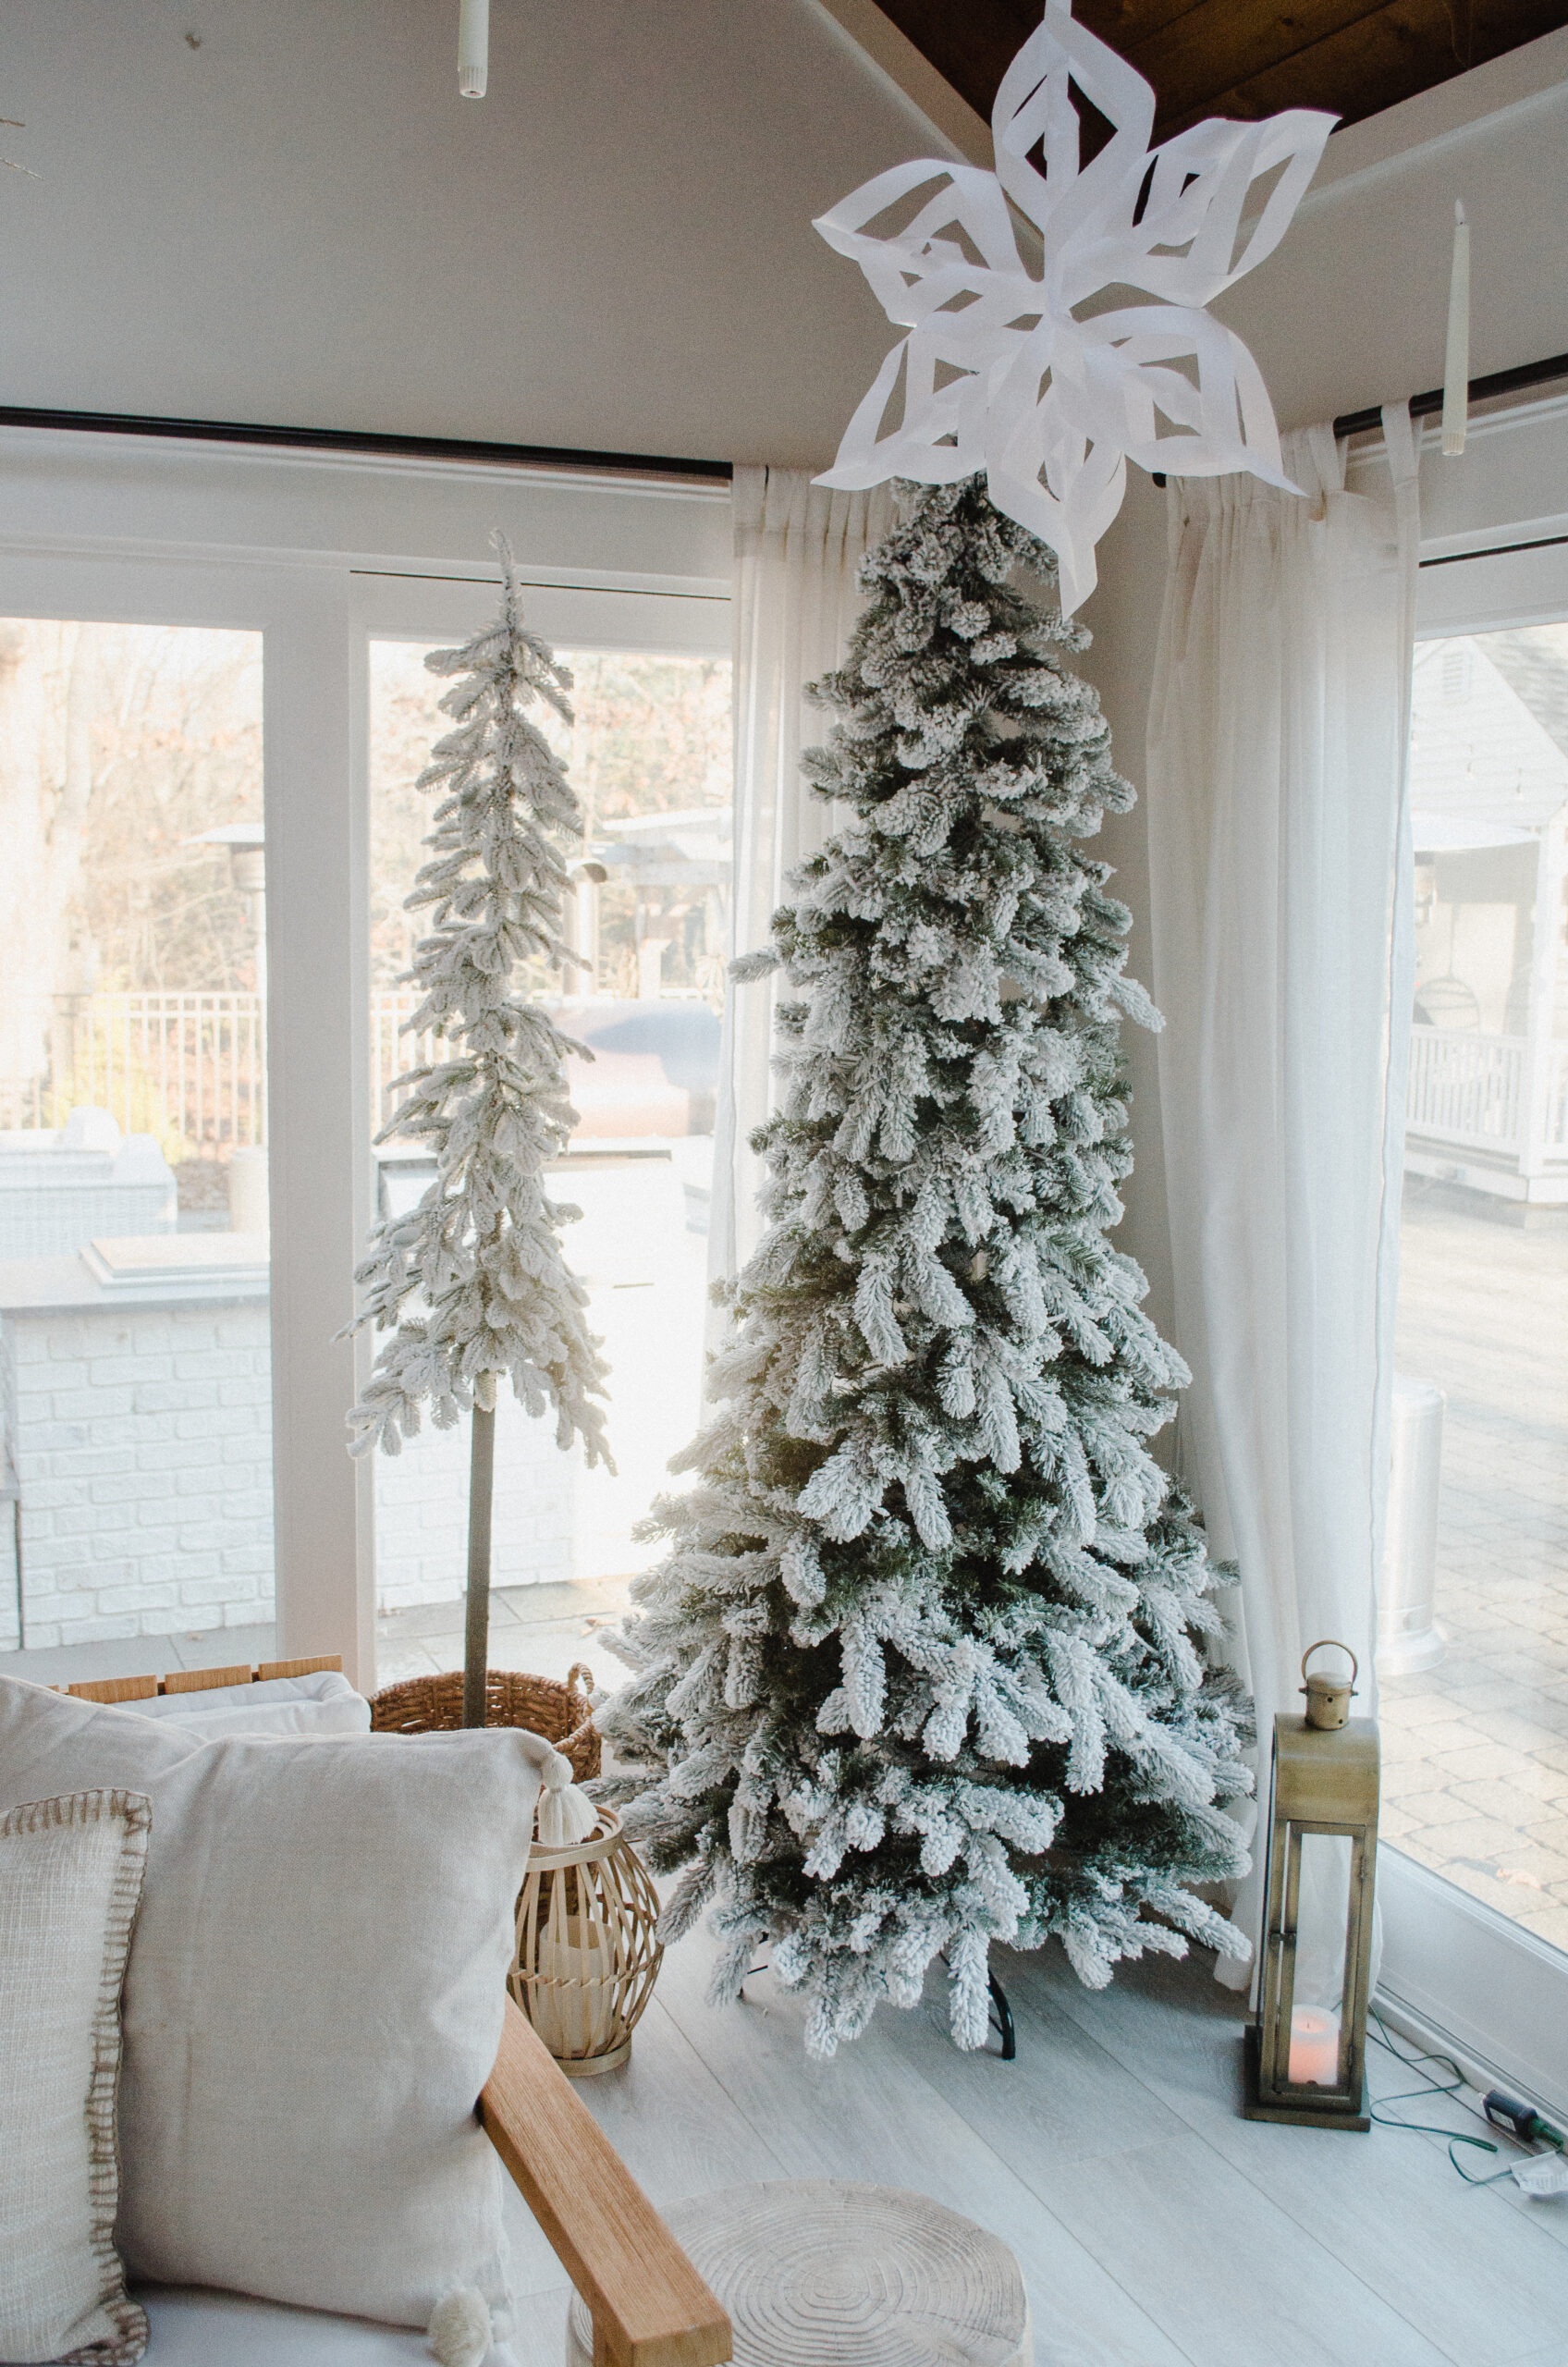
In this room I wanted to find a way to display some bare trees for a rawer, more natural look. To achieve this, I layered my King of Christmas trees with accessories of varying heights to add depth and dimension. In decorating their immediate surroundings, I was able to leave my trees bare. I also added additional trees of different proportions (linking a similar one here) that enhanced the depth even more! I left the bottoms of the larger trees bare, but housed the tall, skinny trees in these baskets.
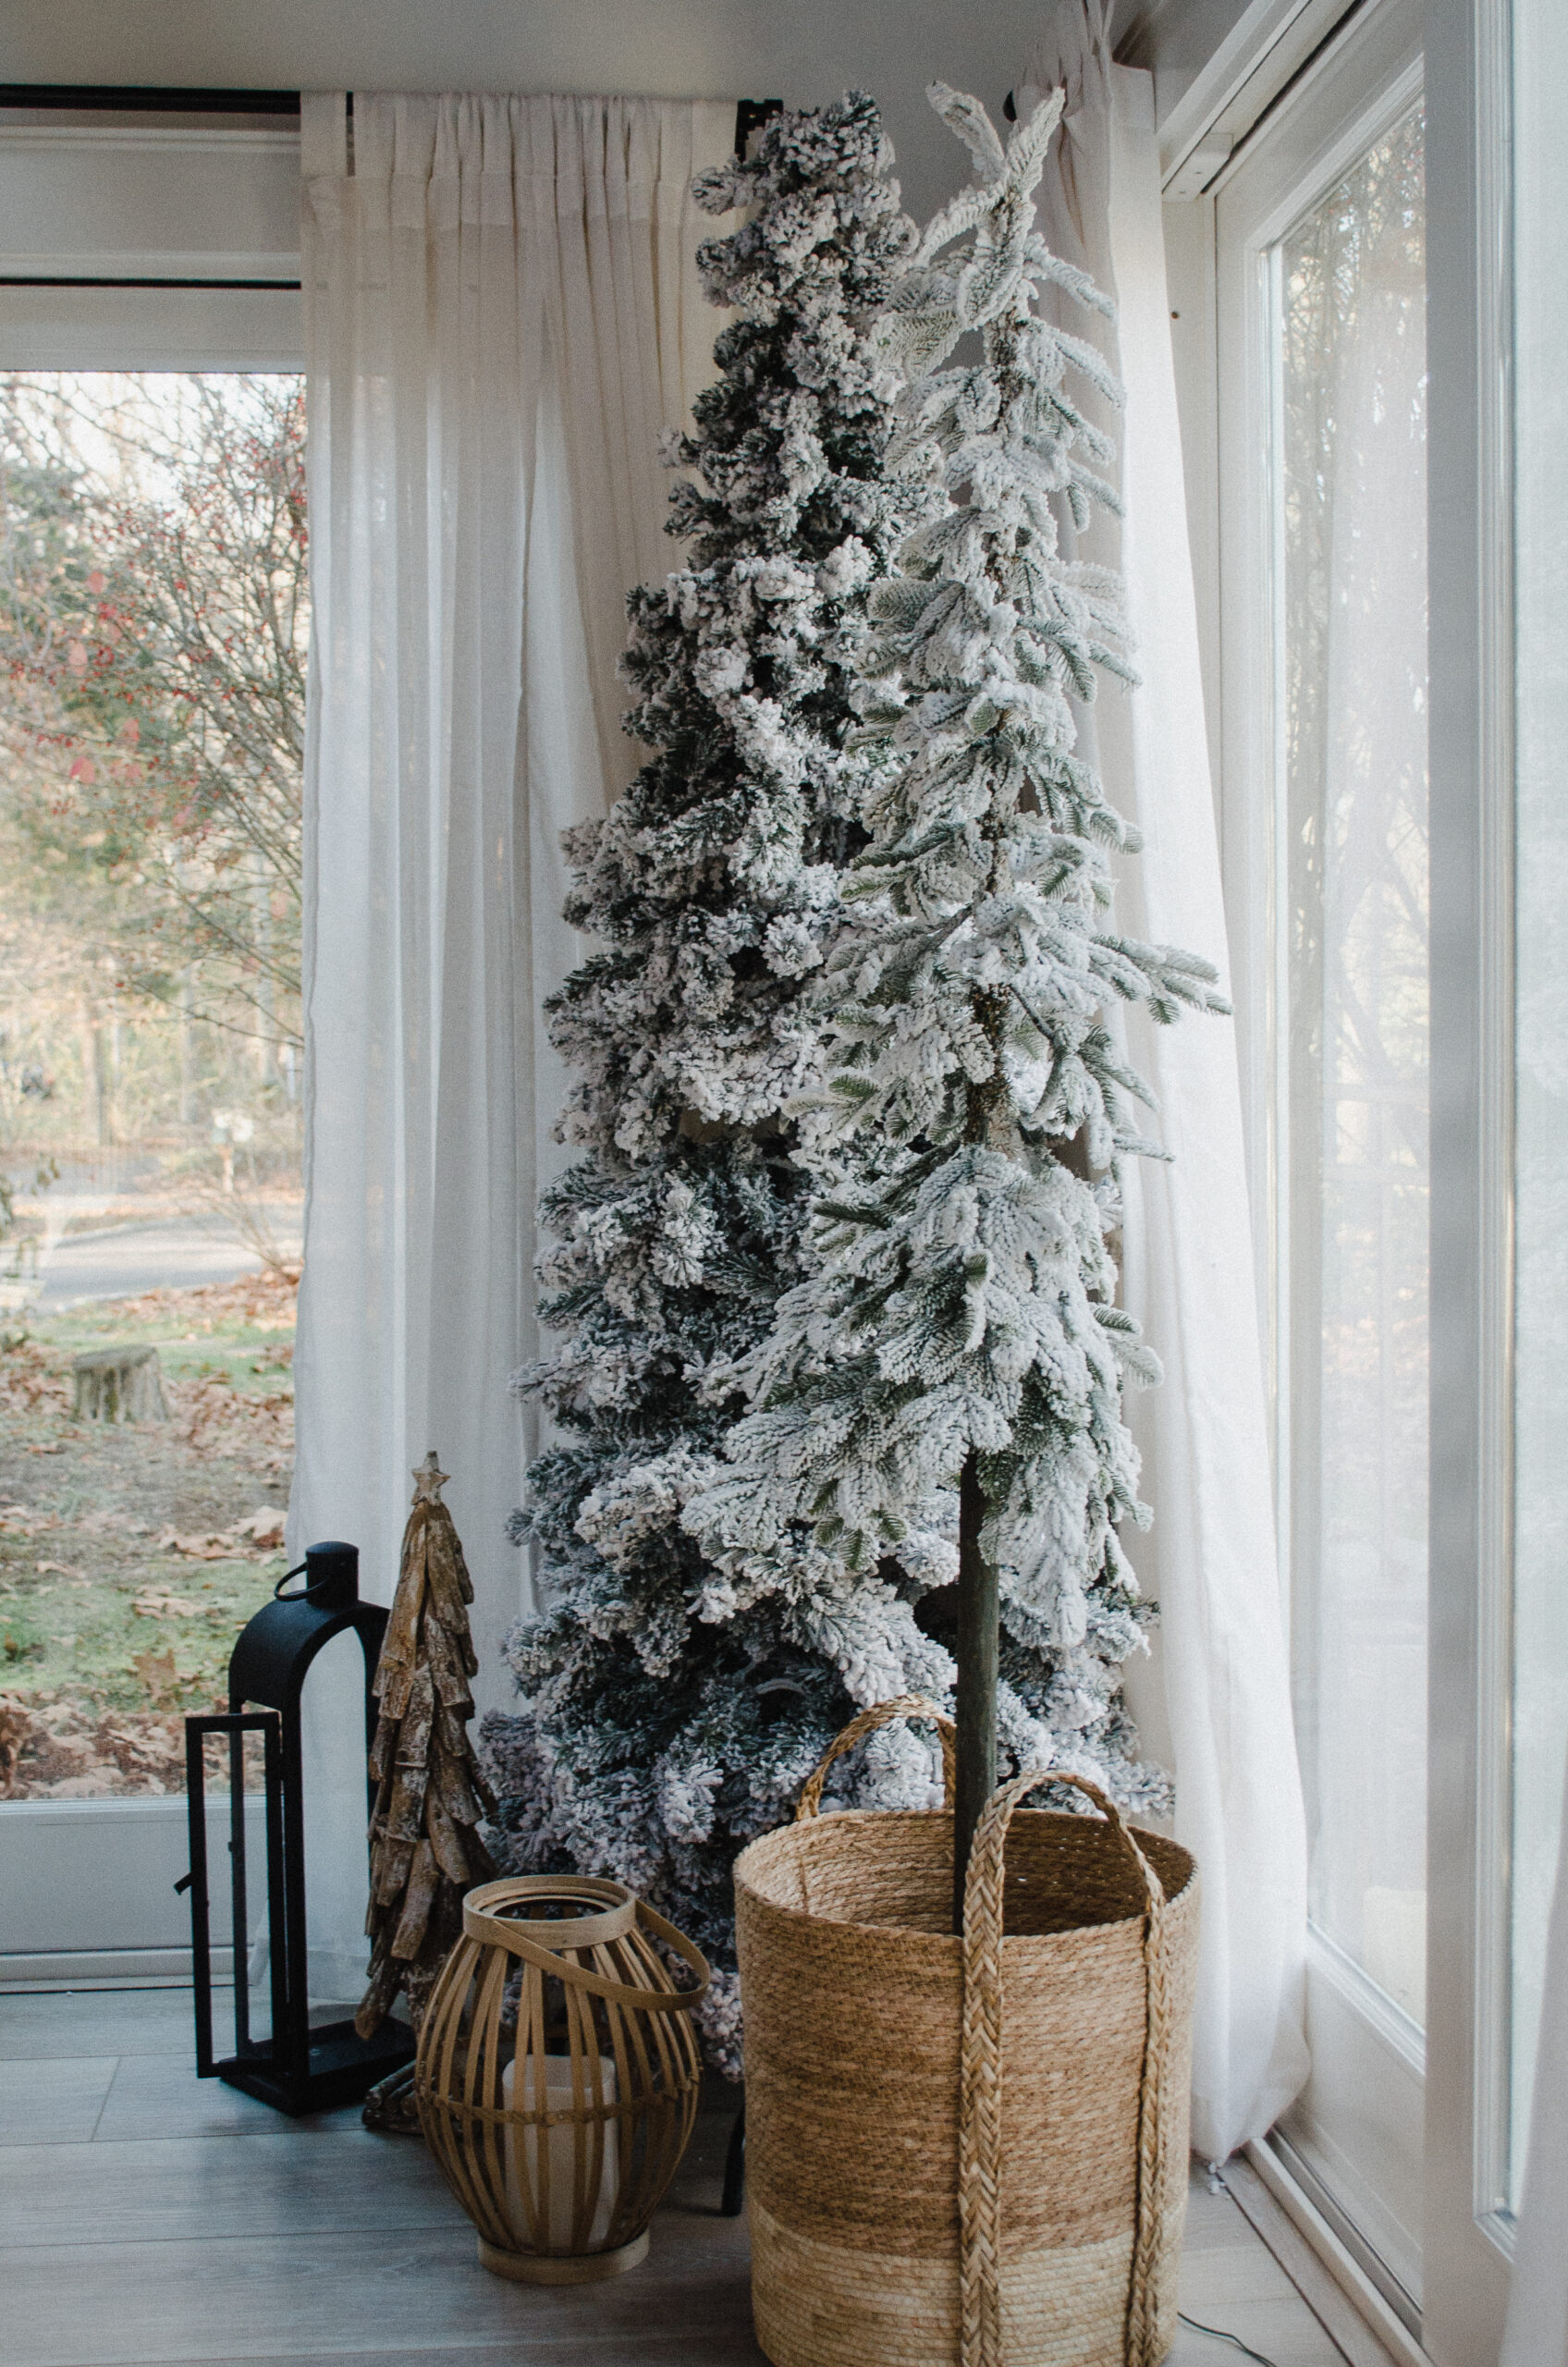
Surrounding the tree, I peppered in some lanterns of varying textures, one metal and one rattan, and this drift wood tree (linking a similar one here). I think this layering technique is a great way to decorate the area of your tree without decorating the tree itself!
Details
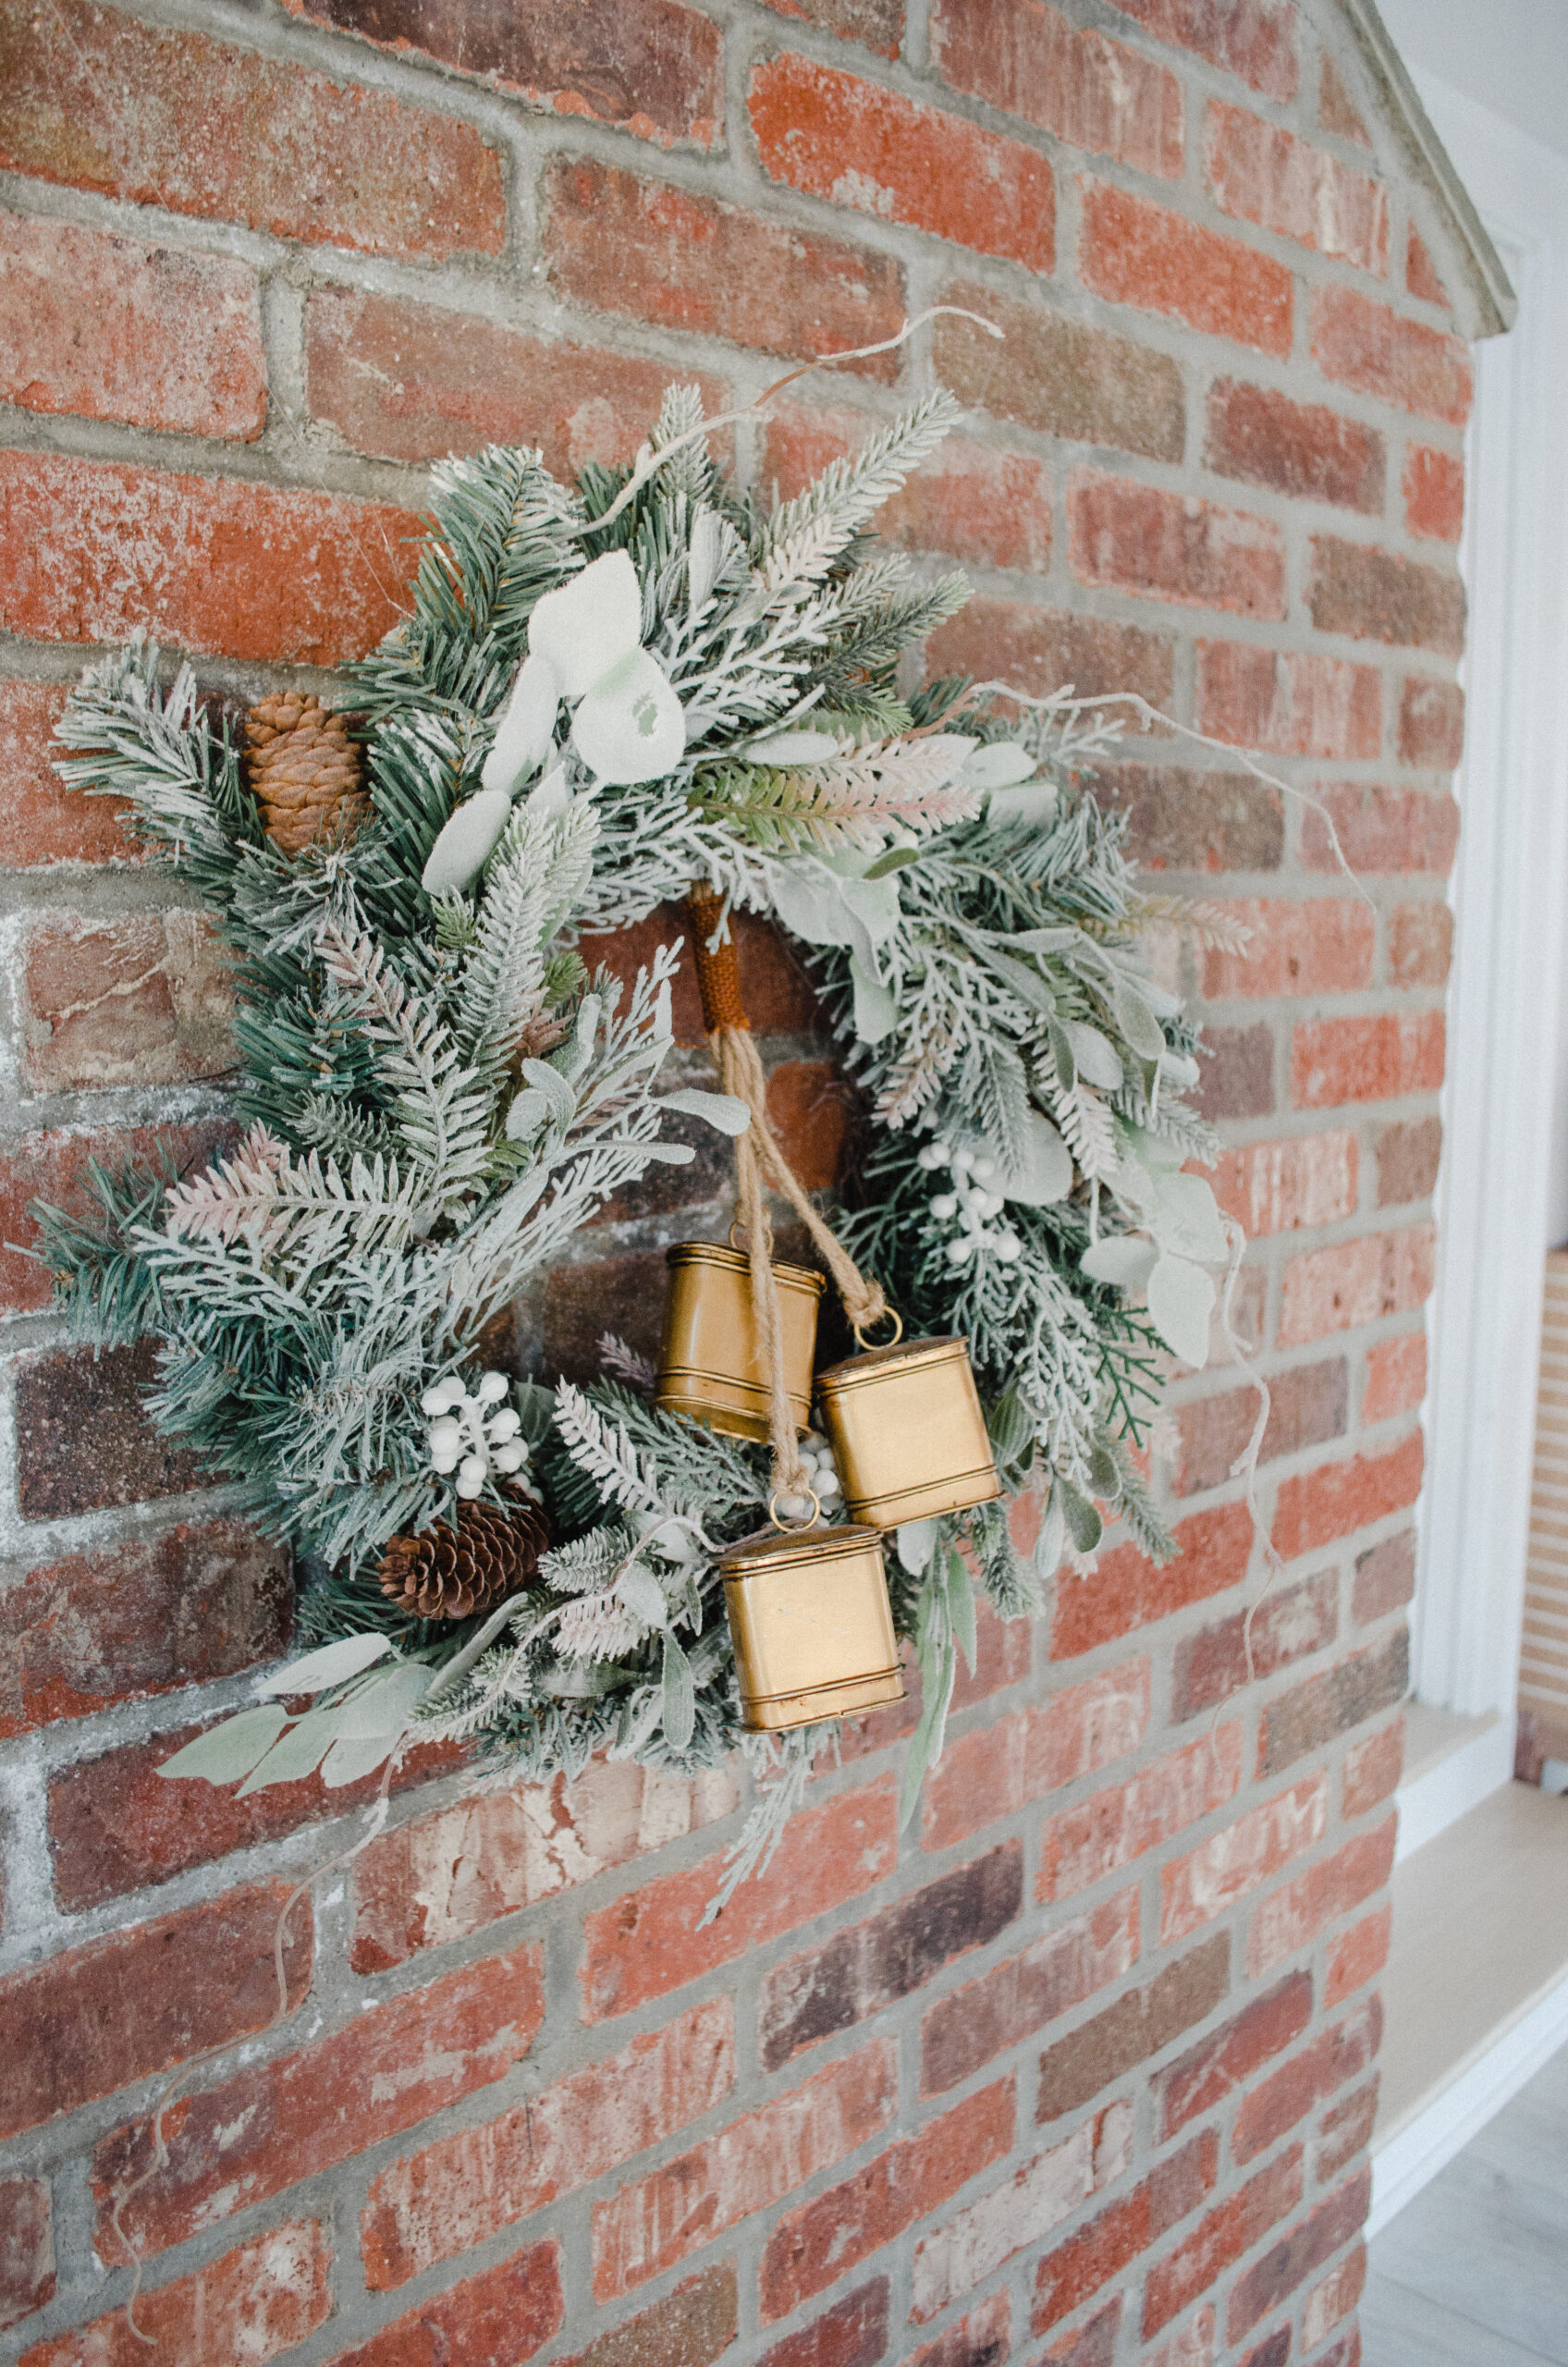
The fireplace in my family room (see it decorated for Christmas here) backs up to my sun room so I have a wall of exposed brick I like to decorate in some capacity. This year, I wanted to hang a wreath on it, which proved quite difficult. I got creative with some fishing wire and now have this floating wreath effect, which definitely enhances the magic of the room! Check out this video to watch me hang it!
Final Thoughts
Overall, I’m really happy with how bright and spacious the room feels. Even with adding more hanging elements, the light colors and sparse trees help the room feel open and airy. We’ll see what I do next, maybe a Harry Potter spring??? Regardless, I know I’ll be keeping this set up for long after the Christmas holiday.




Leave a Comment