
AFFILIATE DISCLAIMER: This page contains some affiliate links, which means we may receive a small commission if you purchase through our links (at no extra cost to you). We only recommend companies that we have personally used, love, and trust. For more information please check out our disclosure policy HERE!
This post is written in collaboration with Pergo. All thoughts and opinions are my own.
It’s been a long time coming, but the bones of the kitchen are finally done! I cannot tell you how happy that makes me. Patience is not my strong suit, so to sit with an unfinished kitchen for such a long period of time was driving me borderline insane. I’ll be sharing the other details of the kitchen soon, but today I want to show you the crazy difference of the before and after of our Pergo flooring.
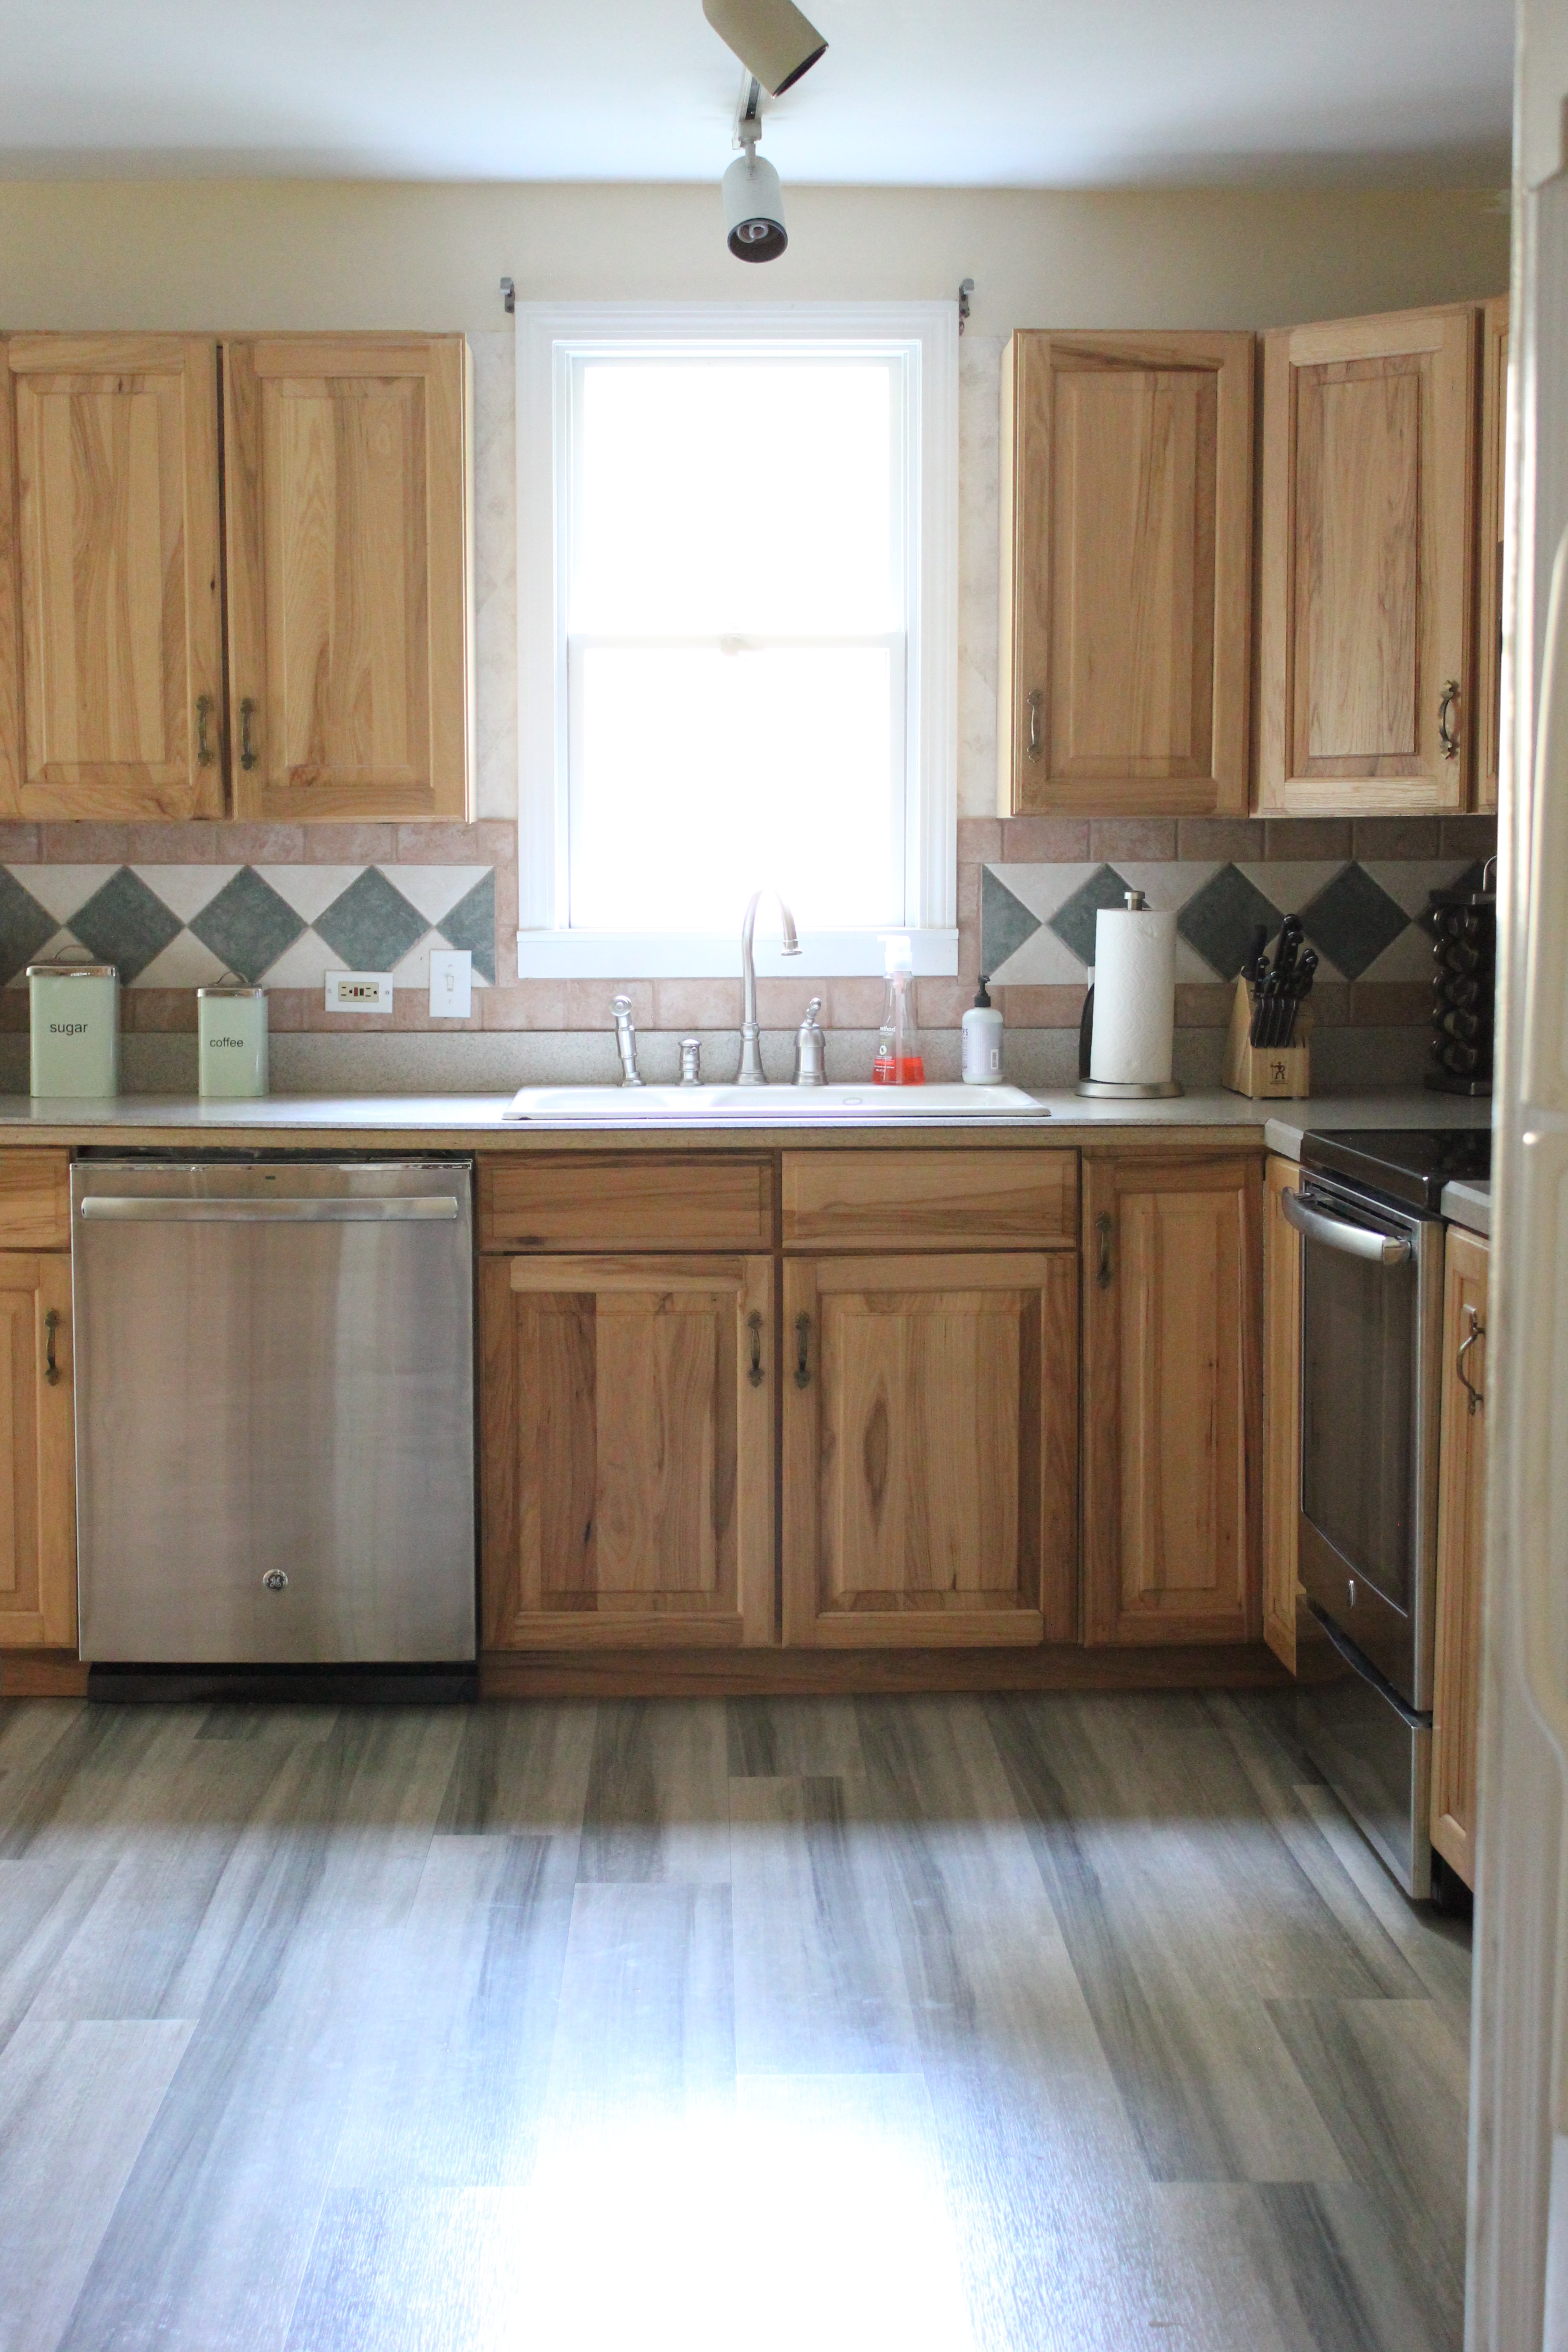
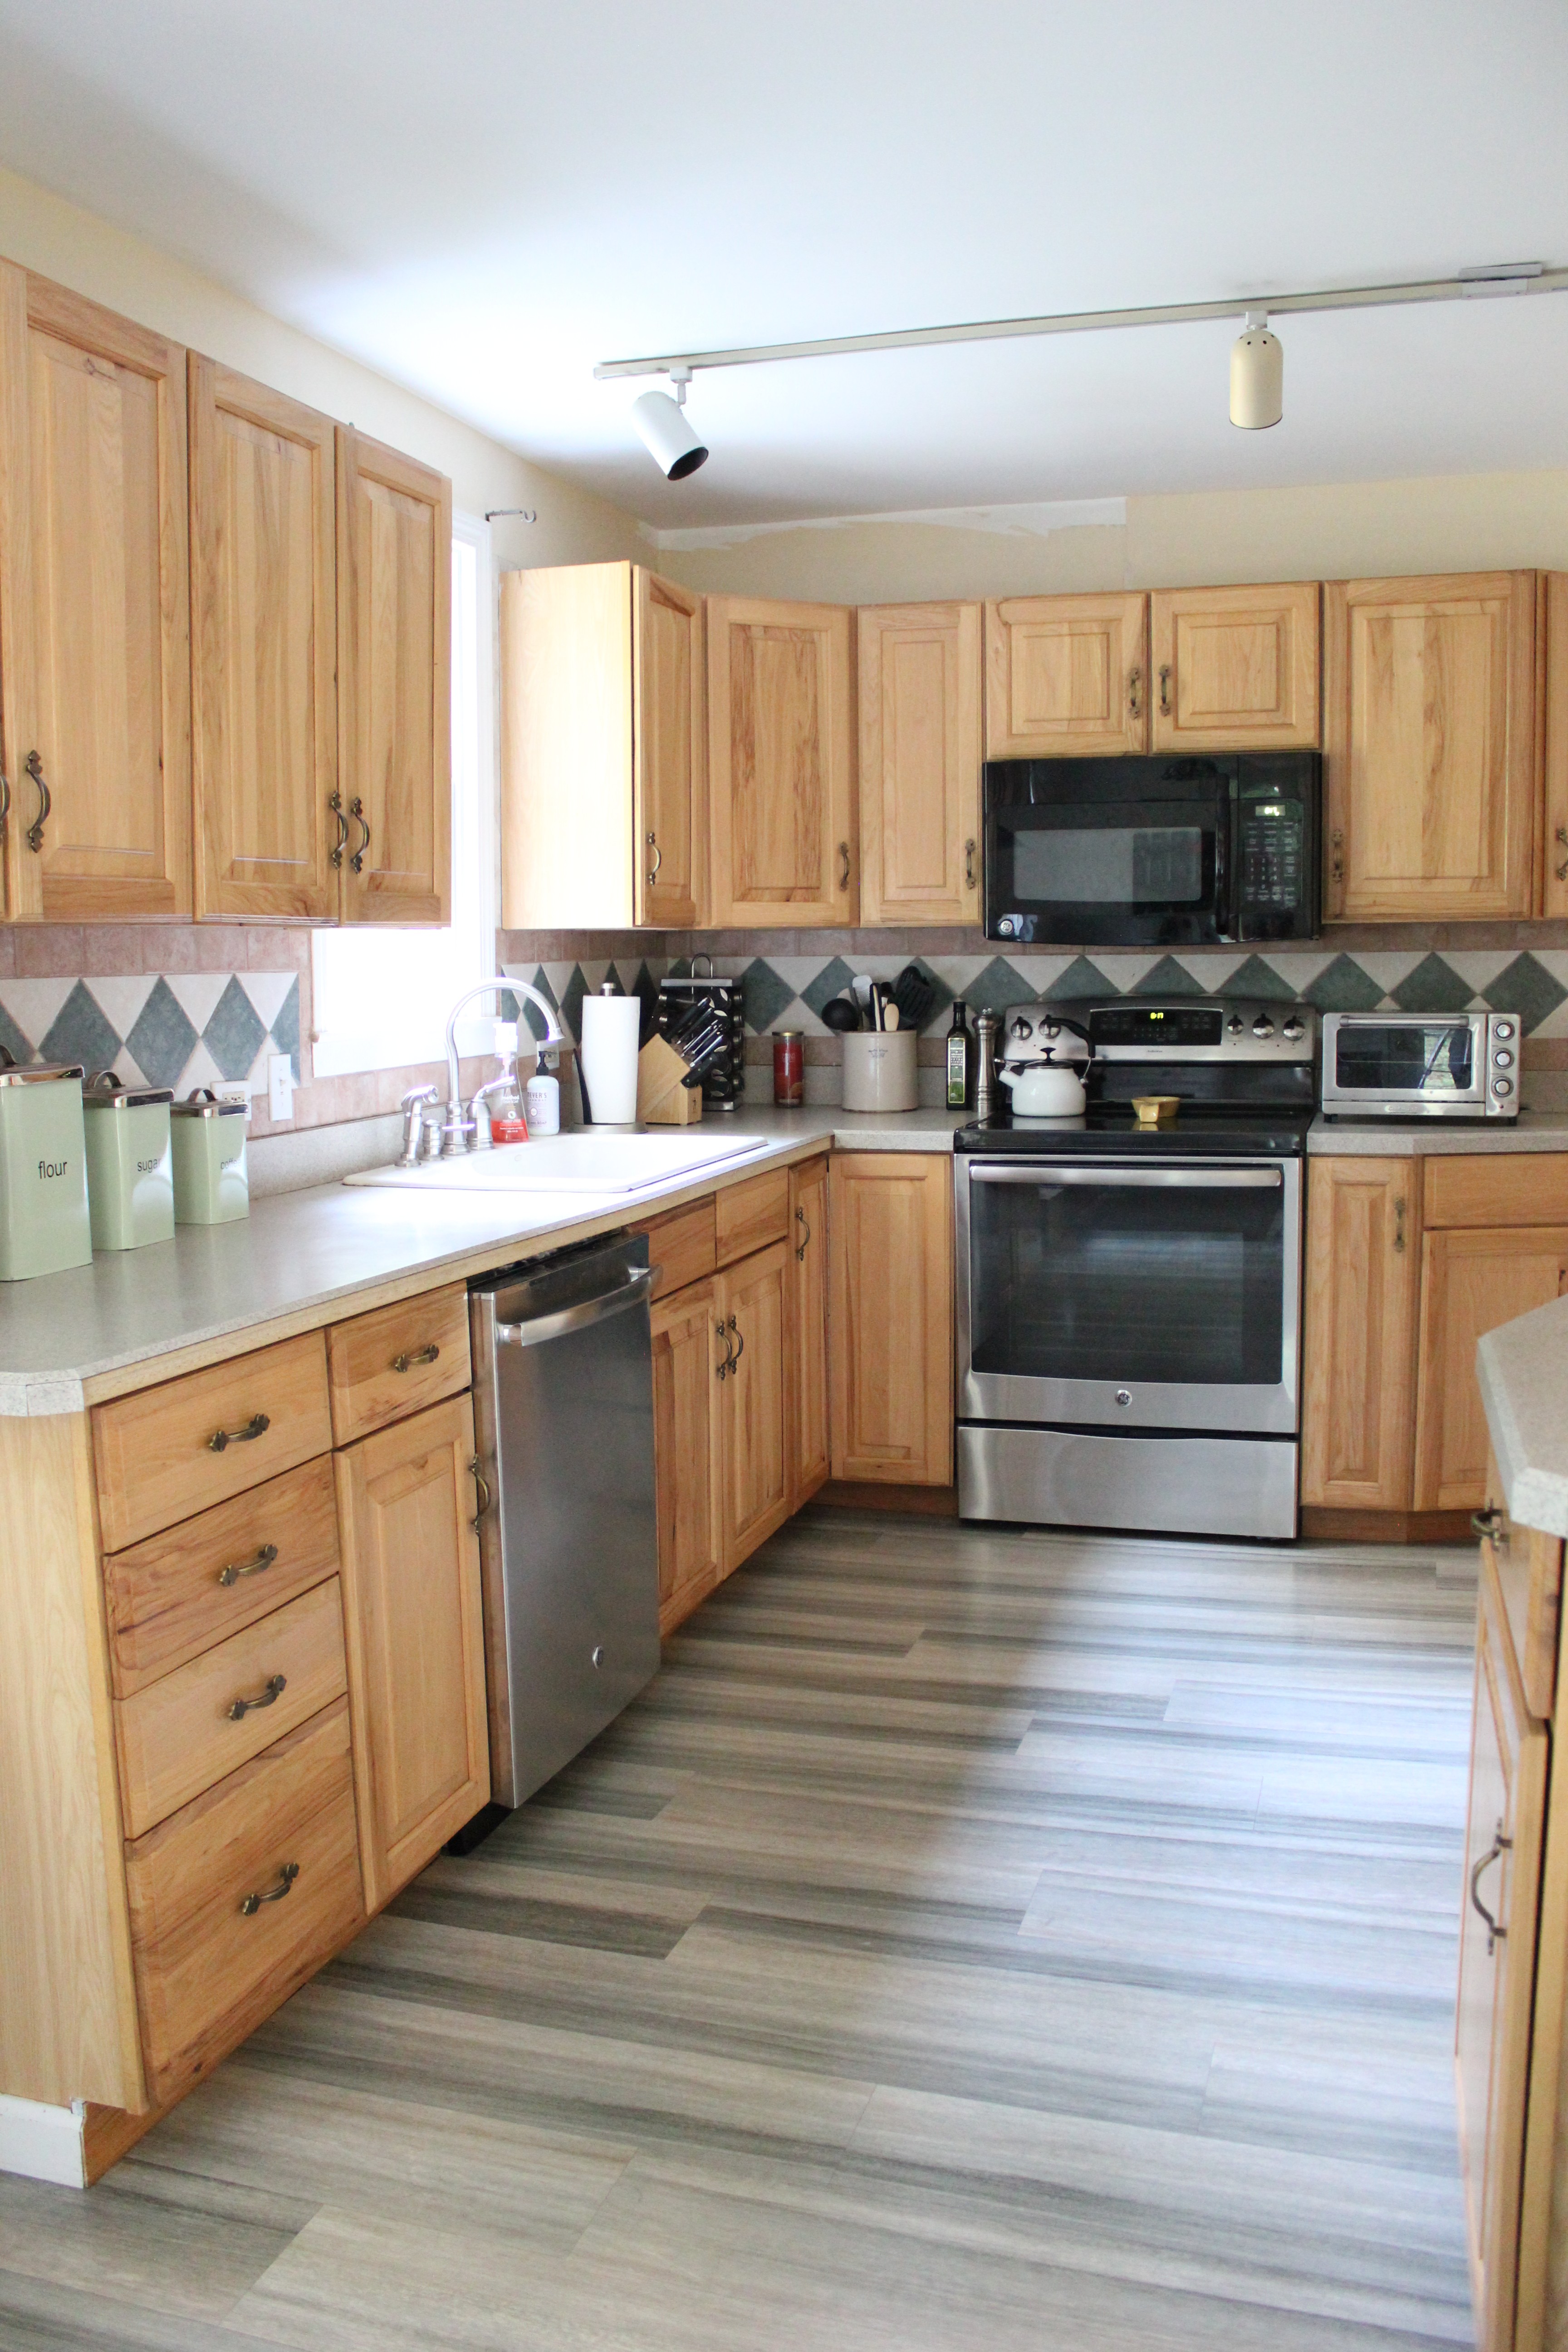
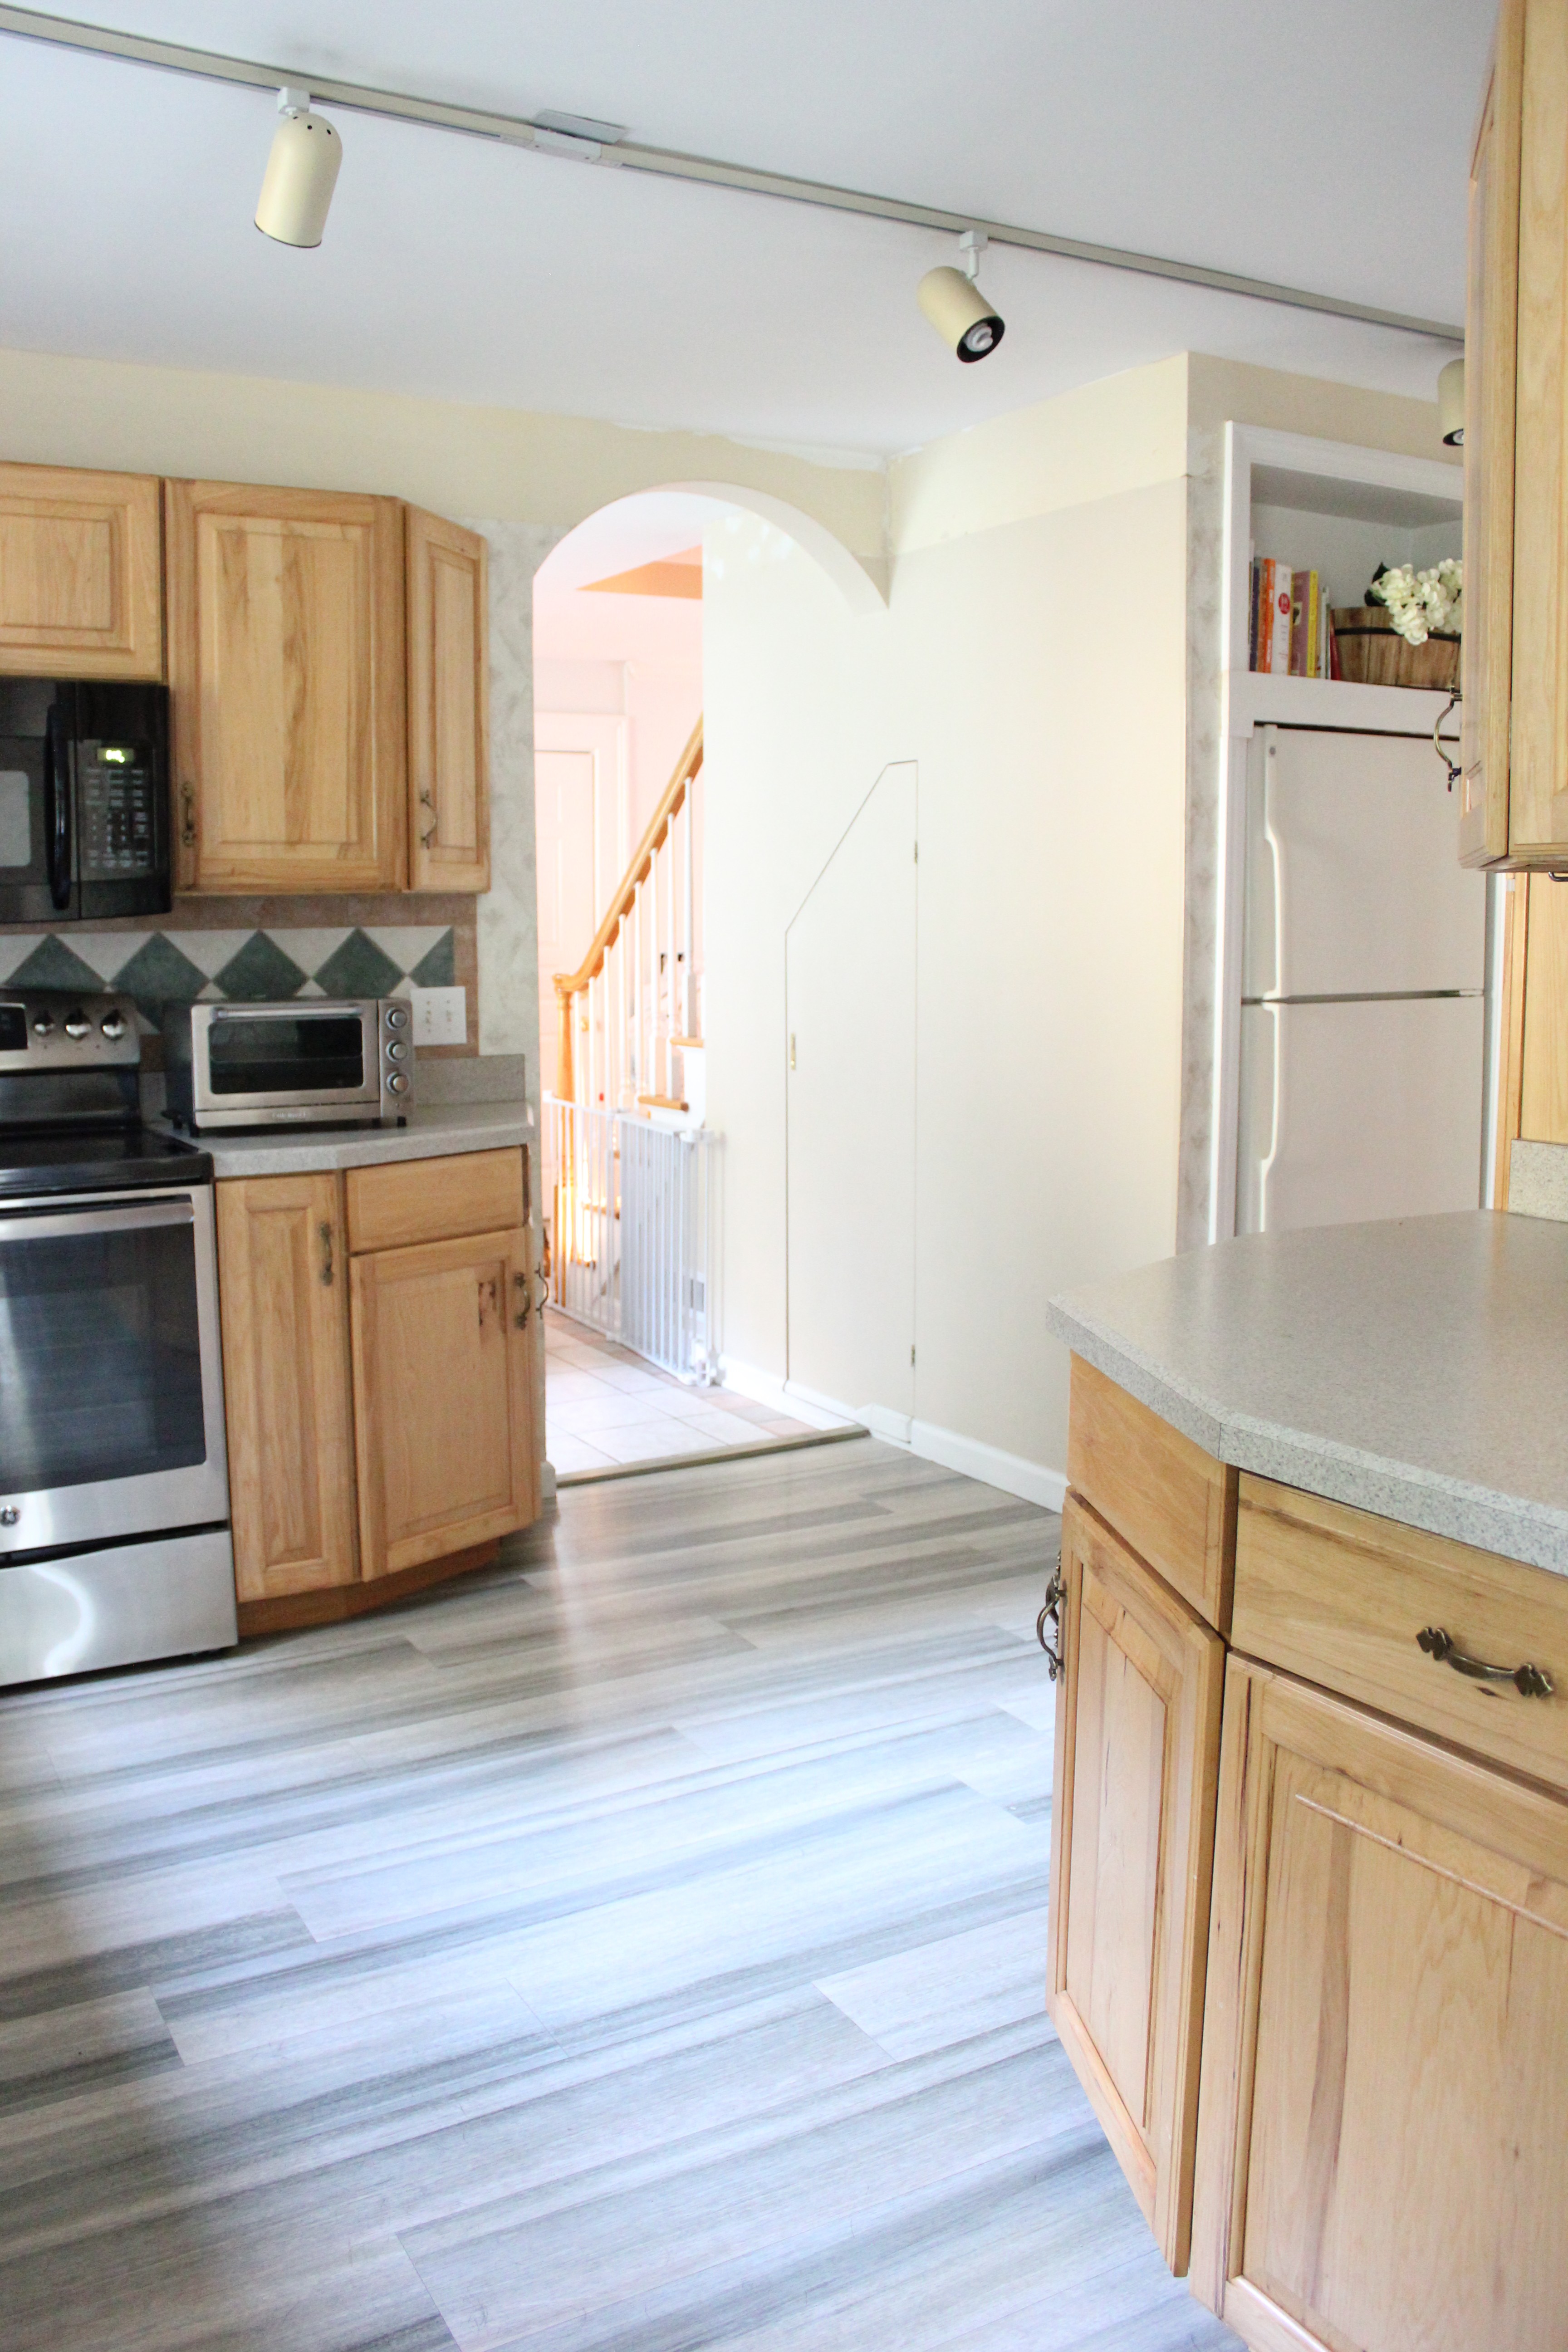
One of the features we loved about this house was the potential we knew it had. When we walked into this kitchen for the first time, I could see past the oak cabinets and pickled wood laminate flooring. This flooring was actually Pergo that was installed years ago. It was in great condition (which proves how well Pergo holds up over time), but not my style, so we planned on replacing it with a more natural looking flooring.
BEFORE
AFTER

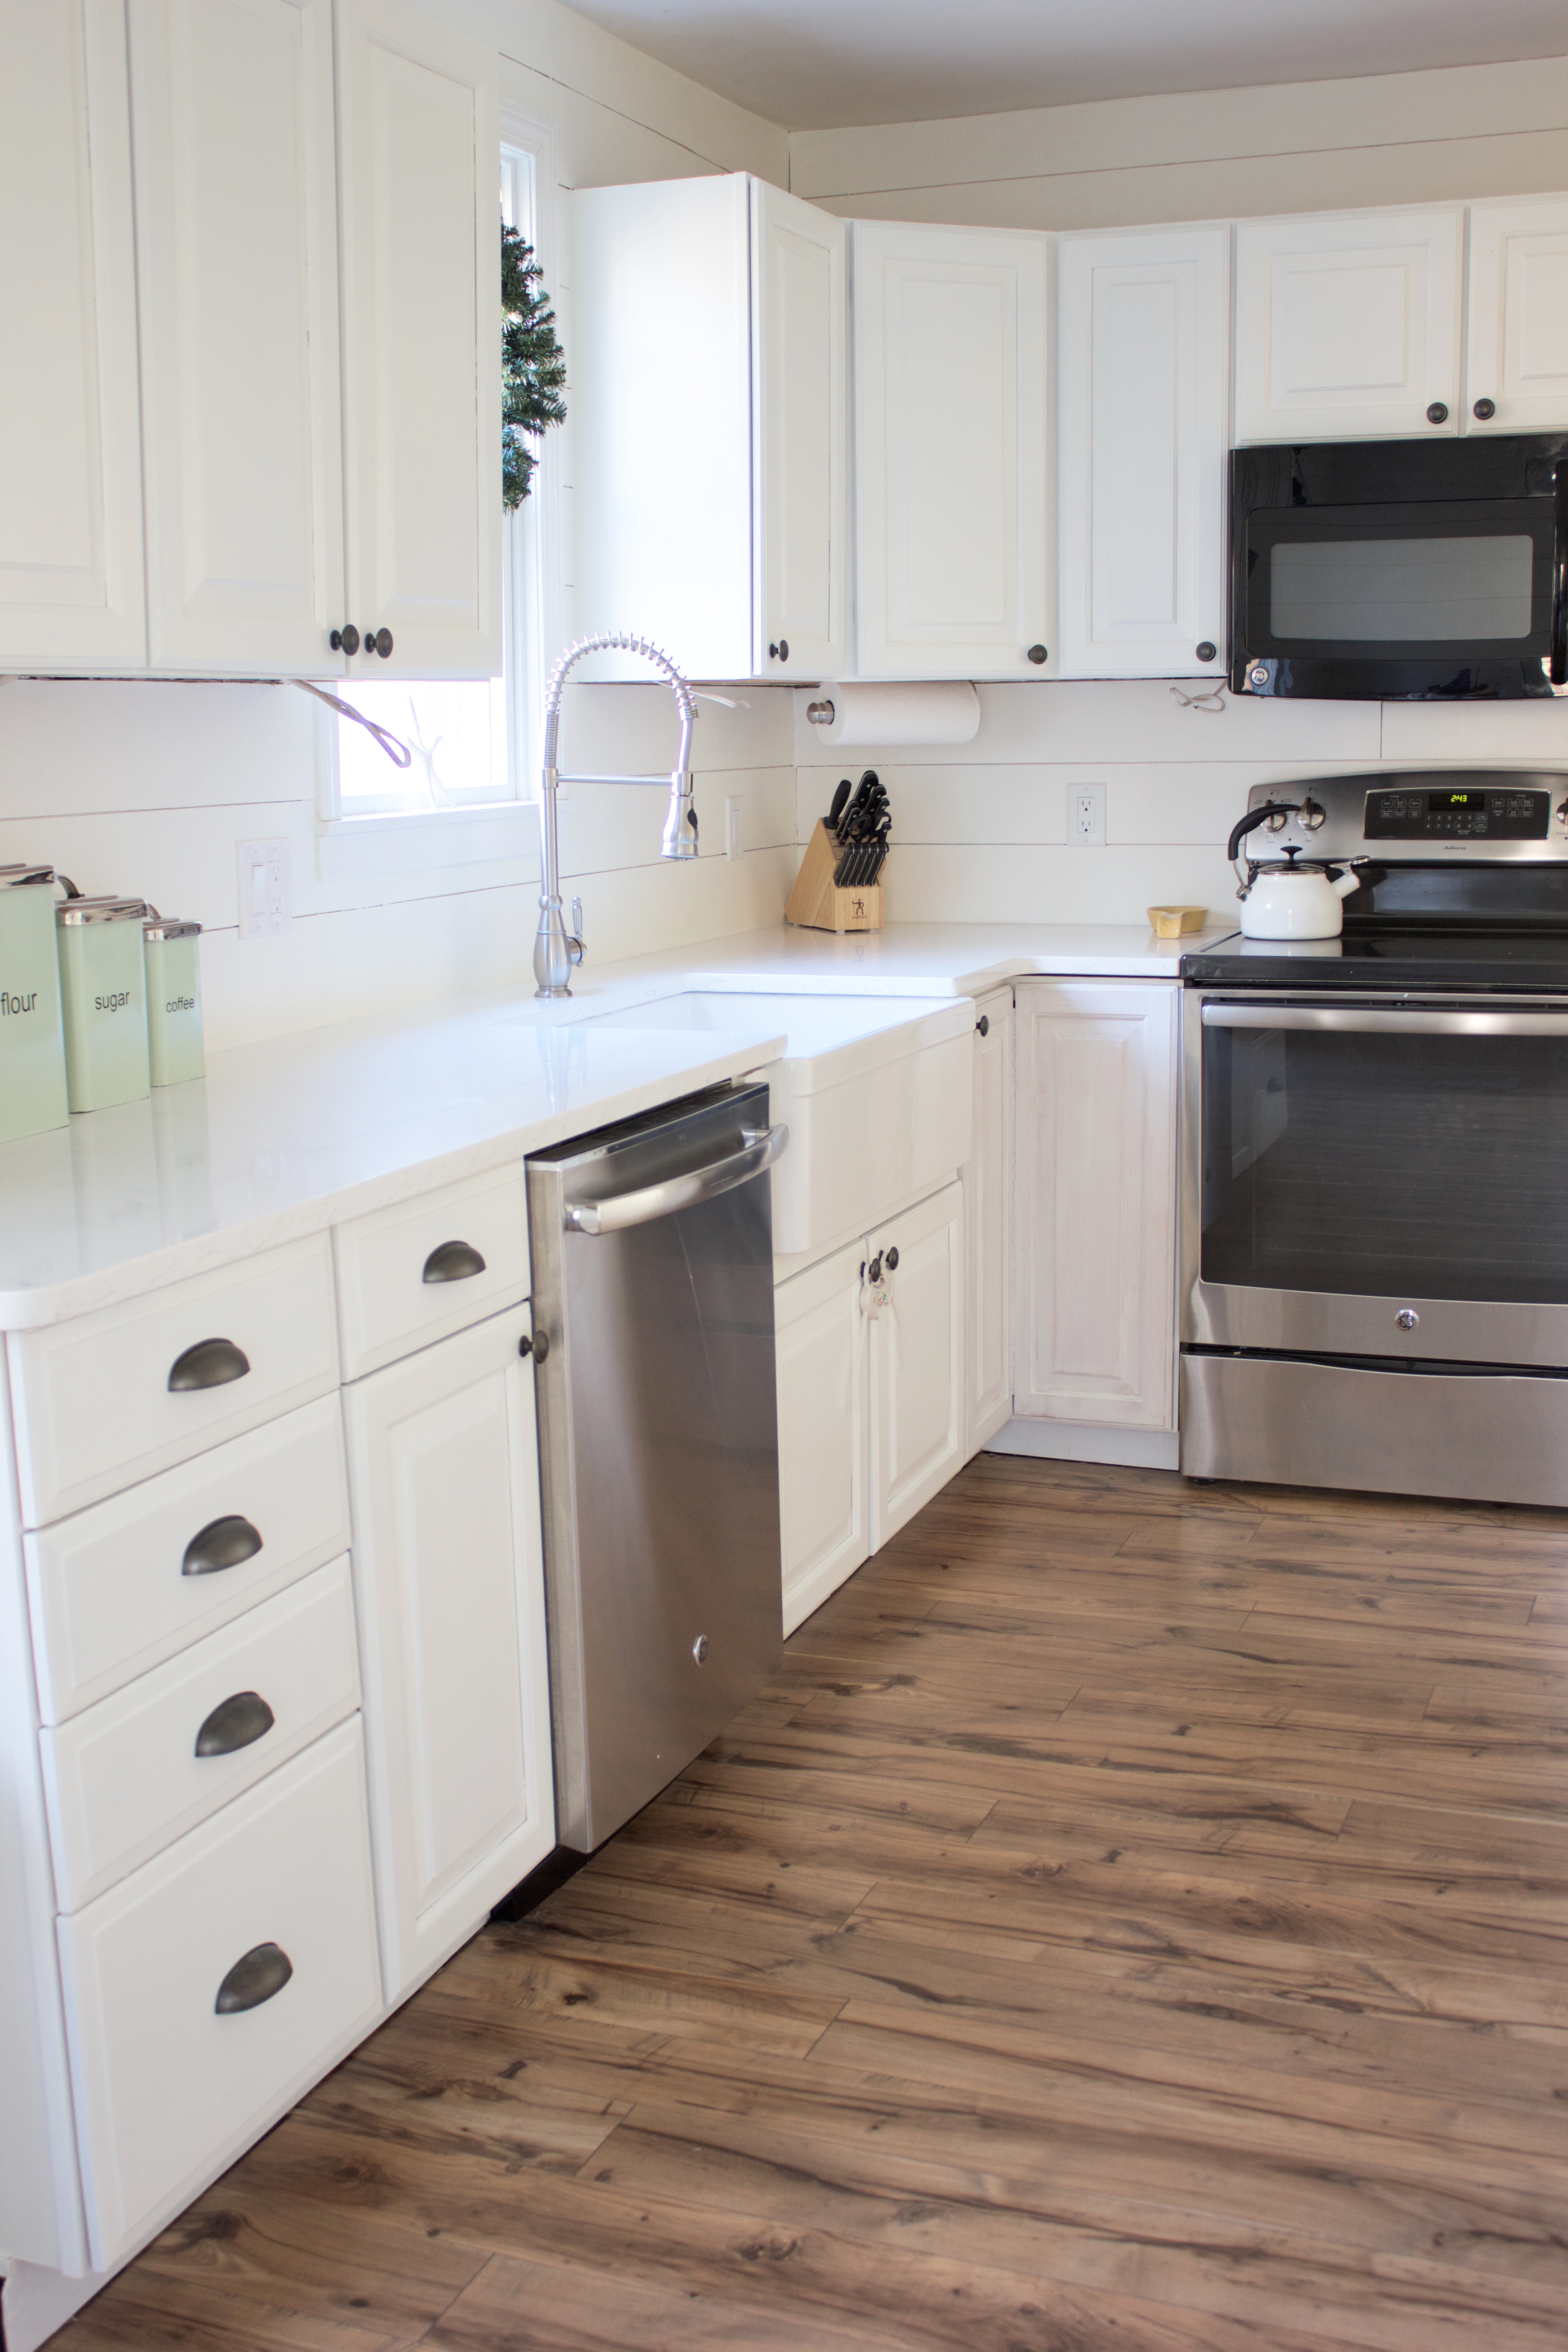
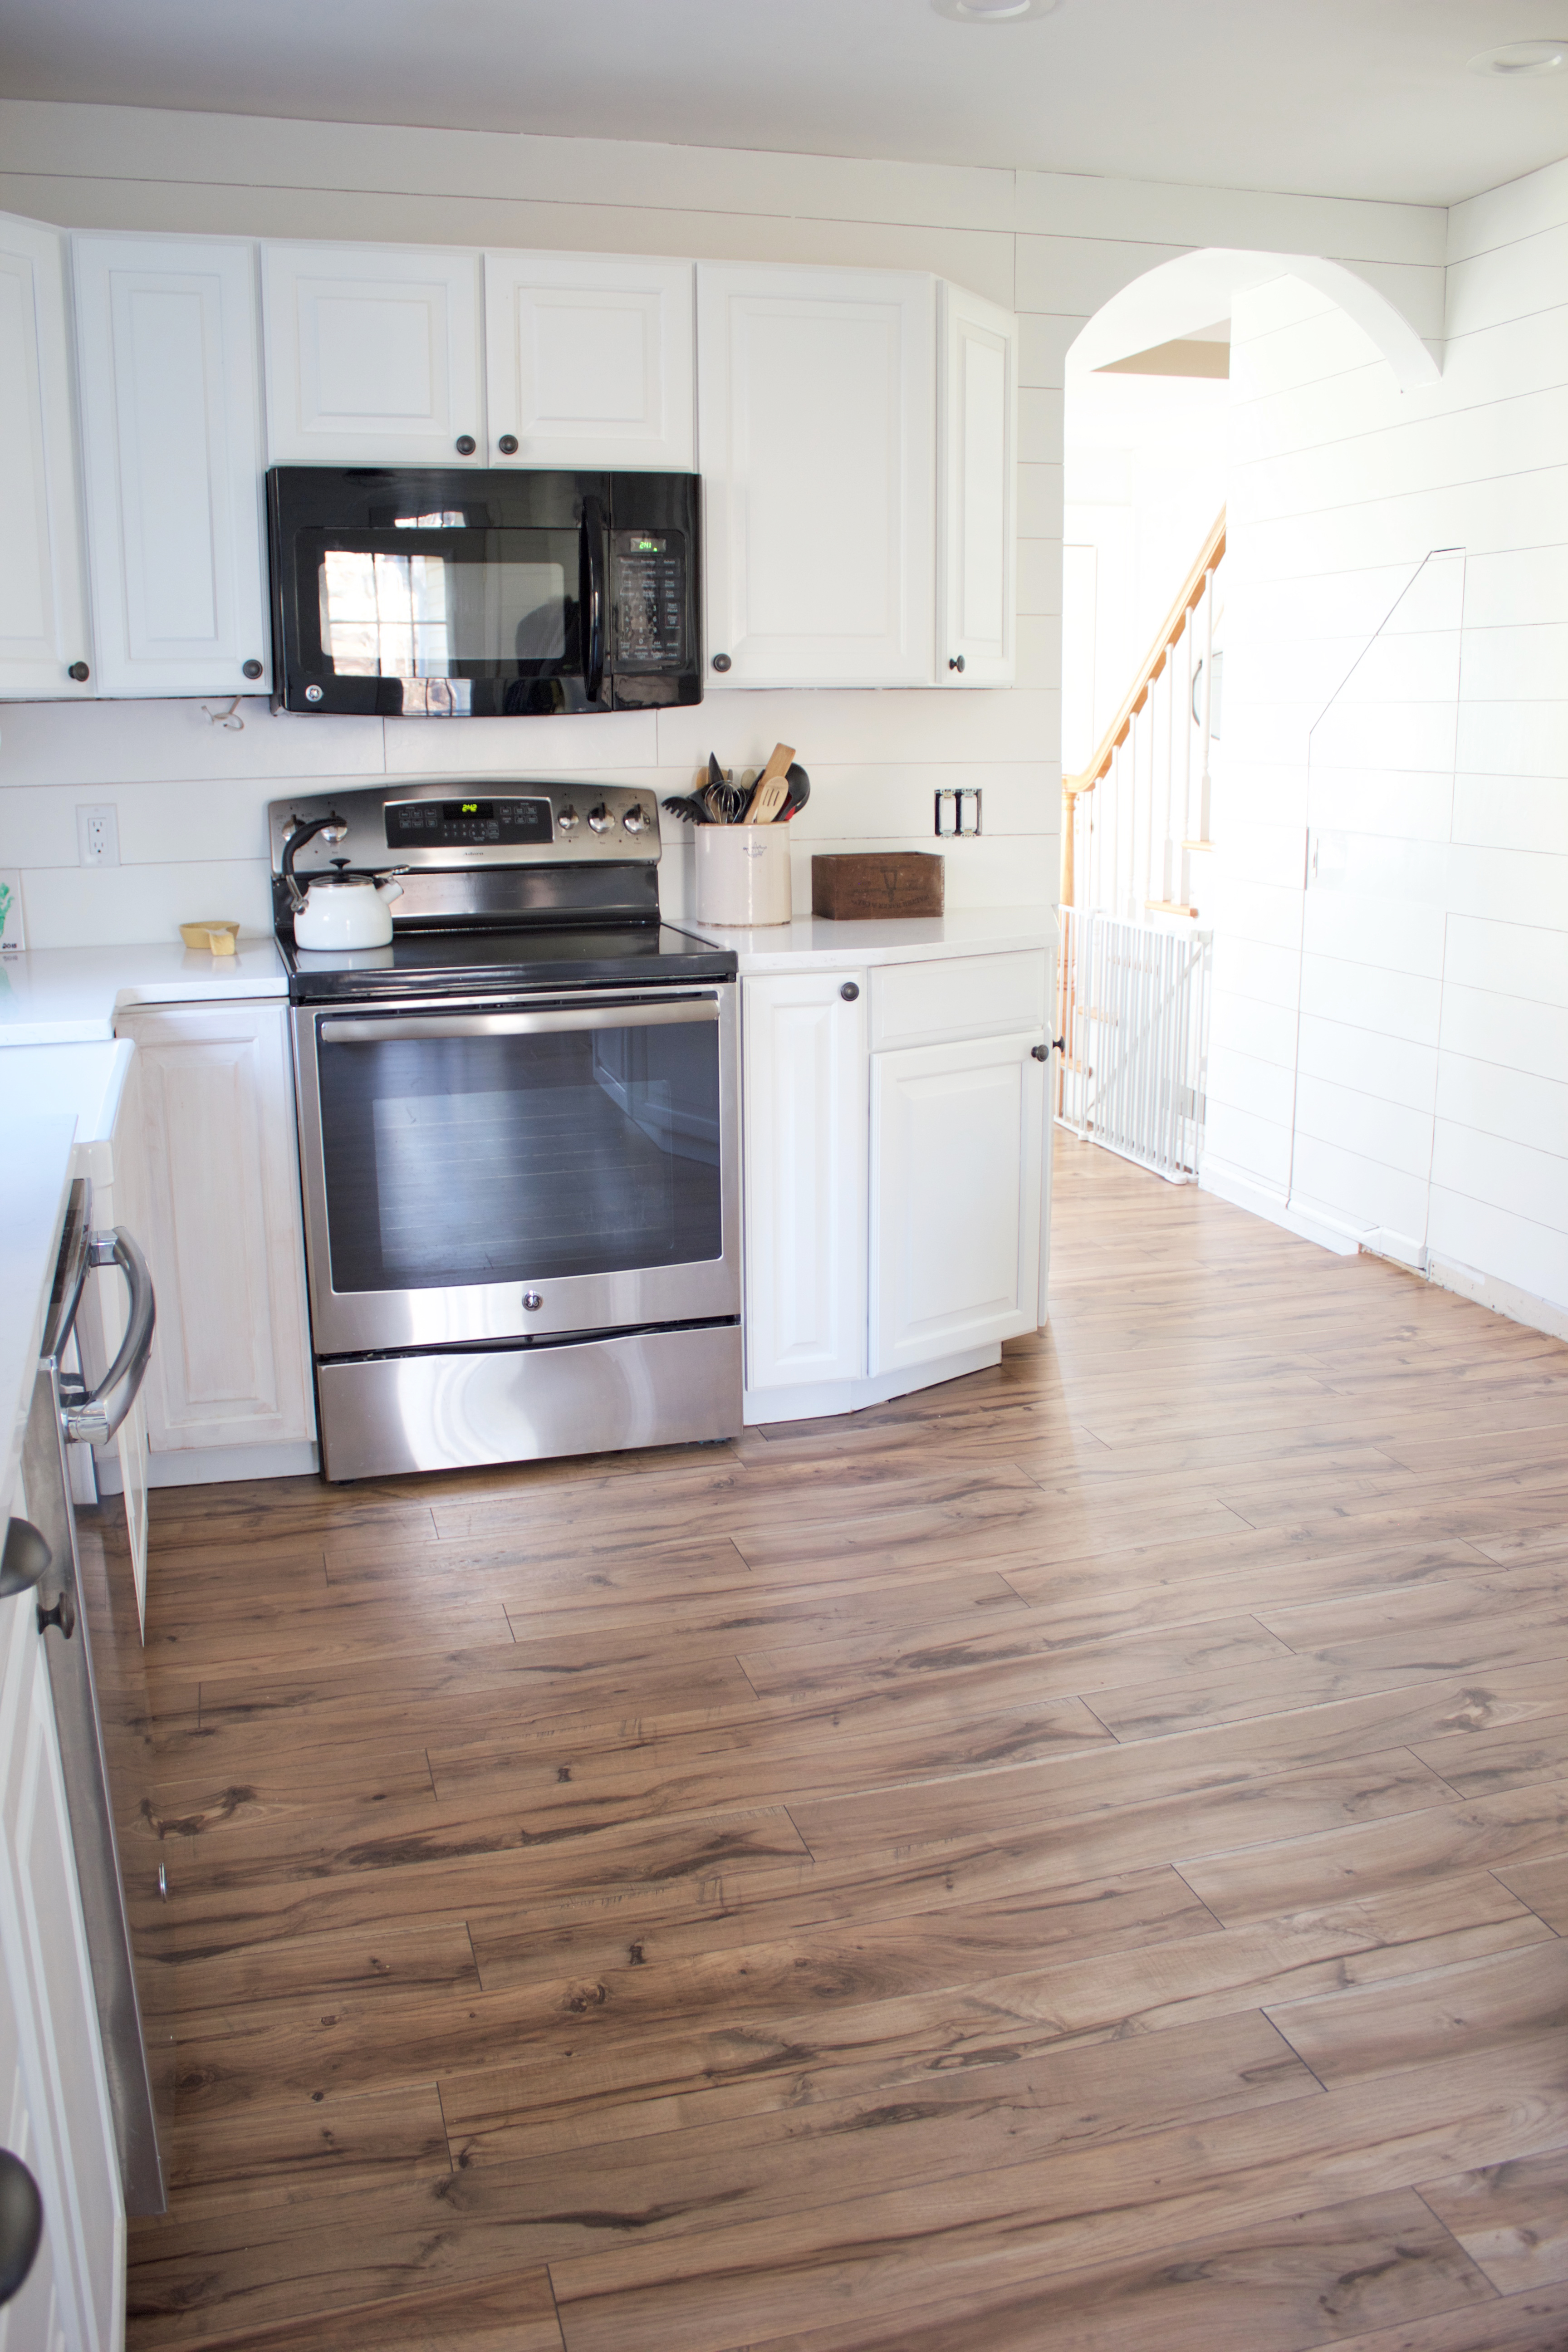
I absolutely love how the Providence Hickory turned out. Its lighter tone and handscraped finish gives our kitchen the farmhouse feel I was going for, especially against the white cabinets. With Pergo’s superior wear performance and wide selection of beautiful, realistic designs, you’re sure to find the perfect floor for your home and style. I also love that I don’t have to worry about staining and scratching in the most used room of our home due to Pergo’s ScratchGuard Advanced.
Overall the install was pretty easy, even with the curvature of the cabinets. It’s held up great with our dog;s nails and our toddler’s need to bang everything on the floor. I’m positive going with Pergo laminate was the best choice we could make for flooring because of the durability, especially at this point in our lives.
If you’re looking for some inspiration for any room in your house, Pergo’s Pinterest board is a great place to start. Pergo’s laminate collection carry a wide range of textures, styles, and colors, so you’ll be sure to find one that fits what you’re going for.
For more on our Pergo experience, check out why we chose our Pergo flooring, how we care for the laminate, and our DIY process.
I’ll be posting more kitchen details in a cumulative before and after soon, so stay tuned!

Amazing!! It doesn’t even look like the same kitchen!!
Thank you!!!
LOVE the shiplap on the walls! Beautiful renovation, Lauren!!
Thank you Kelly!
Hey! I’m curious how your Pergo floors are holding up! Do you still love them? Are there any signs of wear & tear so far?
We love them! No signs of wear and tear just yet and it’s been a couple years! 🙂
I’m so late to this awesome party (your kitchen is literally my dream) but where did you get the flour/sugar/coffee canisters from?
Also, is your shiplap staggered or all one solid board?
Canisters are old and from Pier 1! and it’s staggered!
Lauren your kitchen looks AMAZEBALLS! I do have a question for you…did you use the same white on the walls and cabinets?
Yes, we did!
This kitchen is gorgeous!
How does the shiplap hold up in the kitchen? Is it easy to clean? Do you have a bologna post on your installation?
Thanks so much!