
AFFILIATE DISCLAIMER: This page contains some affiliate links, which means we may receive a small commission if you purchase through our links (at no extra cost to you). We only recommend companies that we have personally used, love, and trust. For more information please check out our disclosure policy HERE!
Easy Boho Braid Tutorial
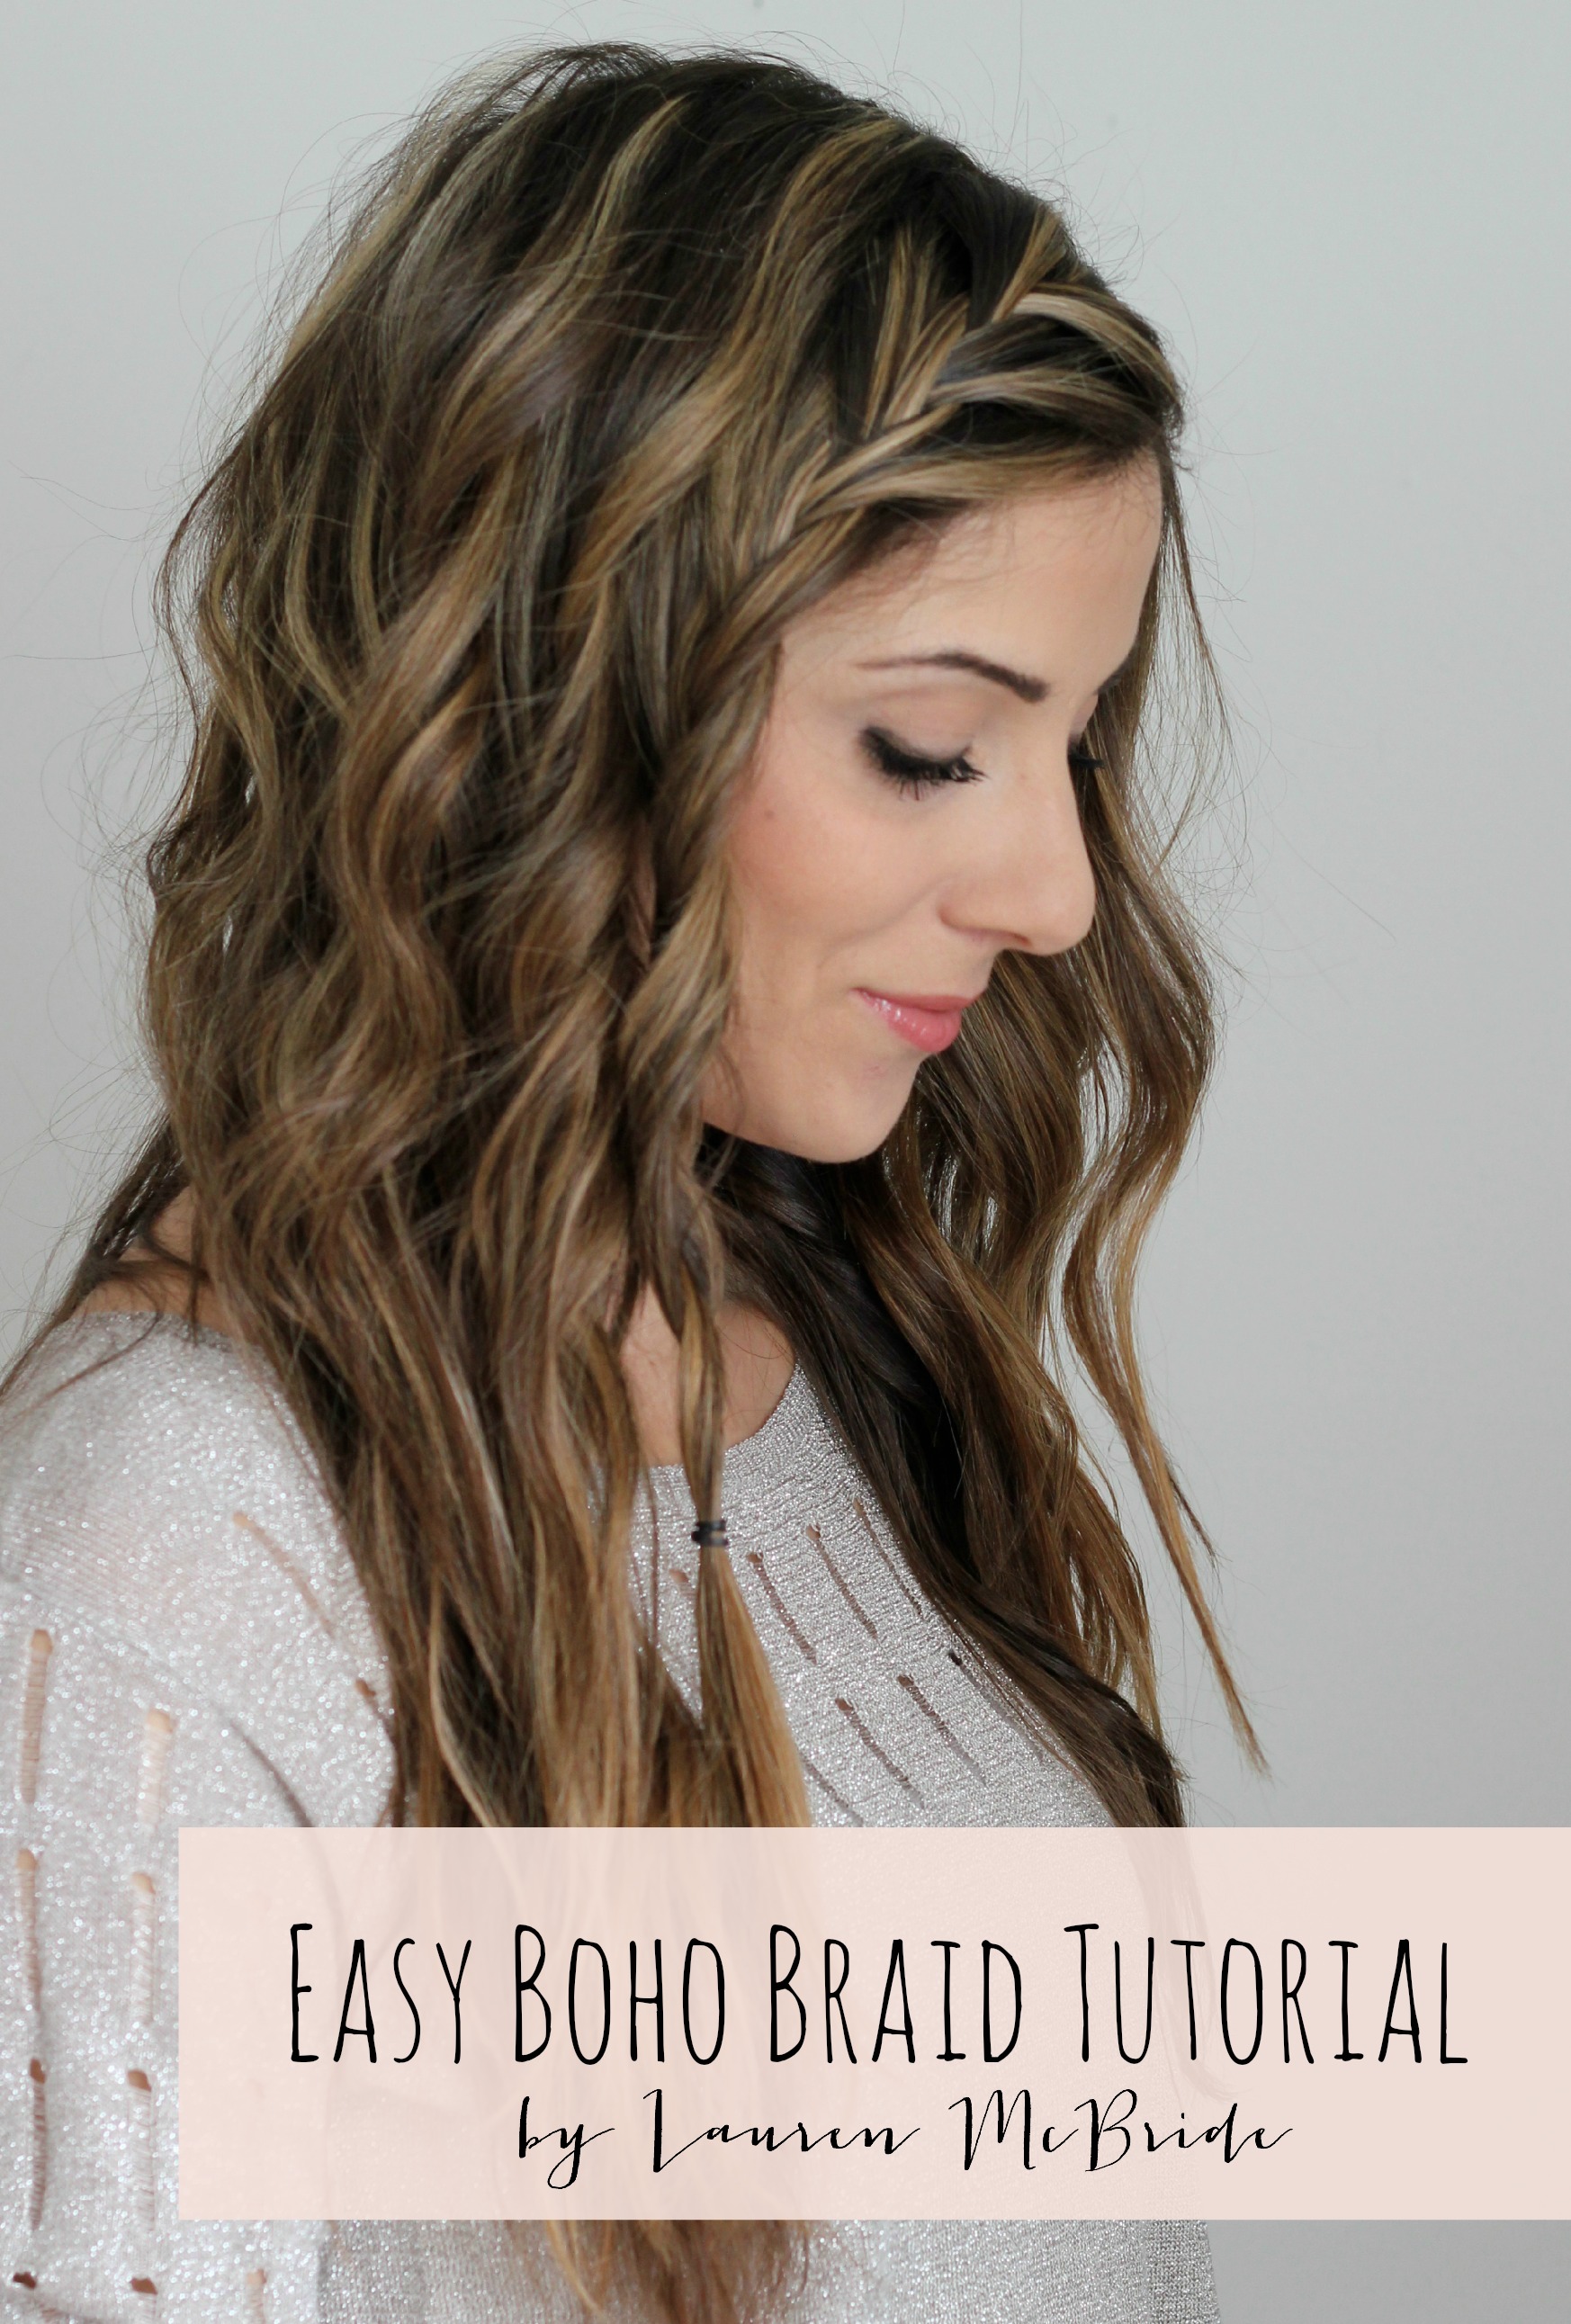
I have a quick and easy boho braid tutorial for you today! I’ve been loving this simple and easy boho braid for my days where I just don’t feel like washing my hair. As someone who is NOT good at braids, it’s easy enough to manage without it taking waaaay longer than it needs to (ya feel me?). I typically do this on wavy/curled hair to add to the “boho” look (as you can see below), but it can be done on straight hair as well. It’s quick, easy, and perfect for anyone with minimal time! Enjoy!
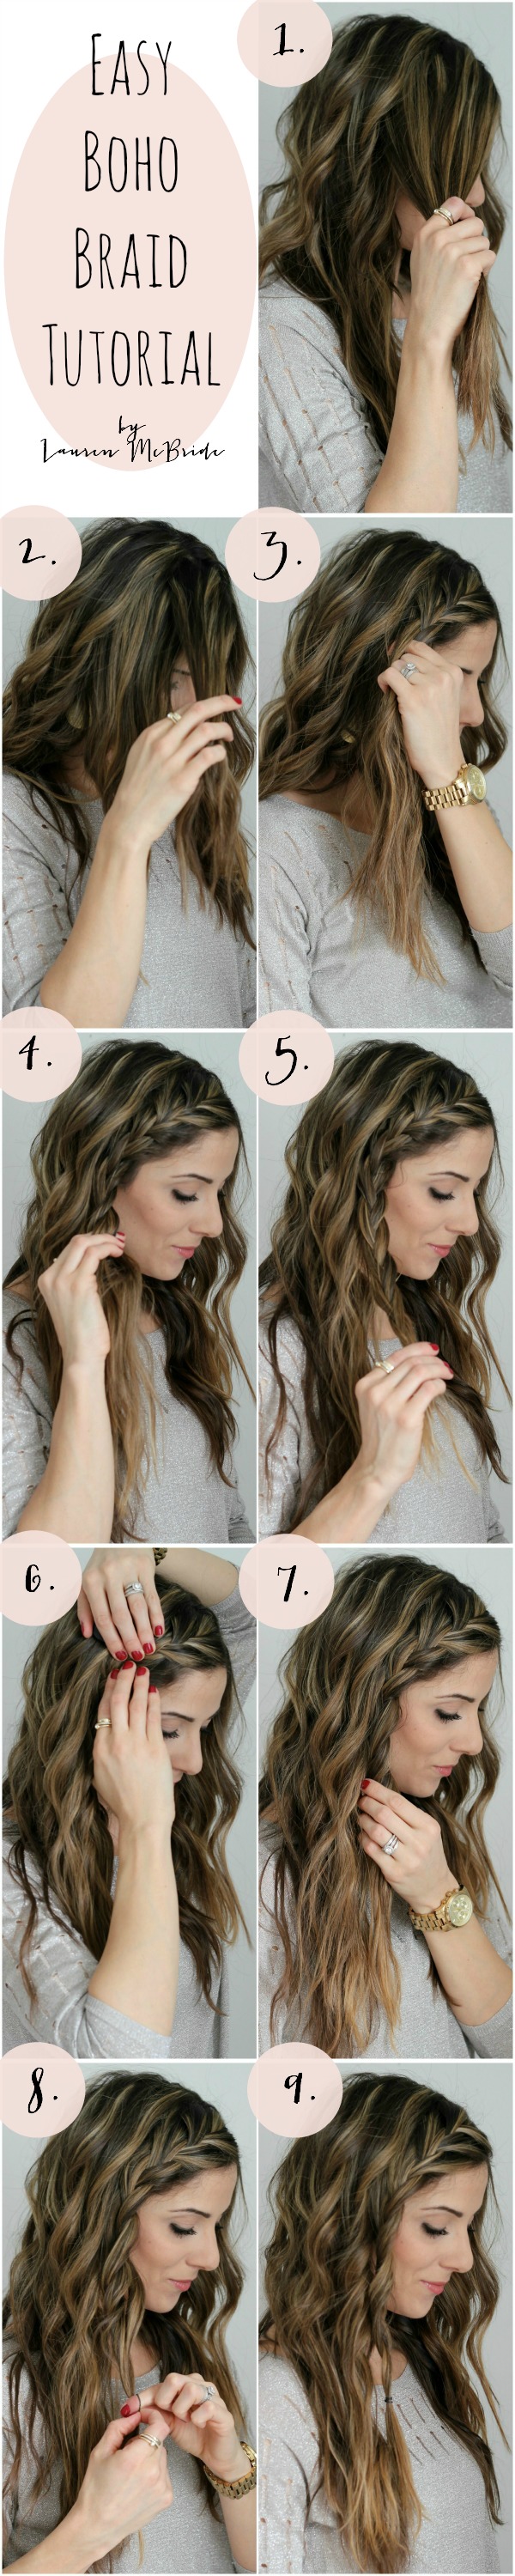
1. Separate a large section of hair, about 1/3 of the way back from your forehead.
2. Starting at the top of the section, separate three small sections of hair to begin your french braid.
3. Start your french braid, adding pieces from the large section as you braid downward.
4. Continue the french braid until you run out of pieces of hair to add (a little past your ear).
5. Extend the french braid with a regular braid down the length of the section of hair.
6. Using your fingers, slightly loosen up the french braid on your scalp.
7. Loosen up the bottom portion of the braid as well.
8. Secure with a small rubber elastic (I like these!) towards the bottom of the entire section of hair so the braid remains loose.
9. The finished product – your easy, boho braid! You can finish off with some hairspray if you’d like. I love this brand.
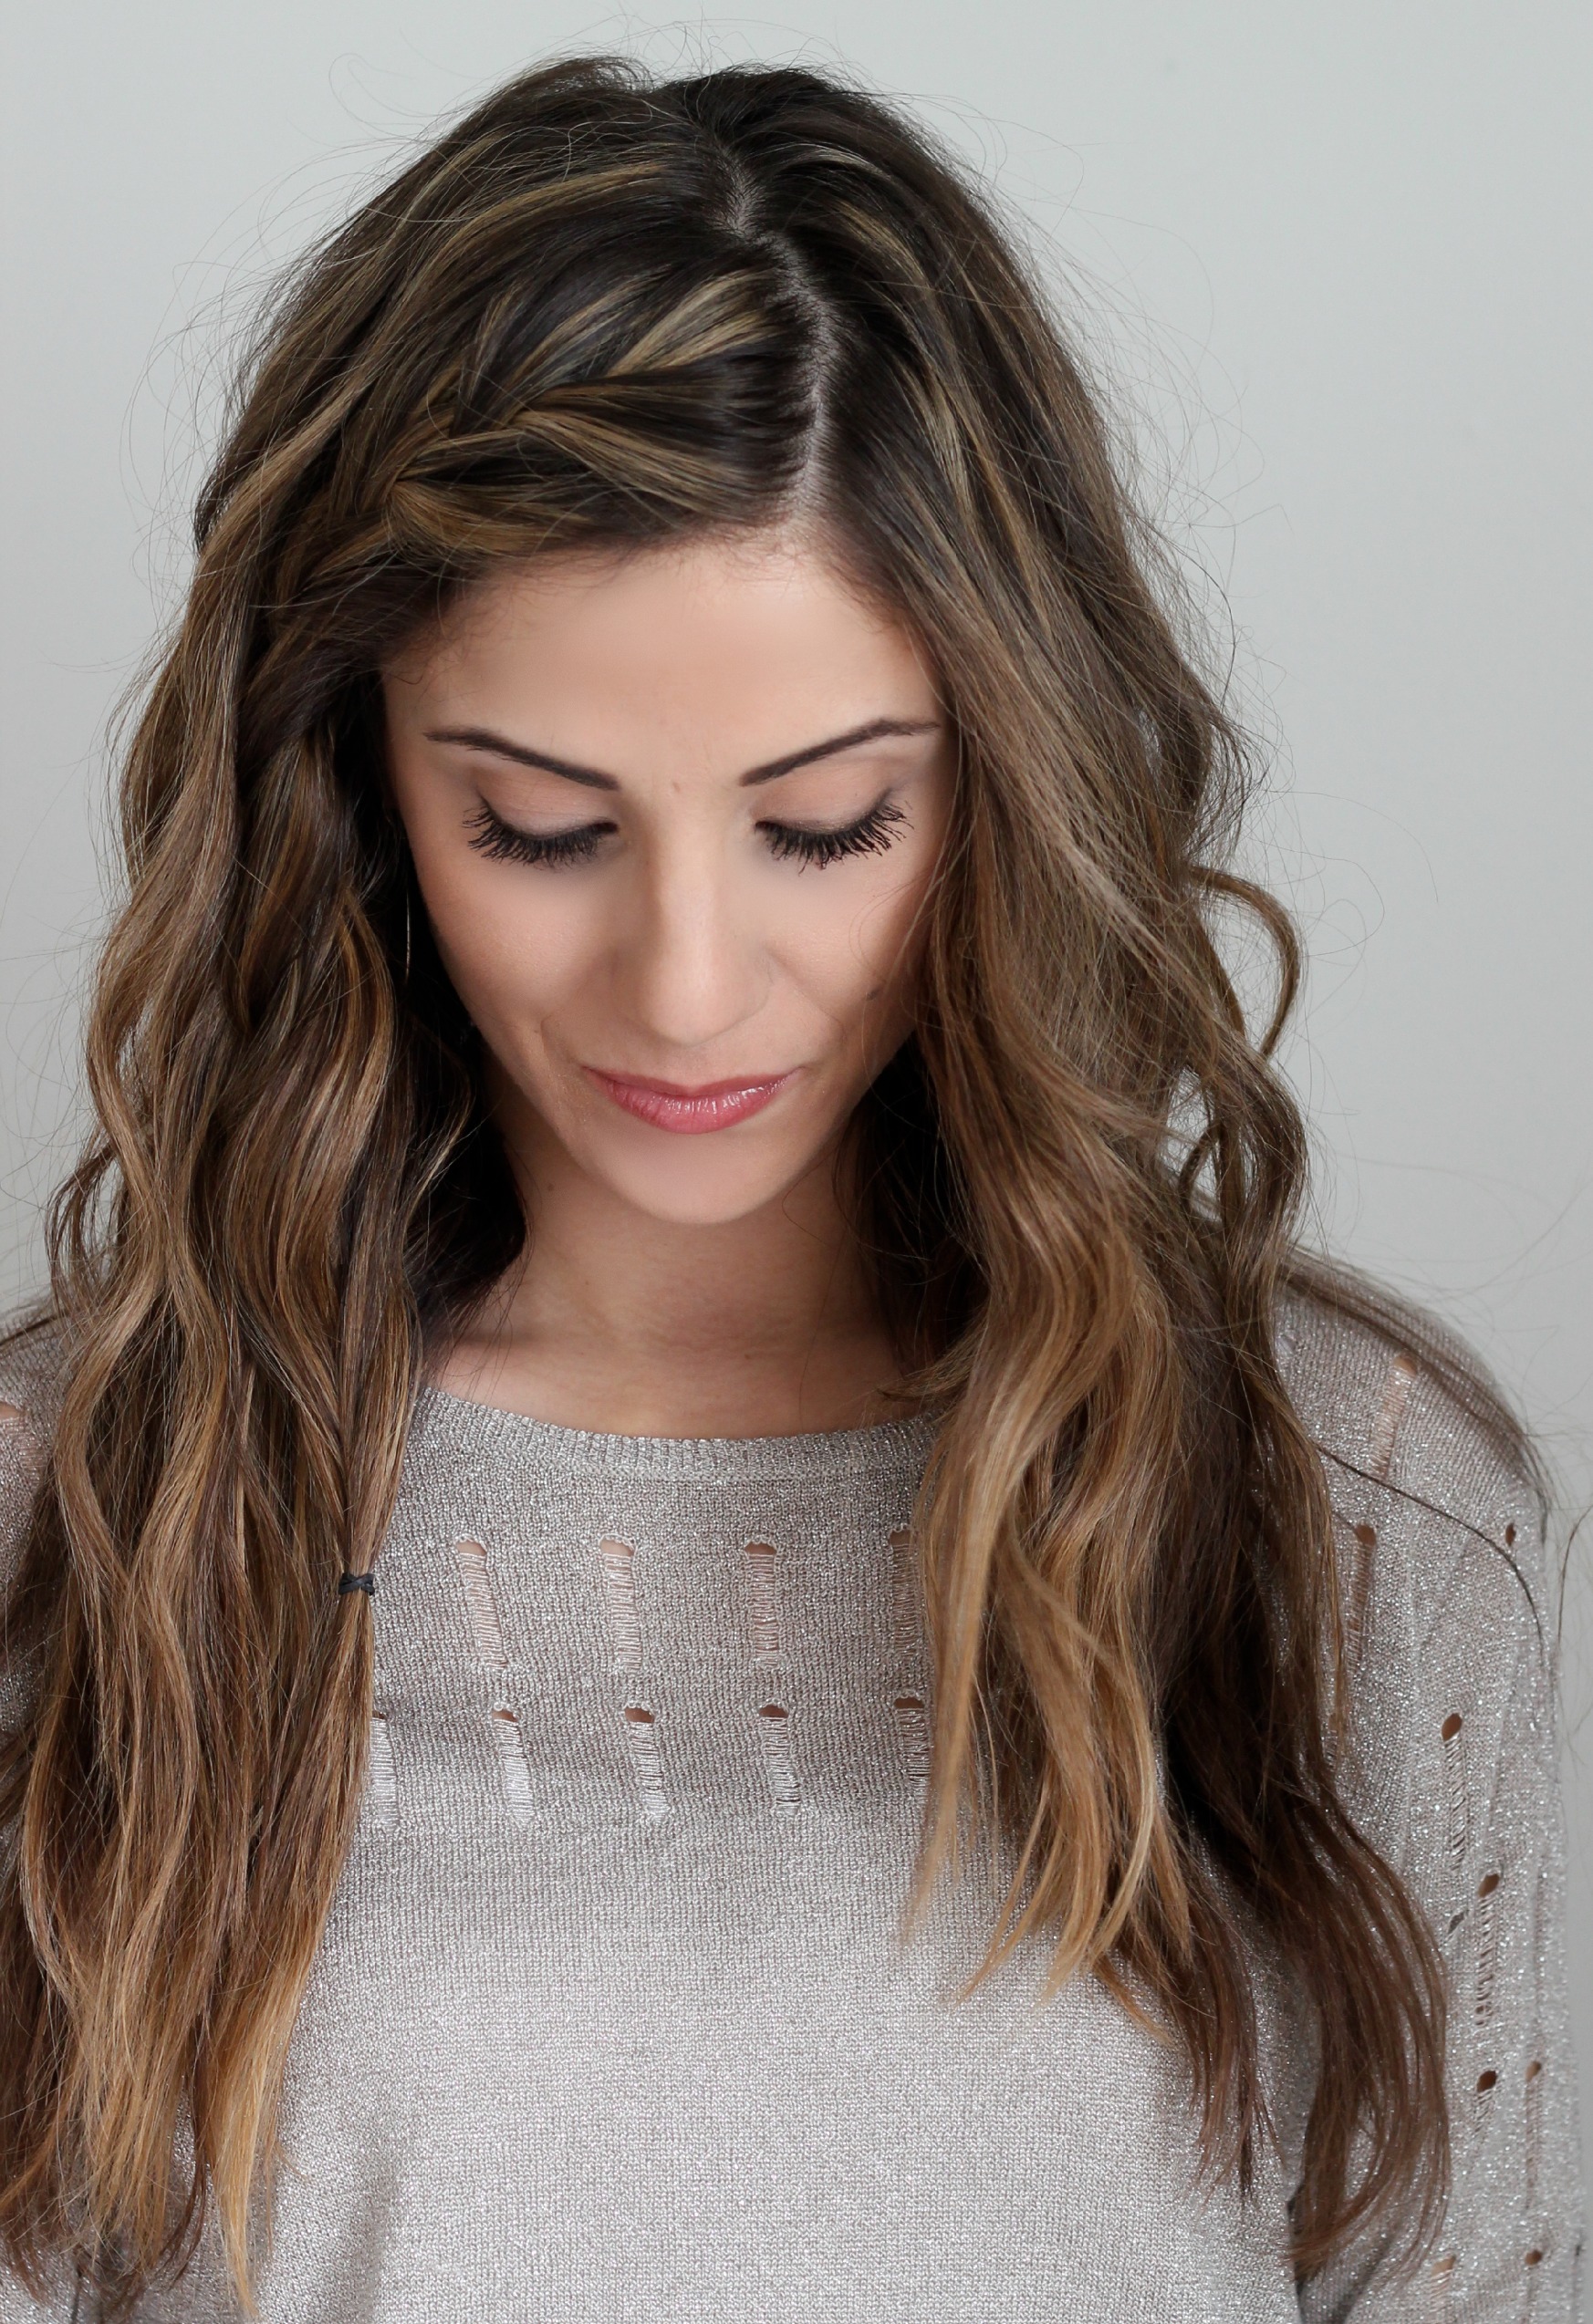
I hope you found this easy boho braid tutorial enjoyable!! For more bohemian inspired hair, check out this boho festival hair tutorial and these easy boho waves!
For my tutorial on how I curl my hair, go here.
For my simple eye makeup tutorial, go here.

Your hair is so curly, wish mine was like that! Love this tutorial!
I have a tutorial for that too! It’s easy! 🙂
I need to try your beachy waves! Love the braid.
Yes! They’re easy, I promise!
I love your hair!! Look so cute.. I hope I can do this to my hair. My hair is so flat I have a hard time even keeping curls in it. I can’t wait to check out your other tutorials.
Chelsea @ thewilliamsjourney1.blogspot.com
Thank you! I hope to post more tutorials soon 🙂
I often do this on my hair during lazy hair days. Its easy to do!
—
nhengswonderland.blogspot.com
It’s so easy! And adds a nice touch 😉
Looks great, can’t wait to try it!
Hope you like it! 🙂
so pretty! totally pinning this and sharing with my daughter, too. 🙂
Thanks Angela! I appreciate the share!
This is beautiful. Love it.
Thank you, Elizabeth!
Oh wow! This is a great tutorial. I love braids and am going to definitely try this on my oldest daughter. Thank you for the easy step-by-step instructions!
Thanks Penny! I hope you enjoy it!
What a great braid! I need to try this. Thanks for sharing at OMHG WW 🙂
Thanks Joy, let me know how it turns out! 🙂
Love the look!
Thank you!
I tend to loose patience with a braid half way through, I’ll have to give this one a go. Being at the front I should be able to see what I’m doing 🙂
Haha, I’m the same! I’m horrible at braiding, but this was easy!
Hi Lauren! Just wanted to let you know, we are featuring your post on Found & Foraged tonight!
Thanks so much Kyla!!!!!! I appreciate the feature! <3
Thank you so much for attending week 17 of #PureBlogLove and linking your fantastic blog post, I can’t wait to see what you have in store for our next party, Thursday 8 PM EST- Sundays at midnight. Your post has been added to the #PureBlogLove Pinterest board for all to see 🙂 Have a great day!
Nicole
Thanks Nicole!!!!!
Beautiful. I wonder if I am to old to try this.Thank you for sharing at the Thursday Favorite Things blog hop. xo P.S. did you see my new giveaways?
Never too old to try! 🙂
Lauren, I’m a cohost for Wake Up Wednesday. I absolutely love your blog and this blog post. I nominated it as blog post feature of the week for this upcoming week.
Please swing by my blog…I’m a hair blogger. You can find me at relaxedthairapy.com. Please drop me a note while there to let me know that you swung by.
Thank you so much!!! I appreciate the nomination <3
Thanks for sharing this at My favorite Things Party! Pinned & Sharing.
Thanks for sharing Theresa!
Hello cute lady! This looks so amazing. Pinned and tweeted. We appreciate you taking the time to stop by and party with us. It wouldn’t be a party without you! I hope to see you tonight at 7 pm. Lou Lou Girls
Thank you SO much for the shares!!!!!!
Absolutely beautiful! I wanted to let you know that I’m featuring this post tonight at the Create & Share Link Party (7:00 PM MST)! Congratulations!!! Can’t wait to see what you share with us this week 🙂
Ah! Thank you SO much!!!!! <3 <3 <3
Love it! Thank you for linking up with us, Featuring you tomorrow at WIW.Hope to see you back. PS; Love following you on insta:-)
Thank you SO much for the feature! <3
Congratulations! This post is featured over at Diana Rambles today and has been pinned in the Featured at Diana Rambles board at Pinterest, Tweeted, and Recommended on G+. Please grab a featured button off my button page or via the post guidelines graphic. Thanks for sharing this awesome idea!
Thank you so much for the feature, Diana!
Lovely. I’m still growing mine out, so I don’t know if I could pull it off, but I’ll play around with it and see what happens. 🙂 I’m featuring this post tomorrow at Show Me Saturday. Thanks for linking up.
Thanks Ginger! I’m sure you can pull it off!
Thanks for linking up to Show ME Saturdays, your tutorial was featured. Hope to see you this week!!
~Be Sweet
Christina at
SWEET HAUTE
Thanks Christina!
This hair style (and you!) is so, so gorgeous. Move in so you can do my hair every morning. Sound good? Great!
Haha thanks Kristin! I would gladly do that! 😉
Love this! Looking at your photos makes me so excited for my hair to be long again. I love tiny, loose braids like this, and actually just picked up some teeny elastics yesterday so I can do them!
Thanks for linking up to Best of Beauty! xo
Woo! They’ll look great! 🙂
Love this! This is so cute! I think this may be my go-to hairstyle this spring.
xx
So glad you like it Nikki! xo
do you take hair from the large section when doing both sides of the braid or just when you are braiding the back strand?
Just from the one large section you separated at the beginning! 🙂